I actually did some sewing, Yay me! I made myself some Virginia Leggings, after a failed attempt with a Burda leggings pattern that even in a large made my leg look like an over-stuffed sausage and cut of my blood circulation.

I actually did some sewing, Yay me! I made myself some Virginia Leggings, after a failed attempt with a Burda leggings pattern that even in a large made my leg look like an over-stuffed sausage and cut of my blood circulation.

I seem to have writer’s block at the moment, along with some other blocks, right now it’s easier to be active on Instagram. So I’ll just leave you with last week’s photos & say that I’m very much looking forward to a 2 week break from school!

Despite last week being a horrible week, with far too much going on at once, it ended quite well and even felt a bit Christmasy!

Last week was so crazy, that I missed posting my last set of photos from Sewvember, so here they are.
24. Challenge
25. Complete
26. Red Hot Mess
27. Best Make
28. Hem
29. Learning
30. Top Tip
Almost there, so let’s jump right in, ok?
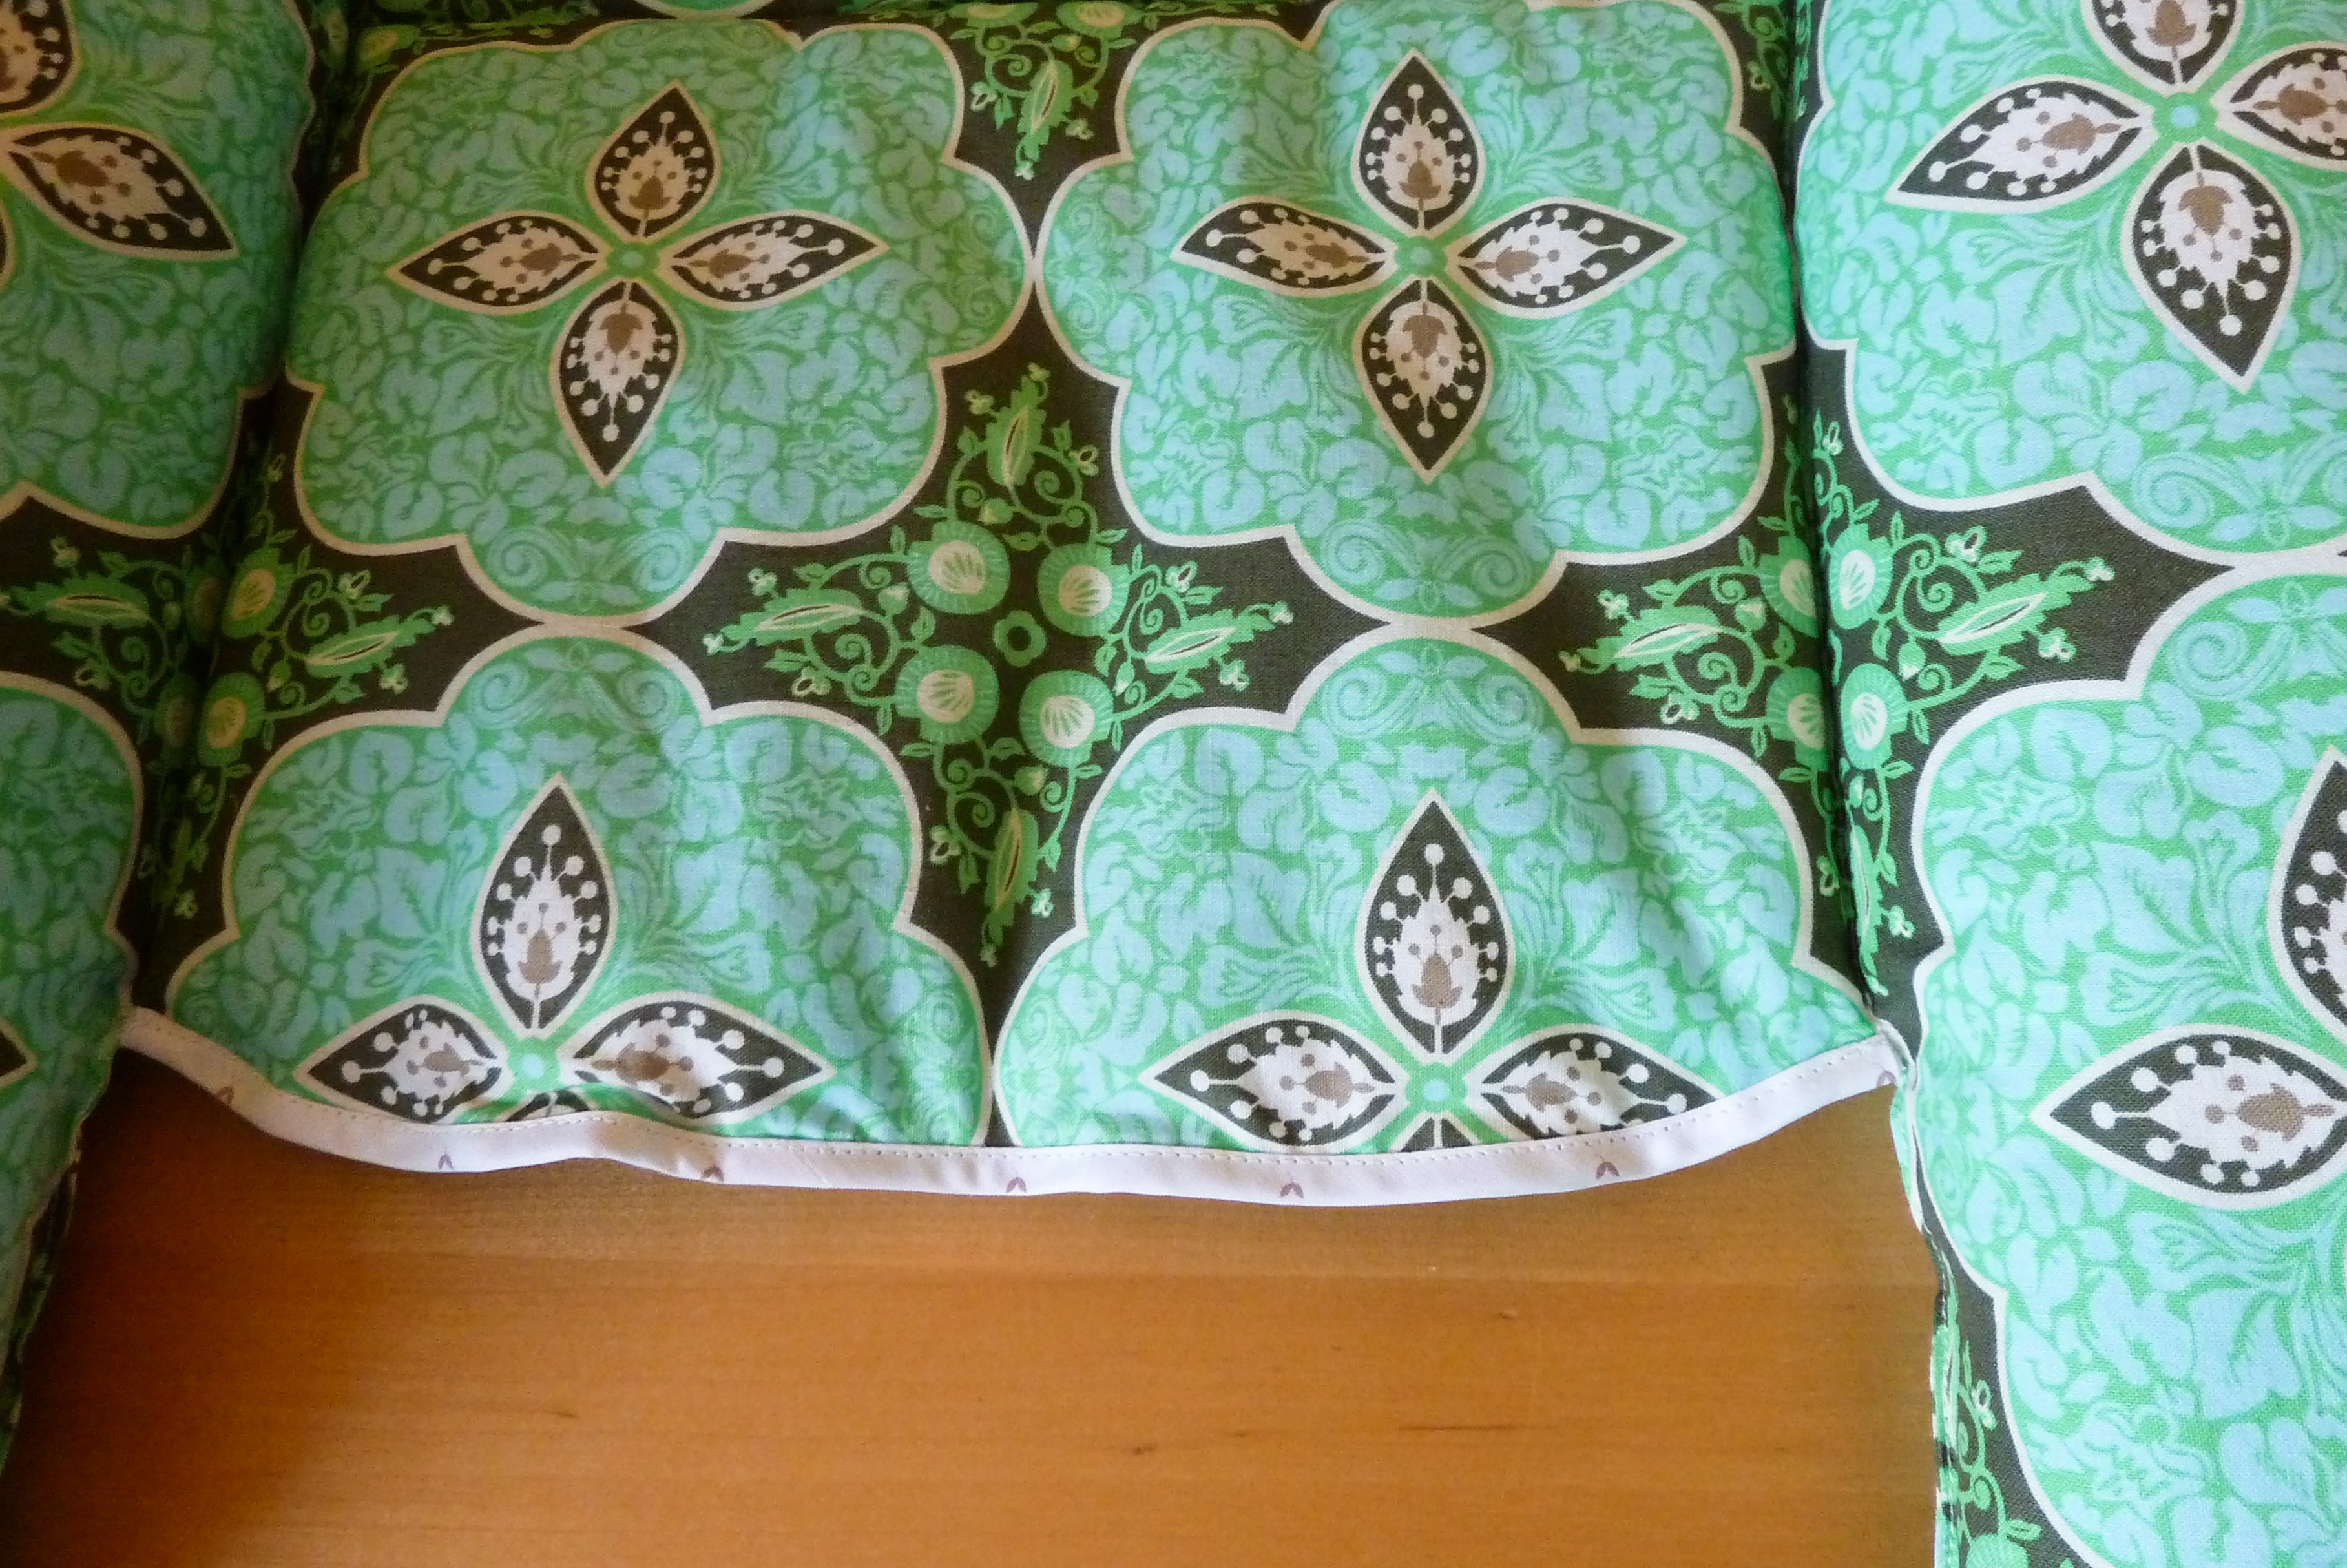
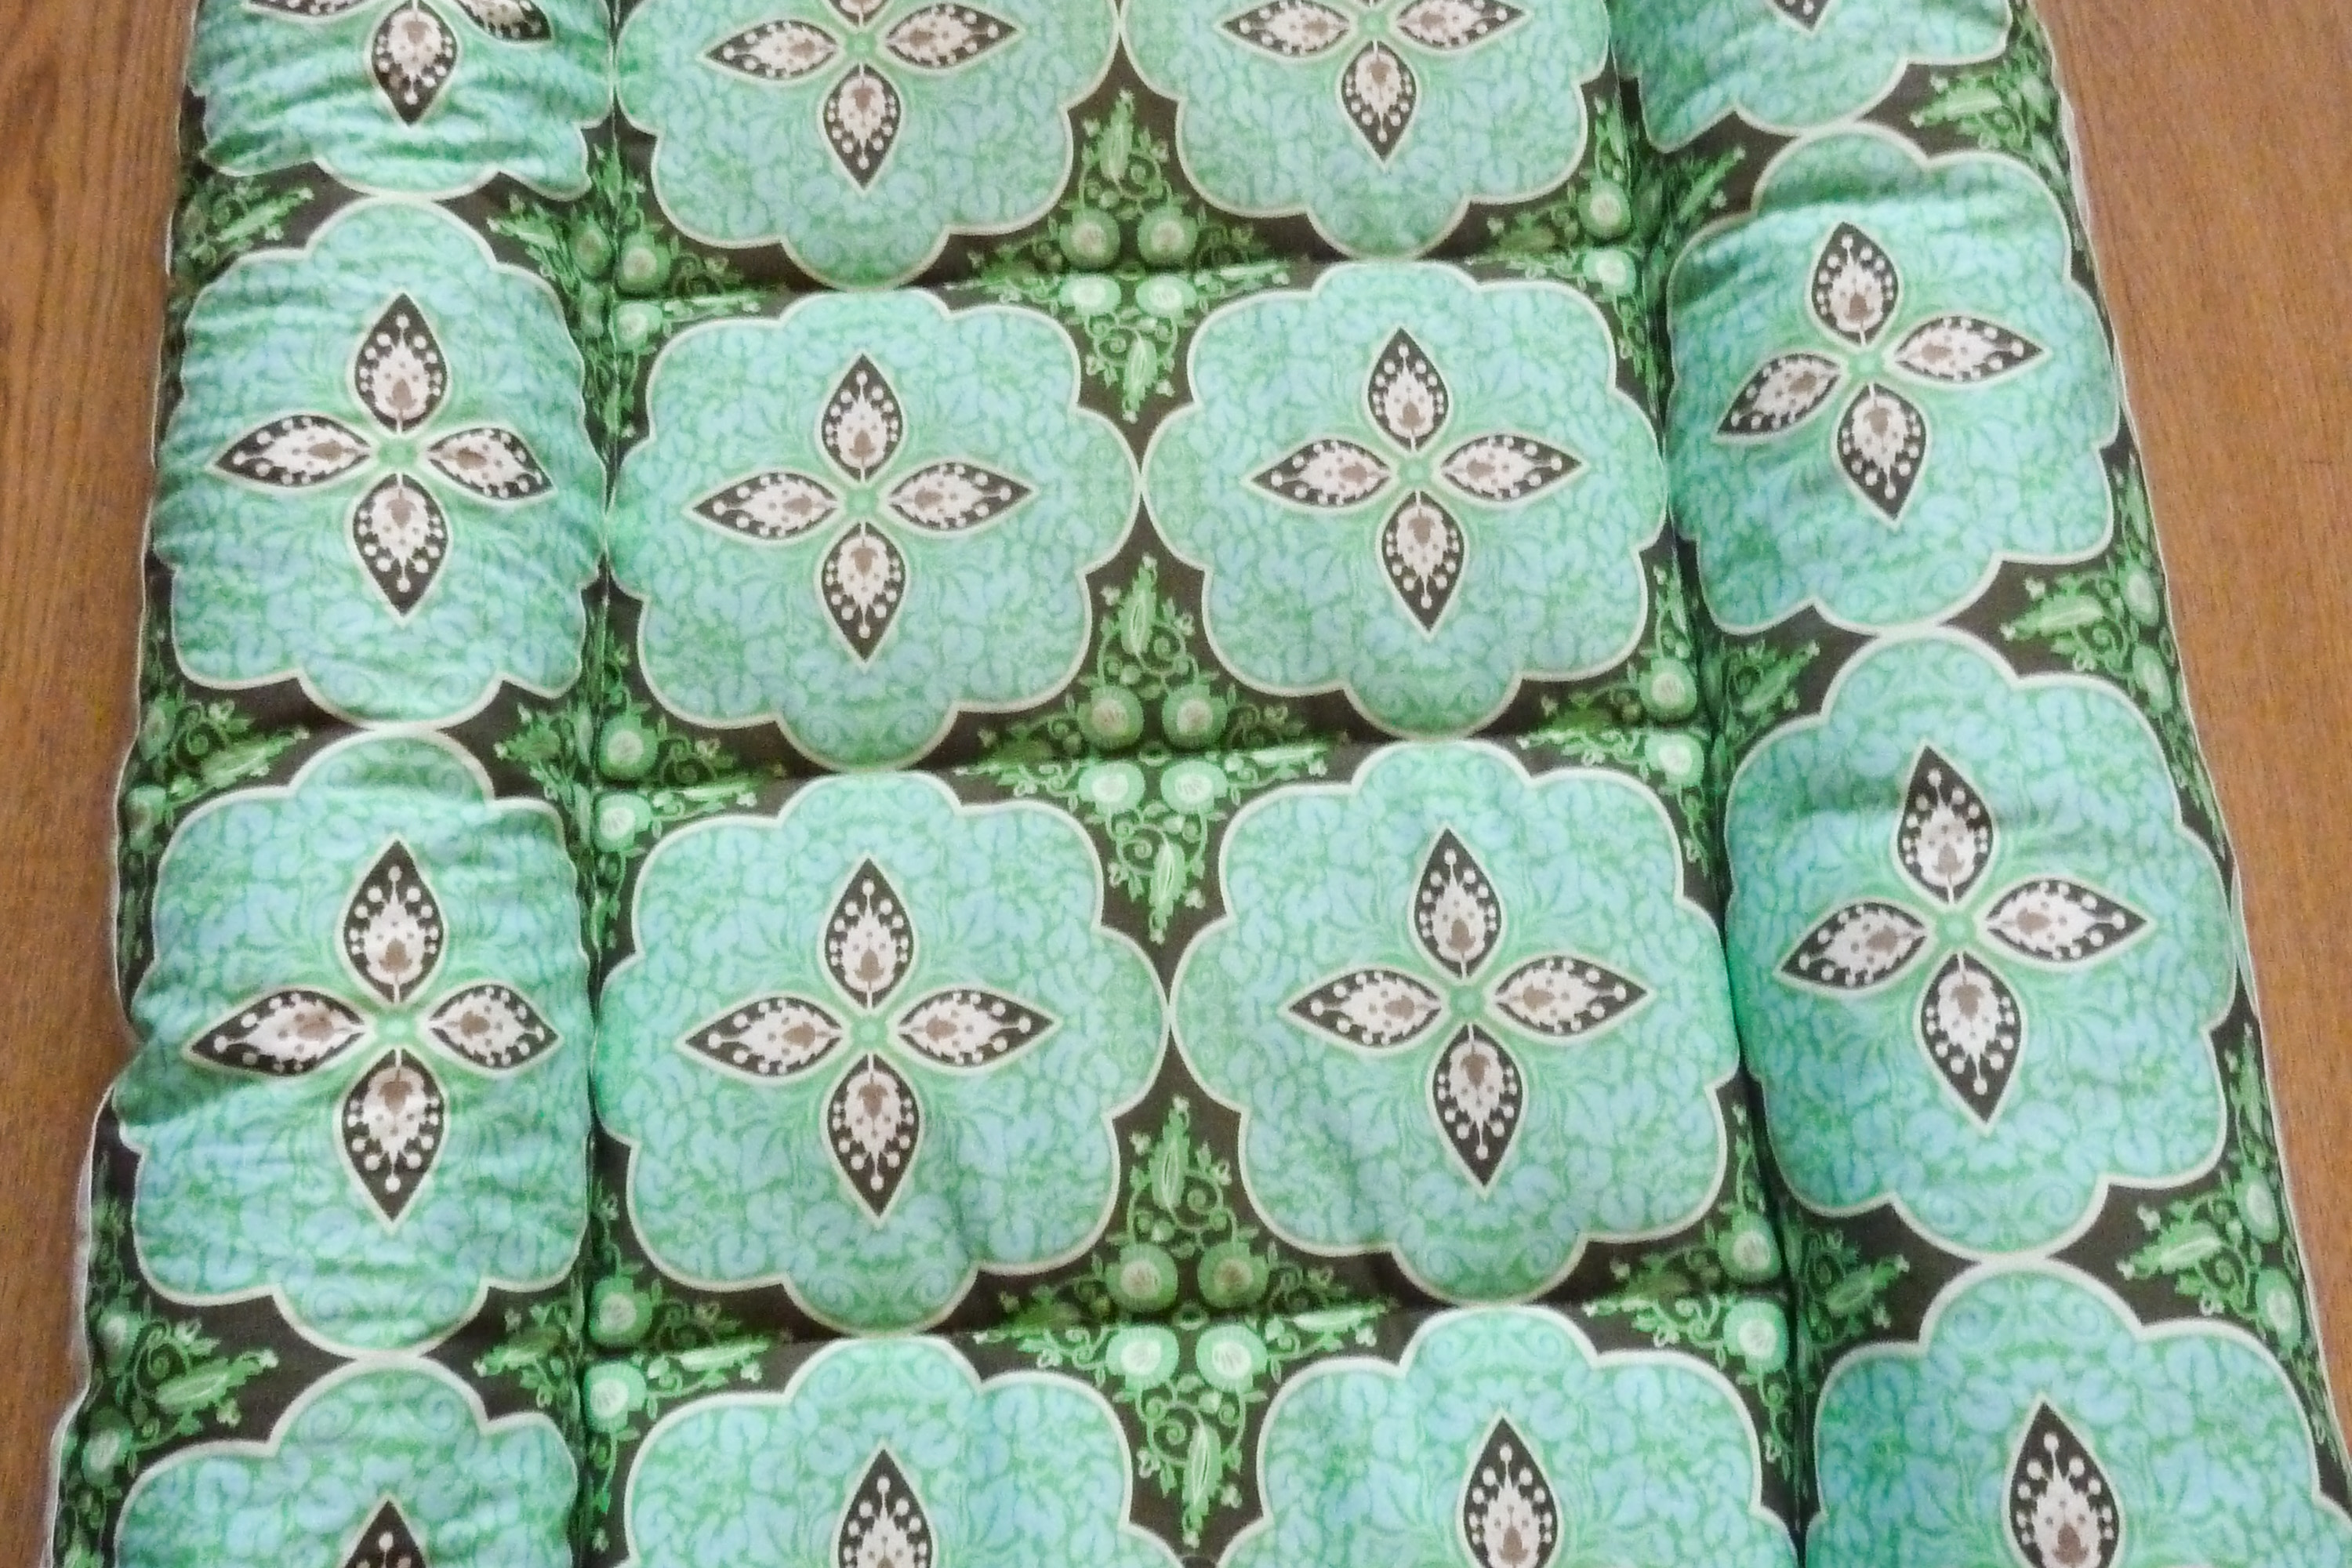

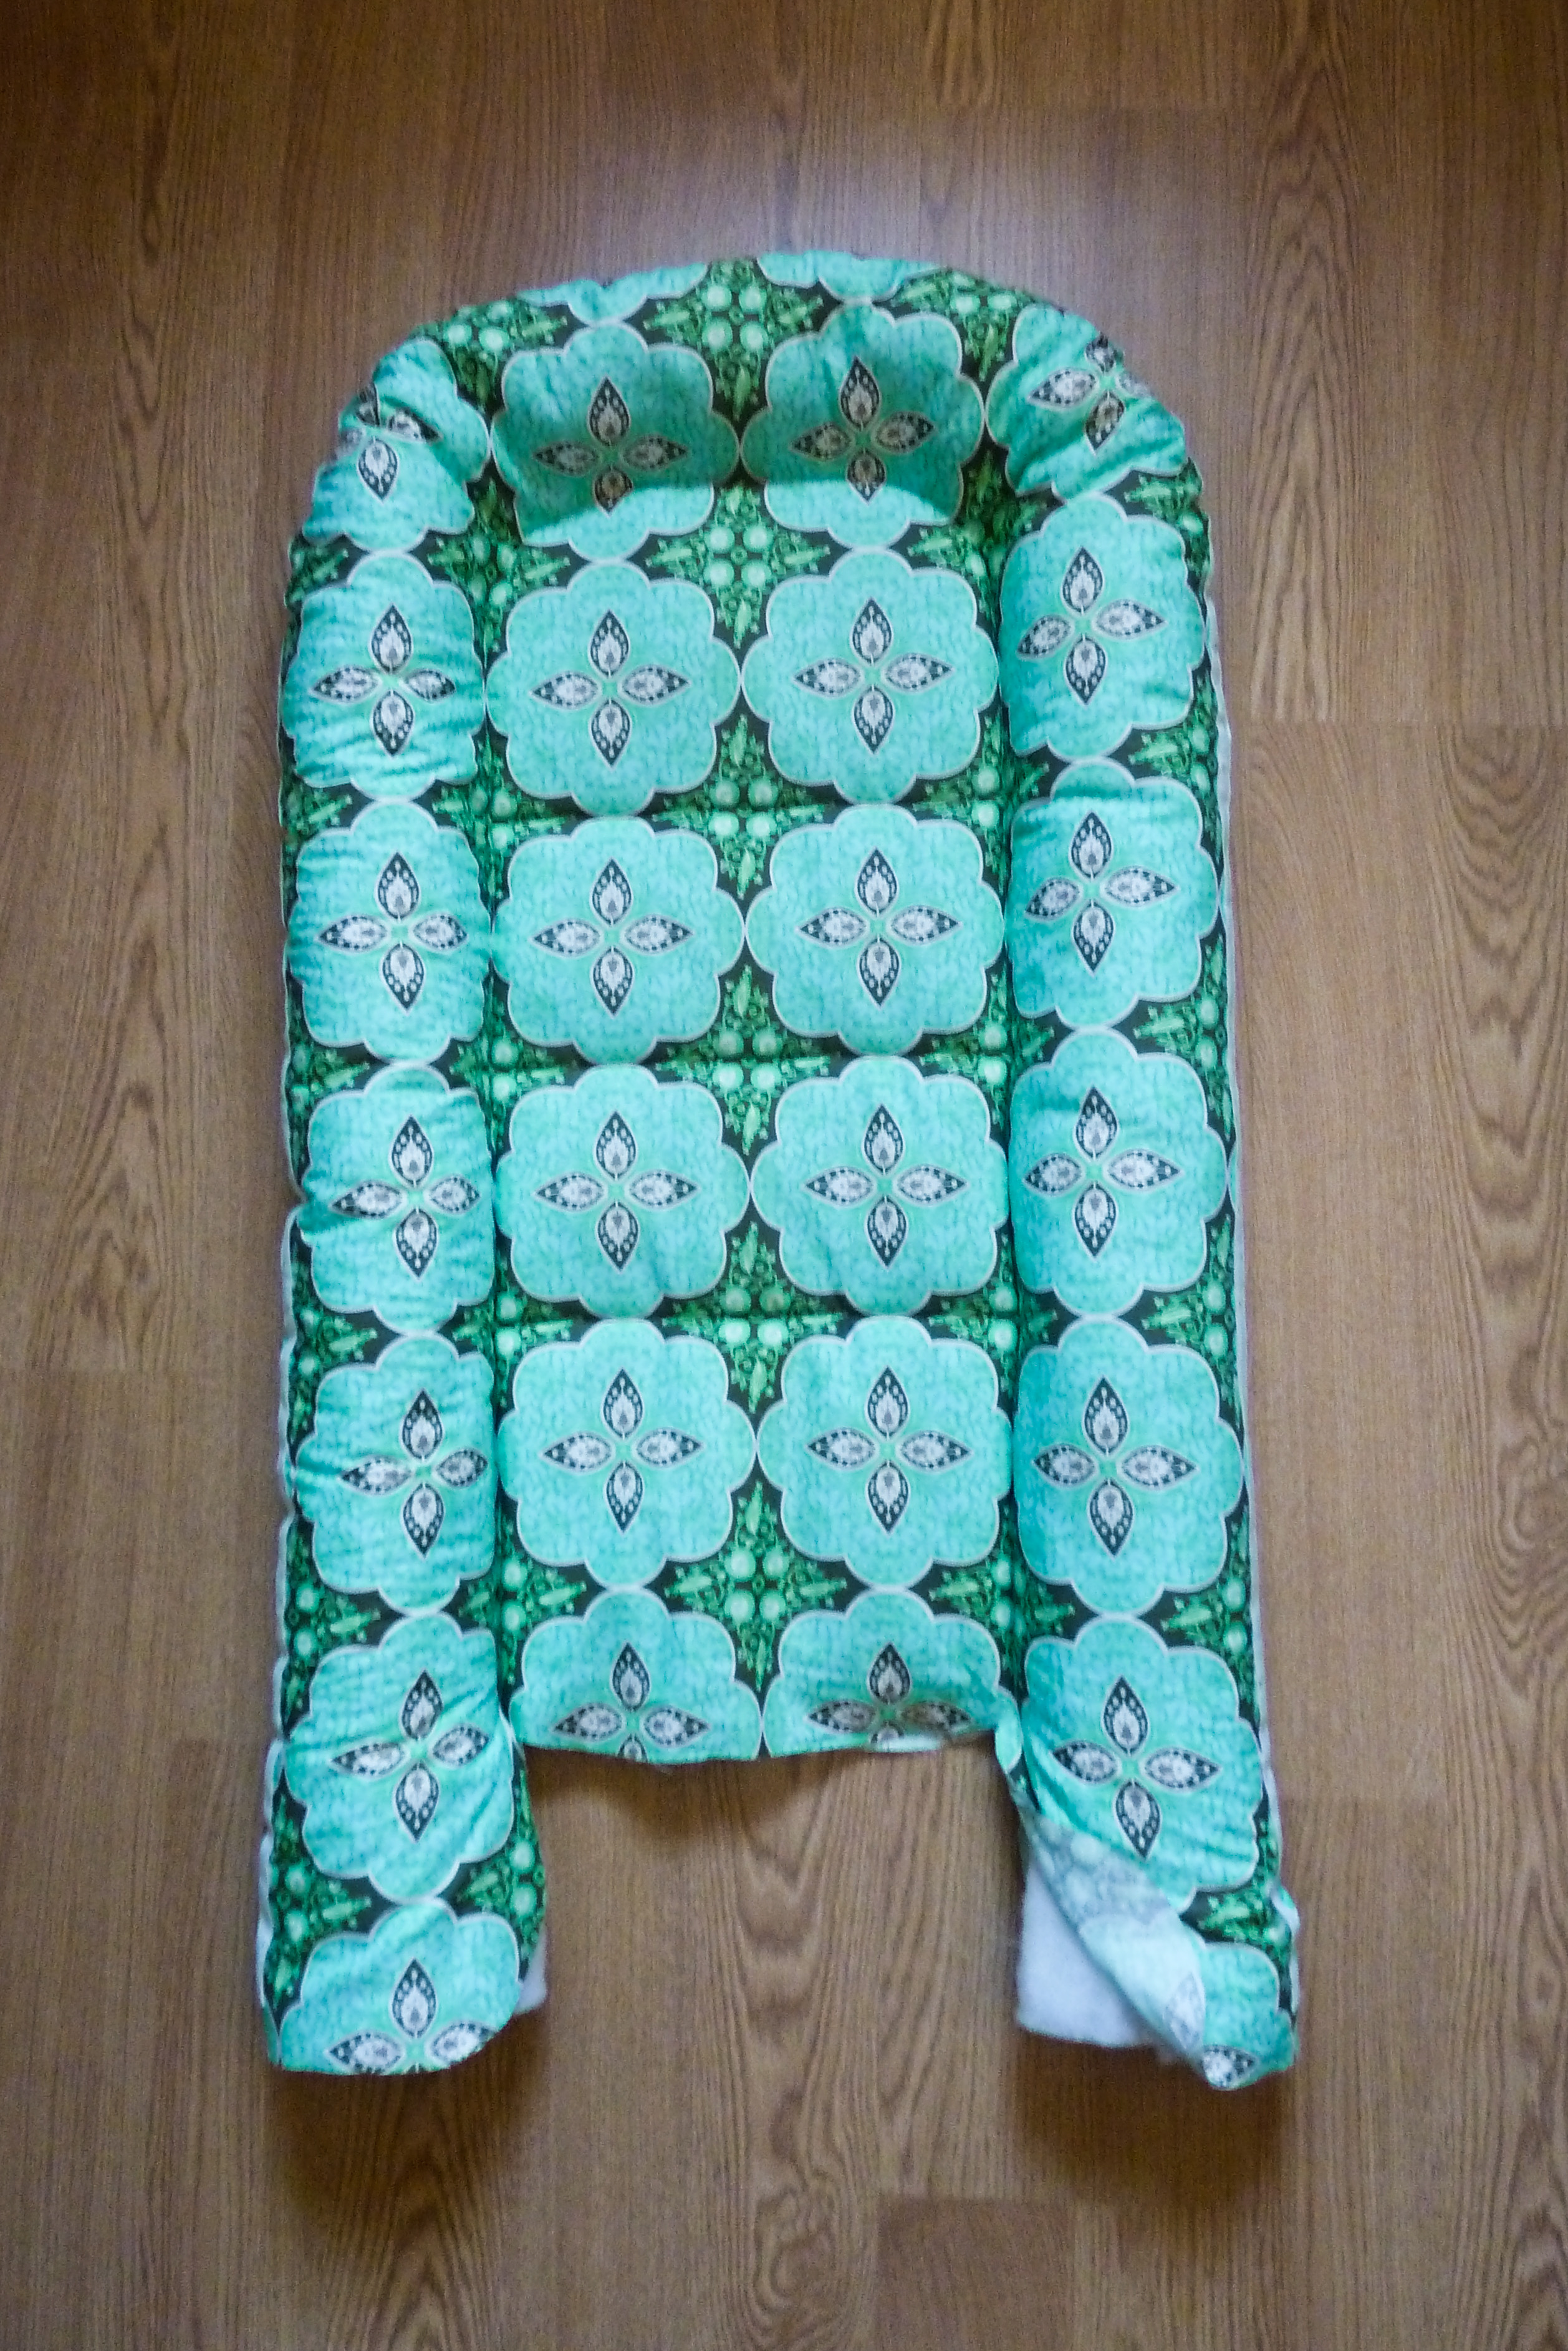
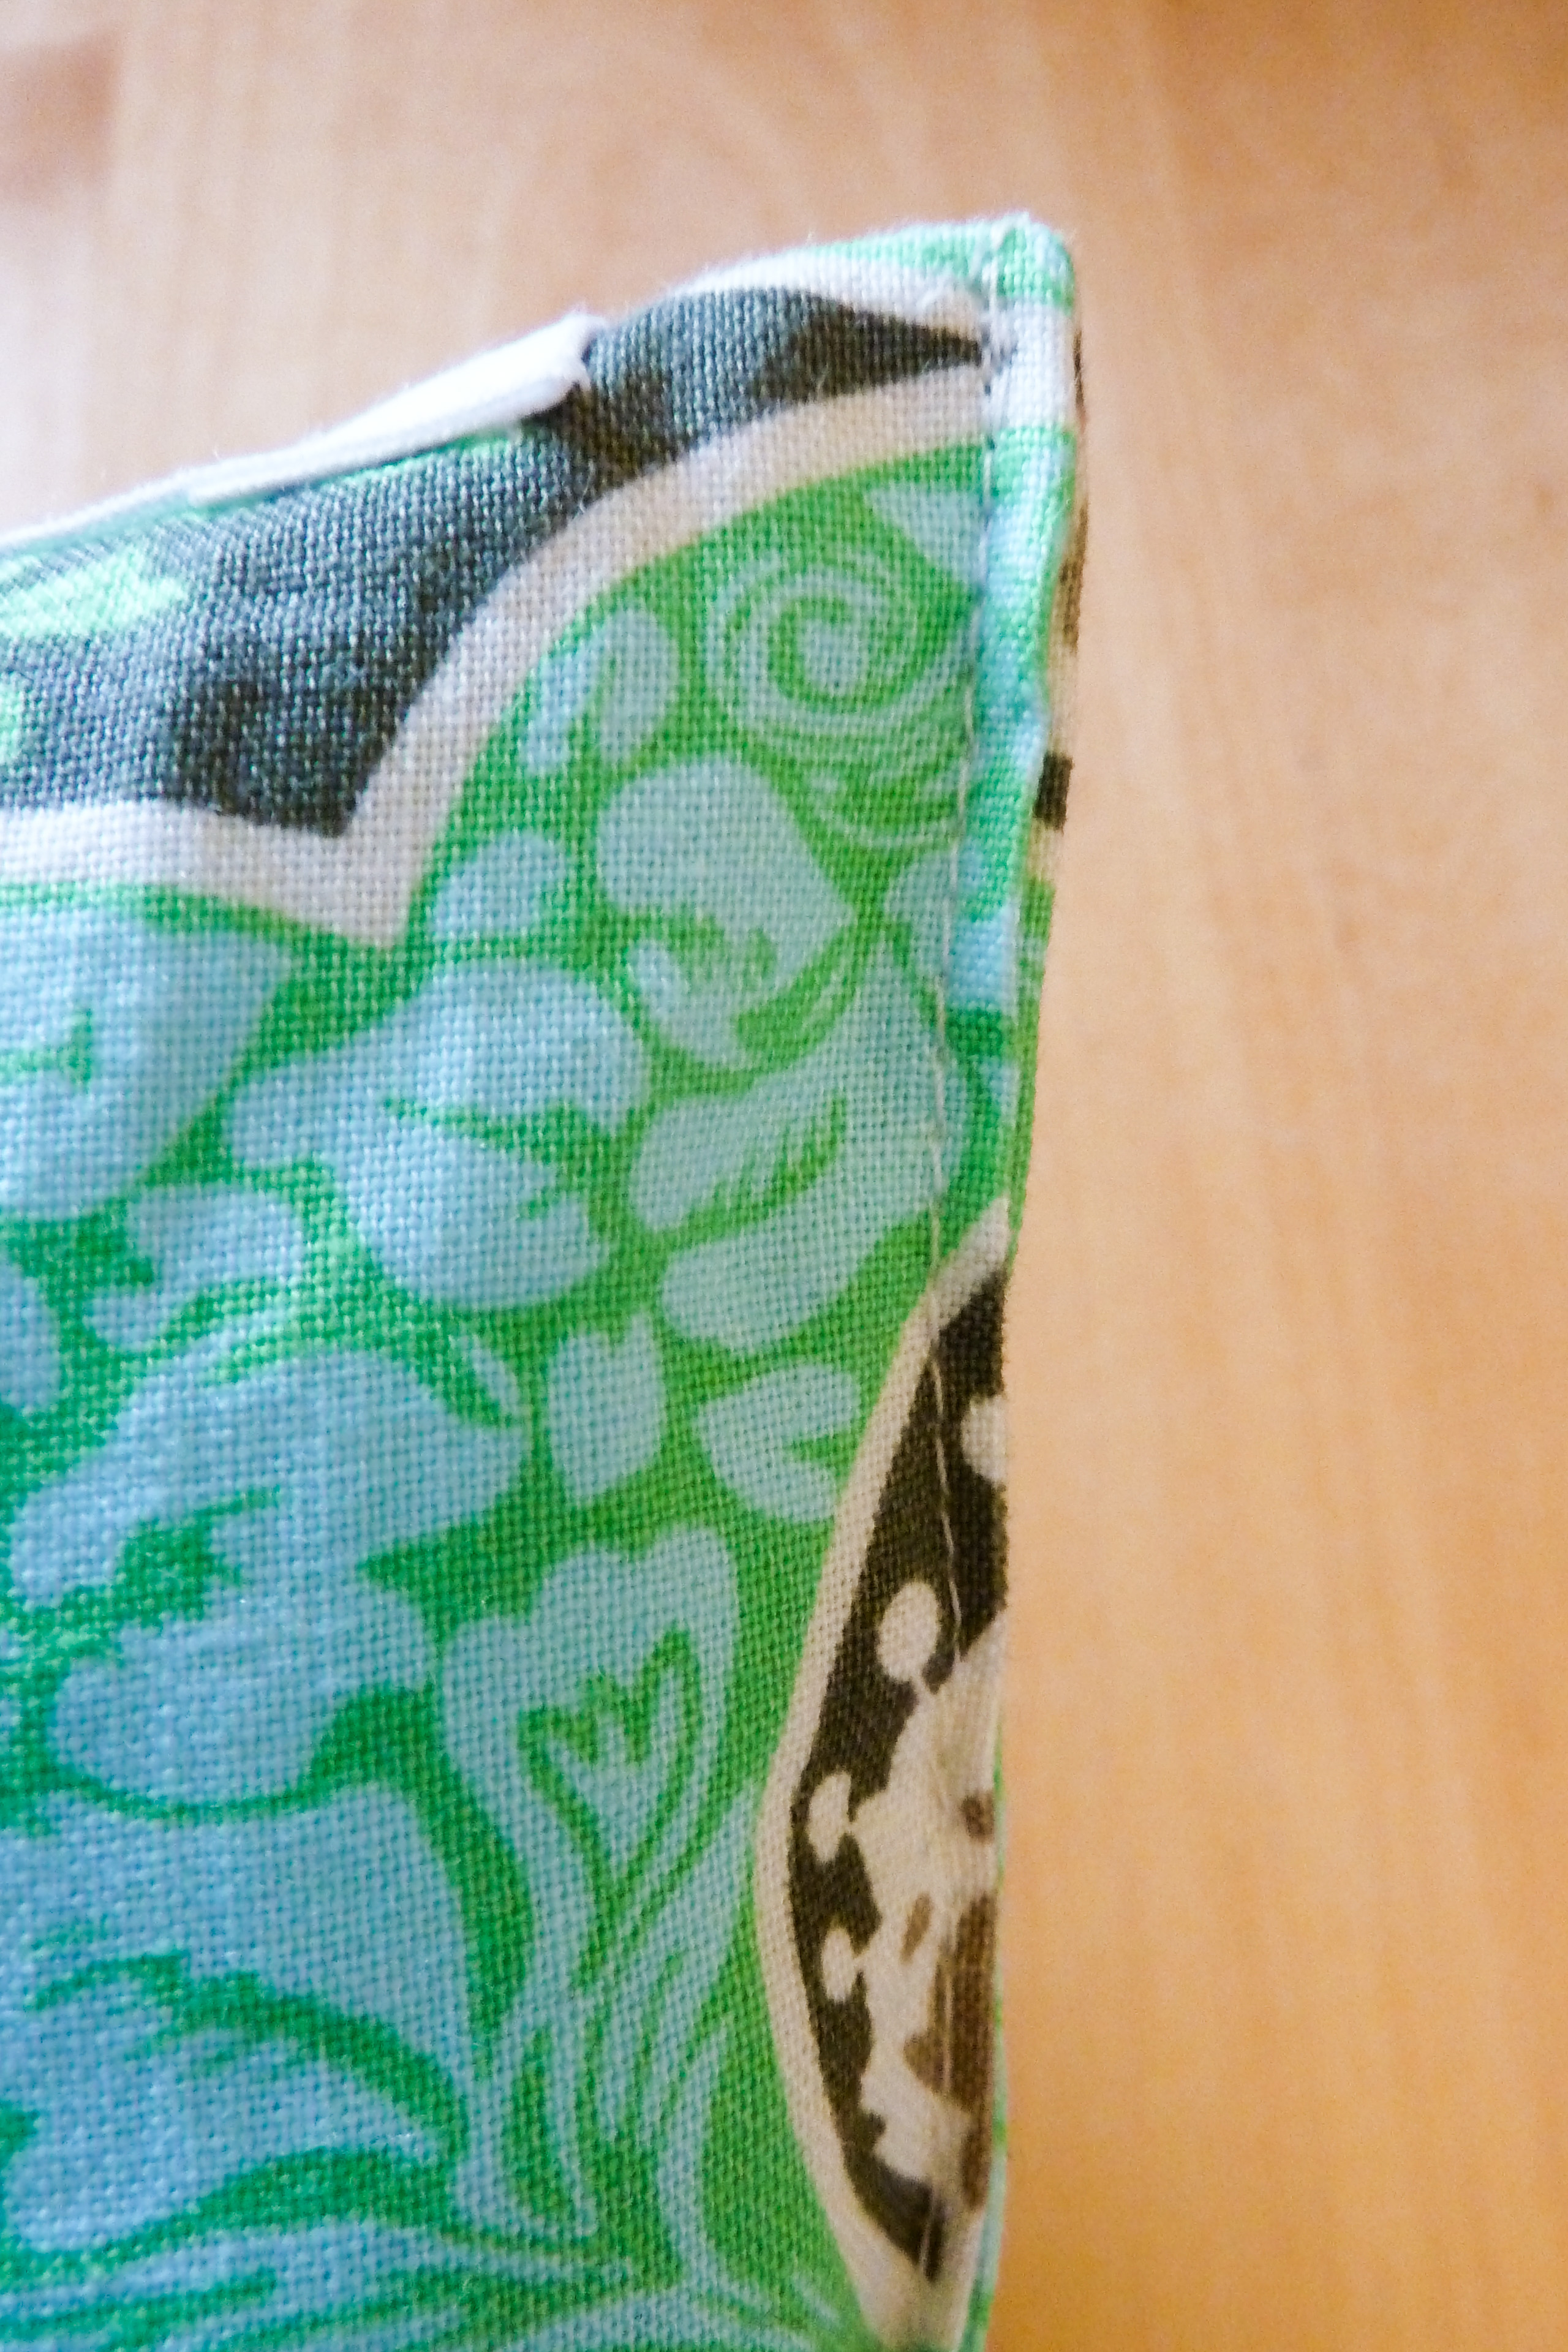
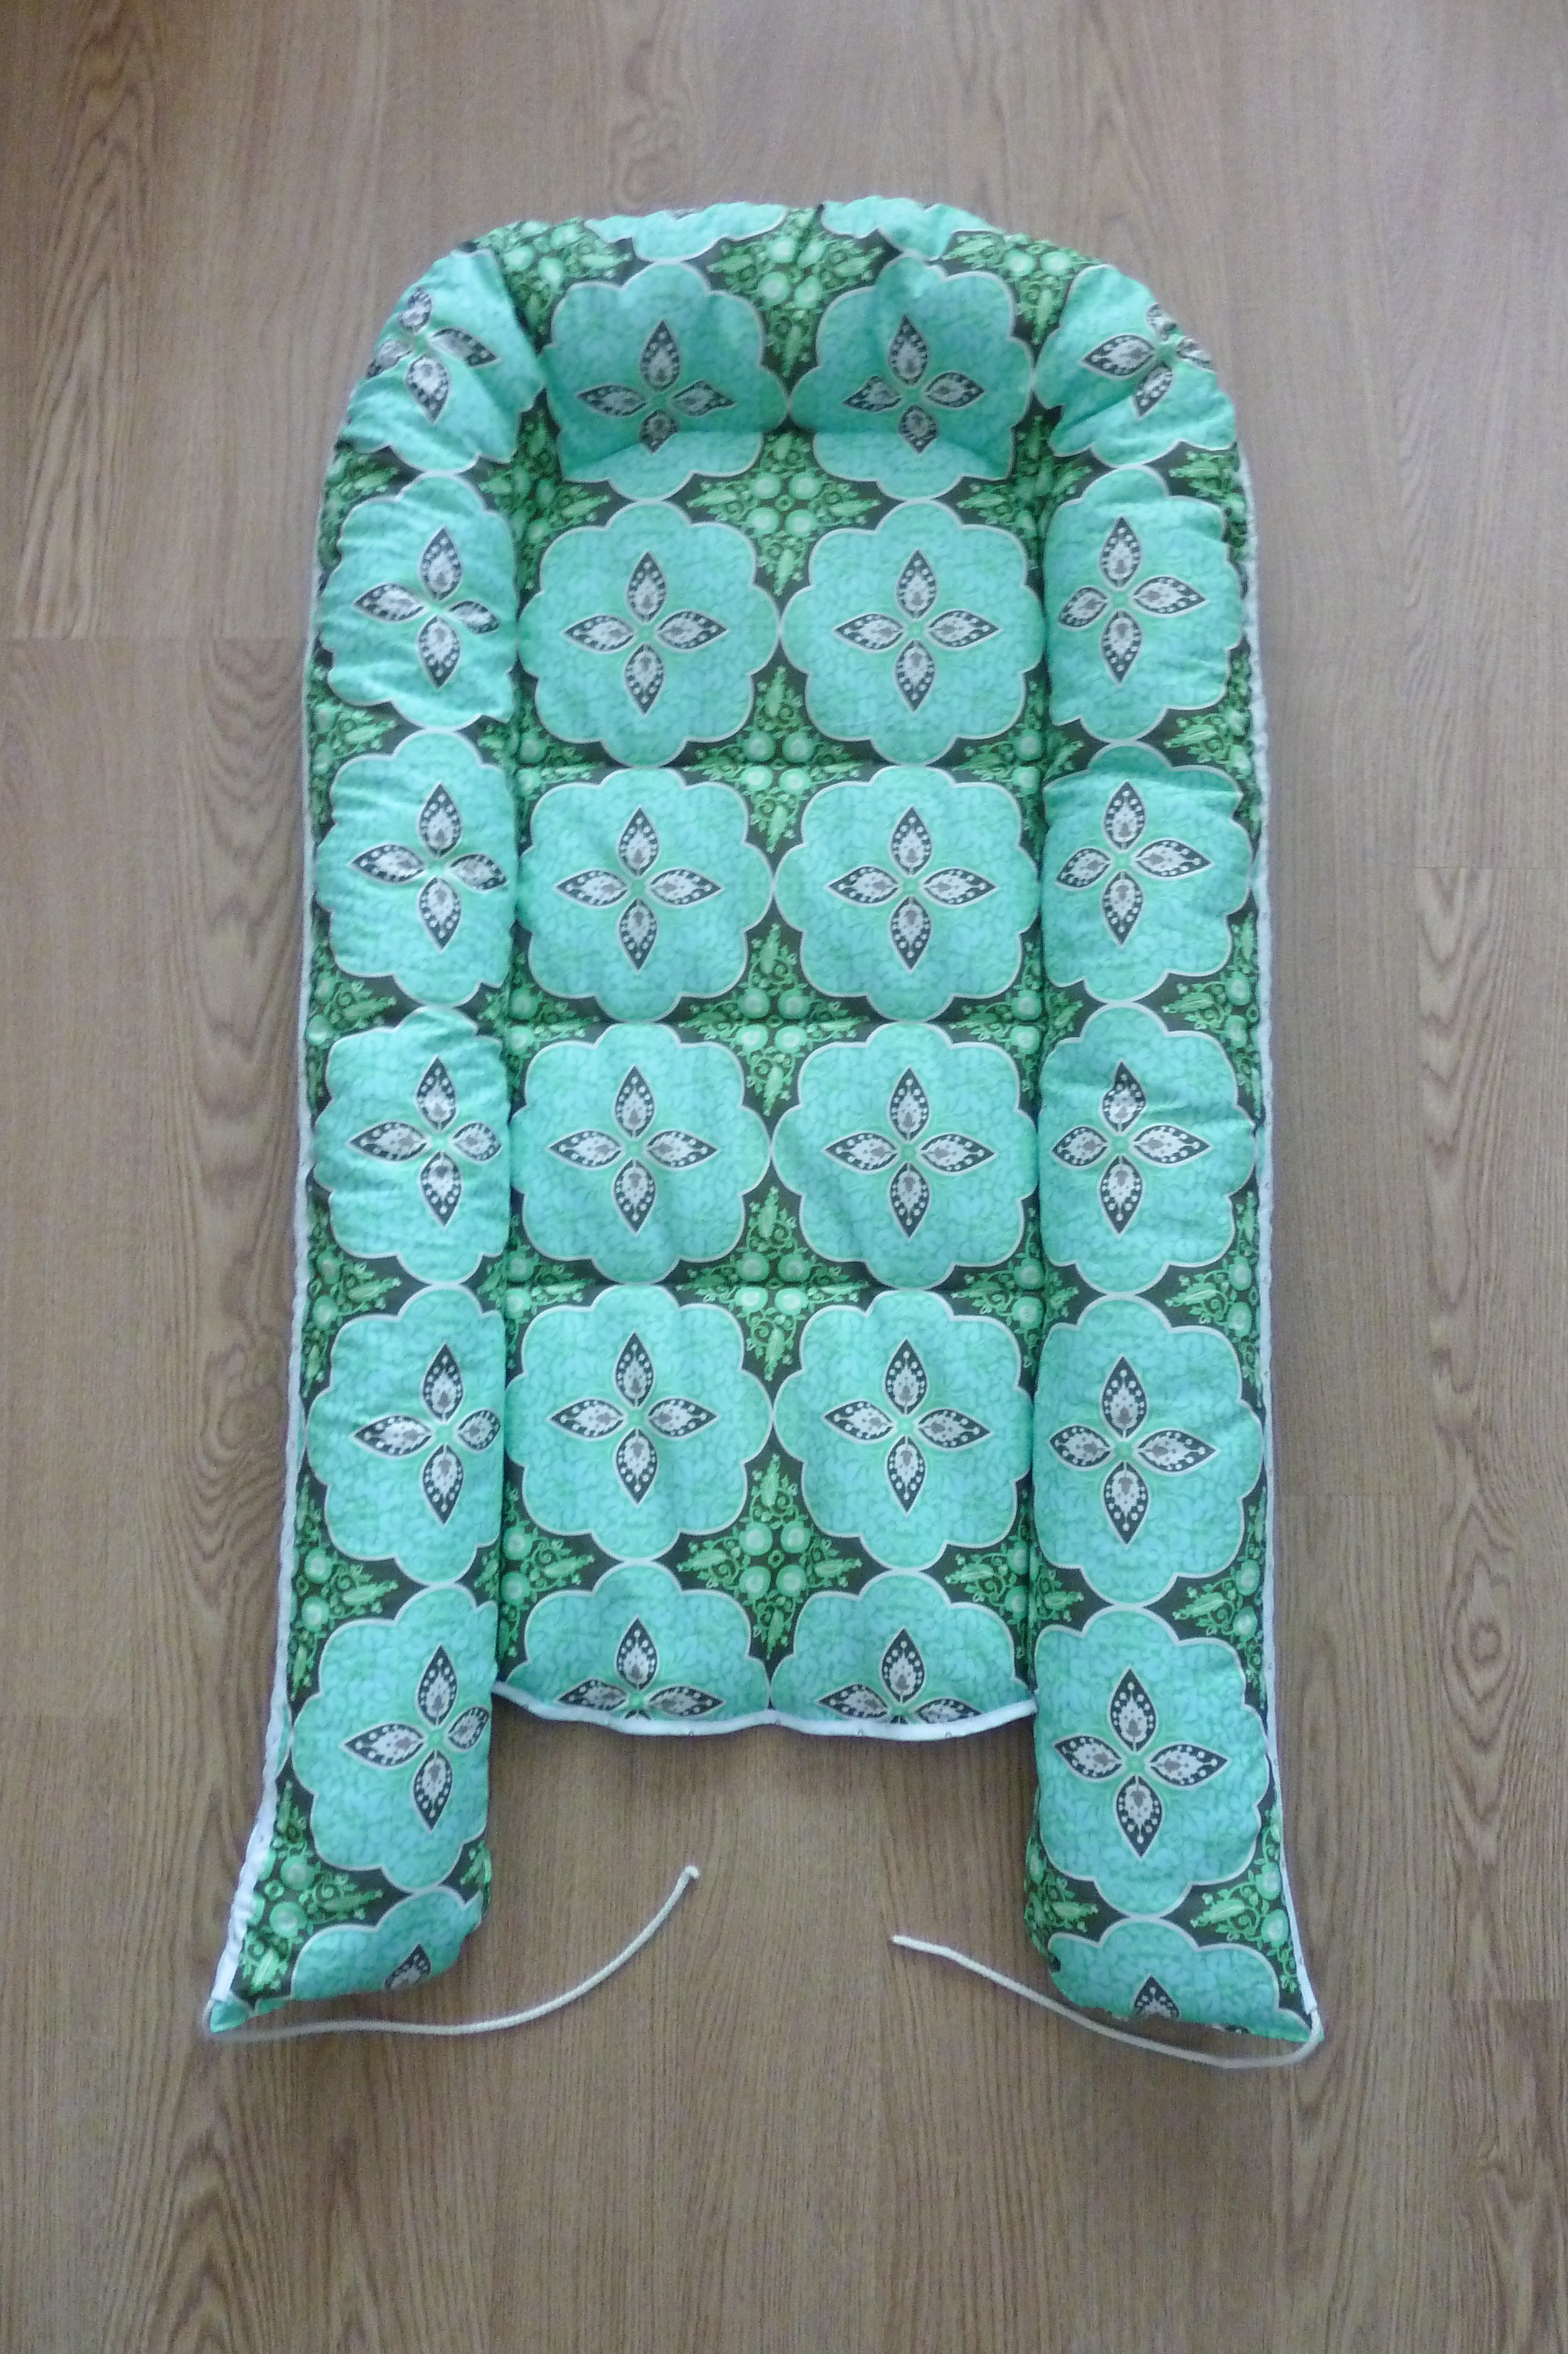
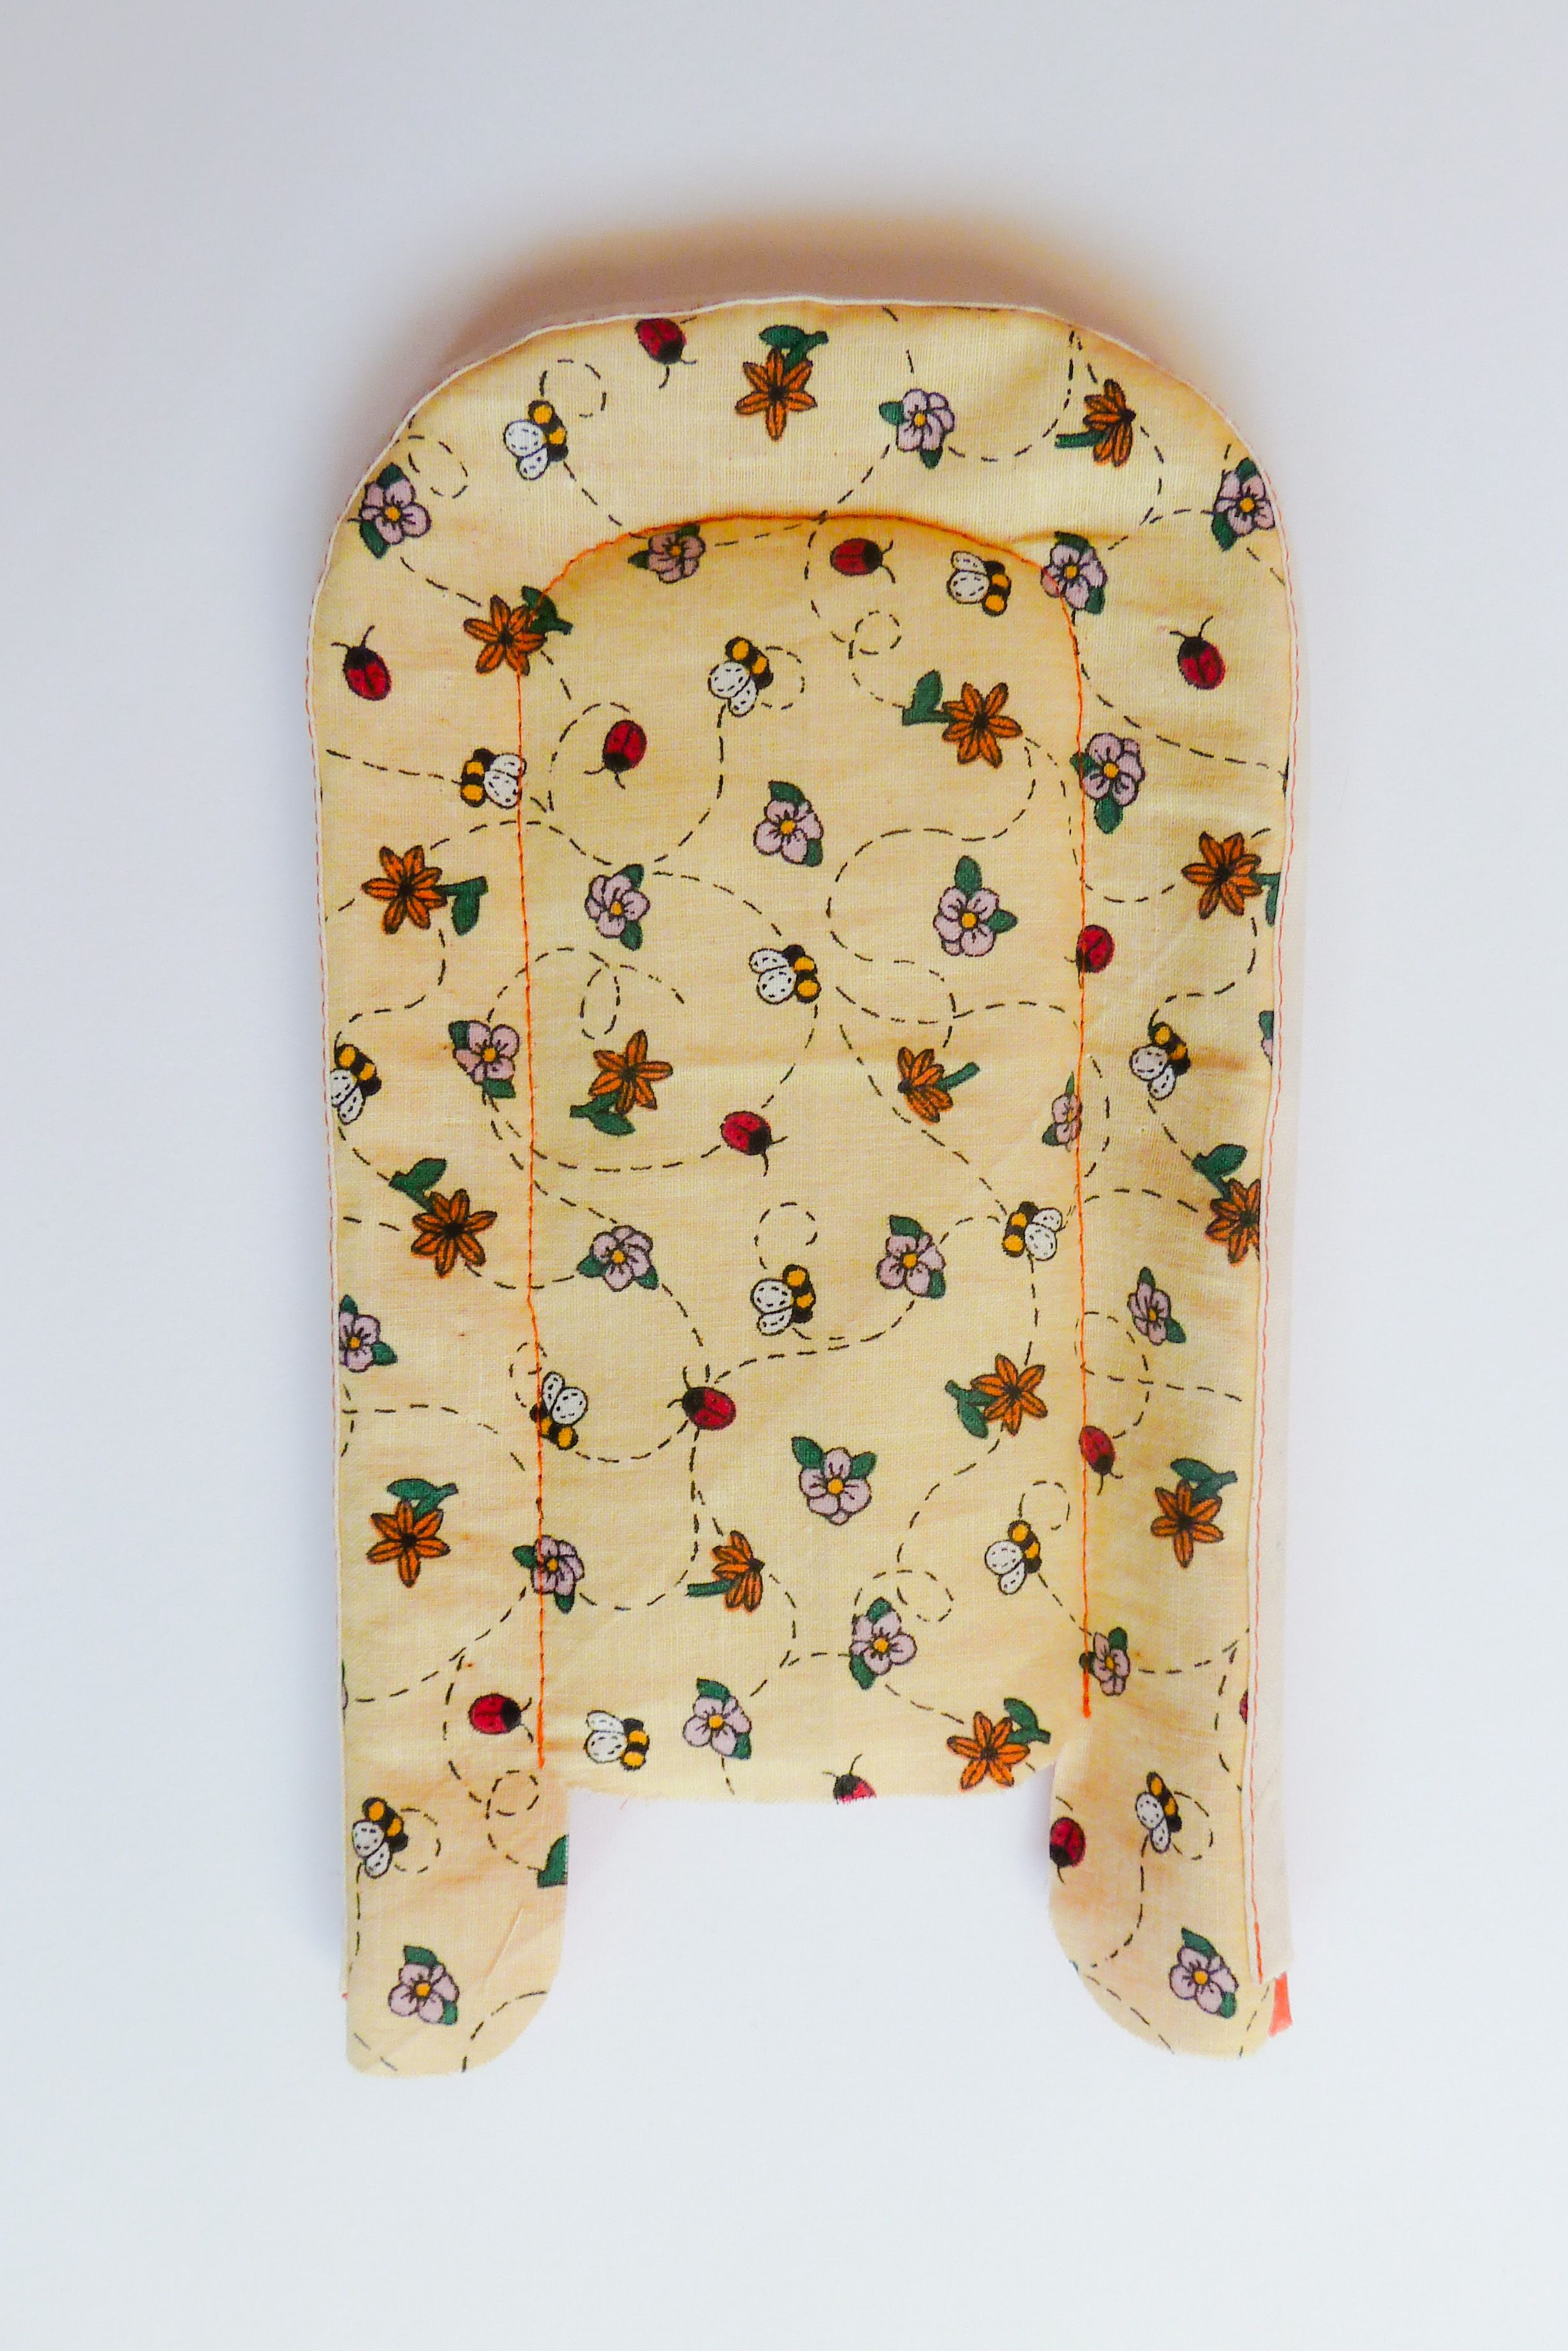
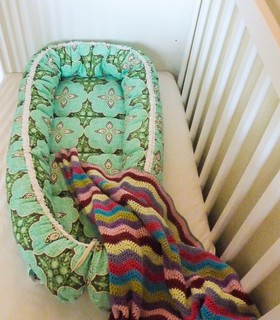
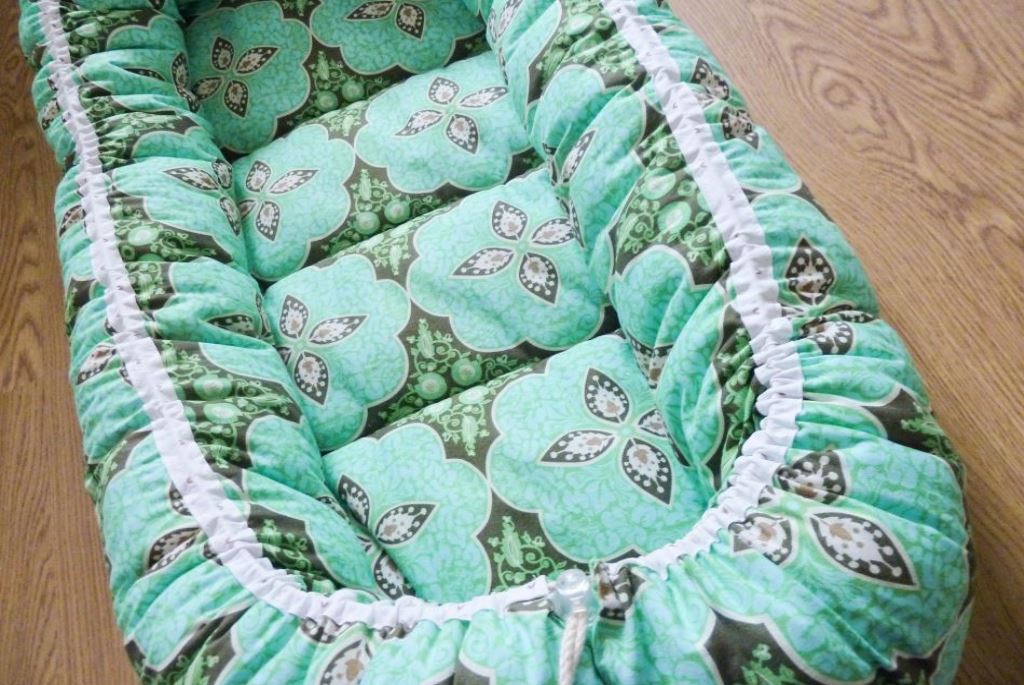
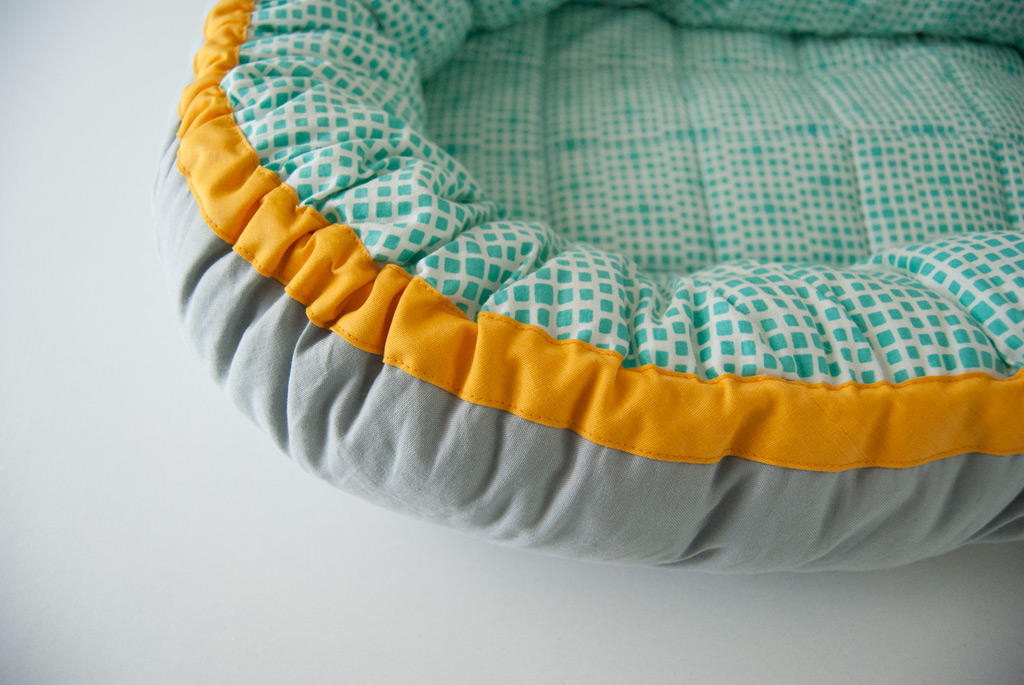
Your Scandi Baby Nest, should look something like this :)

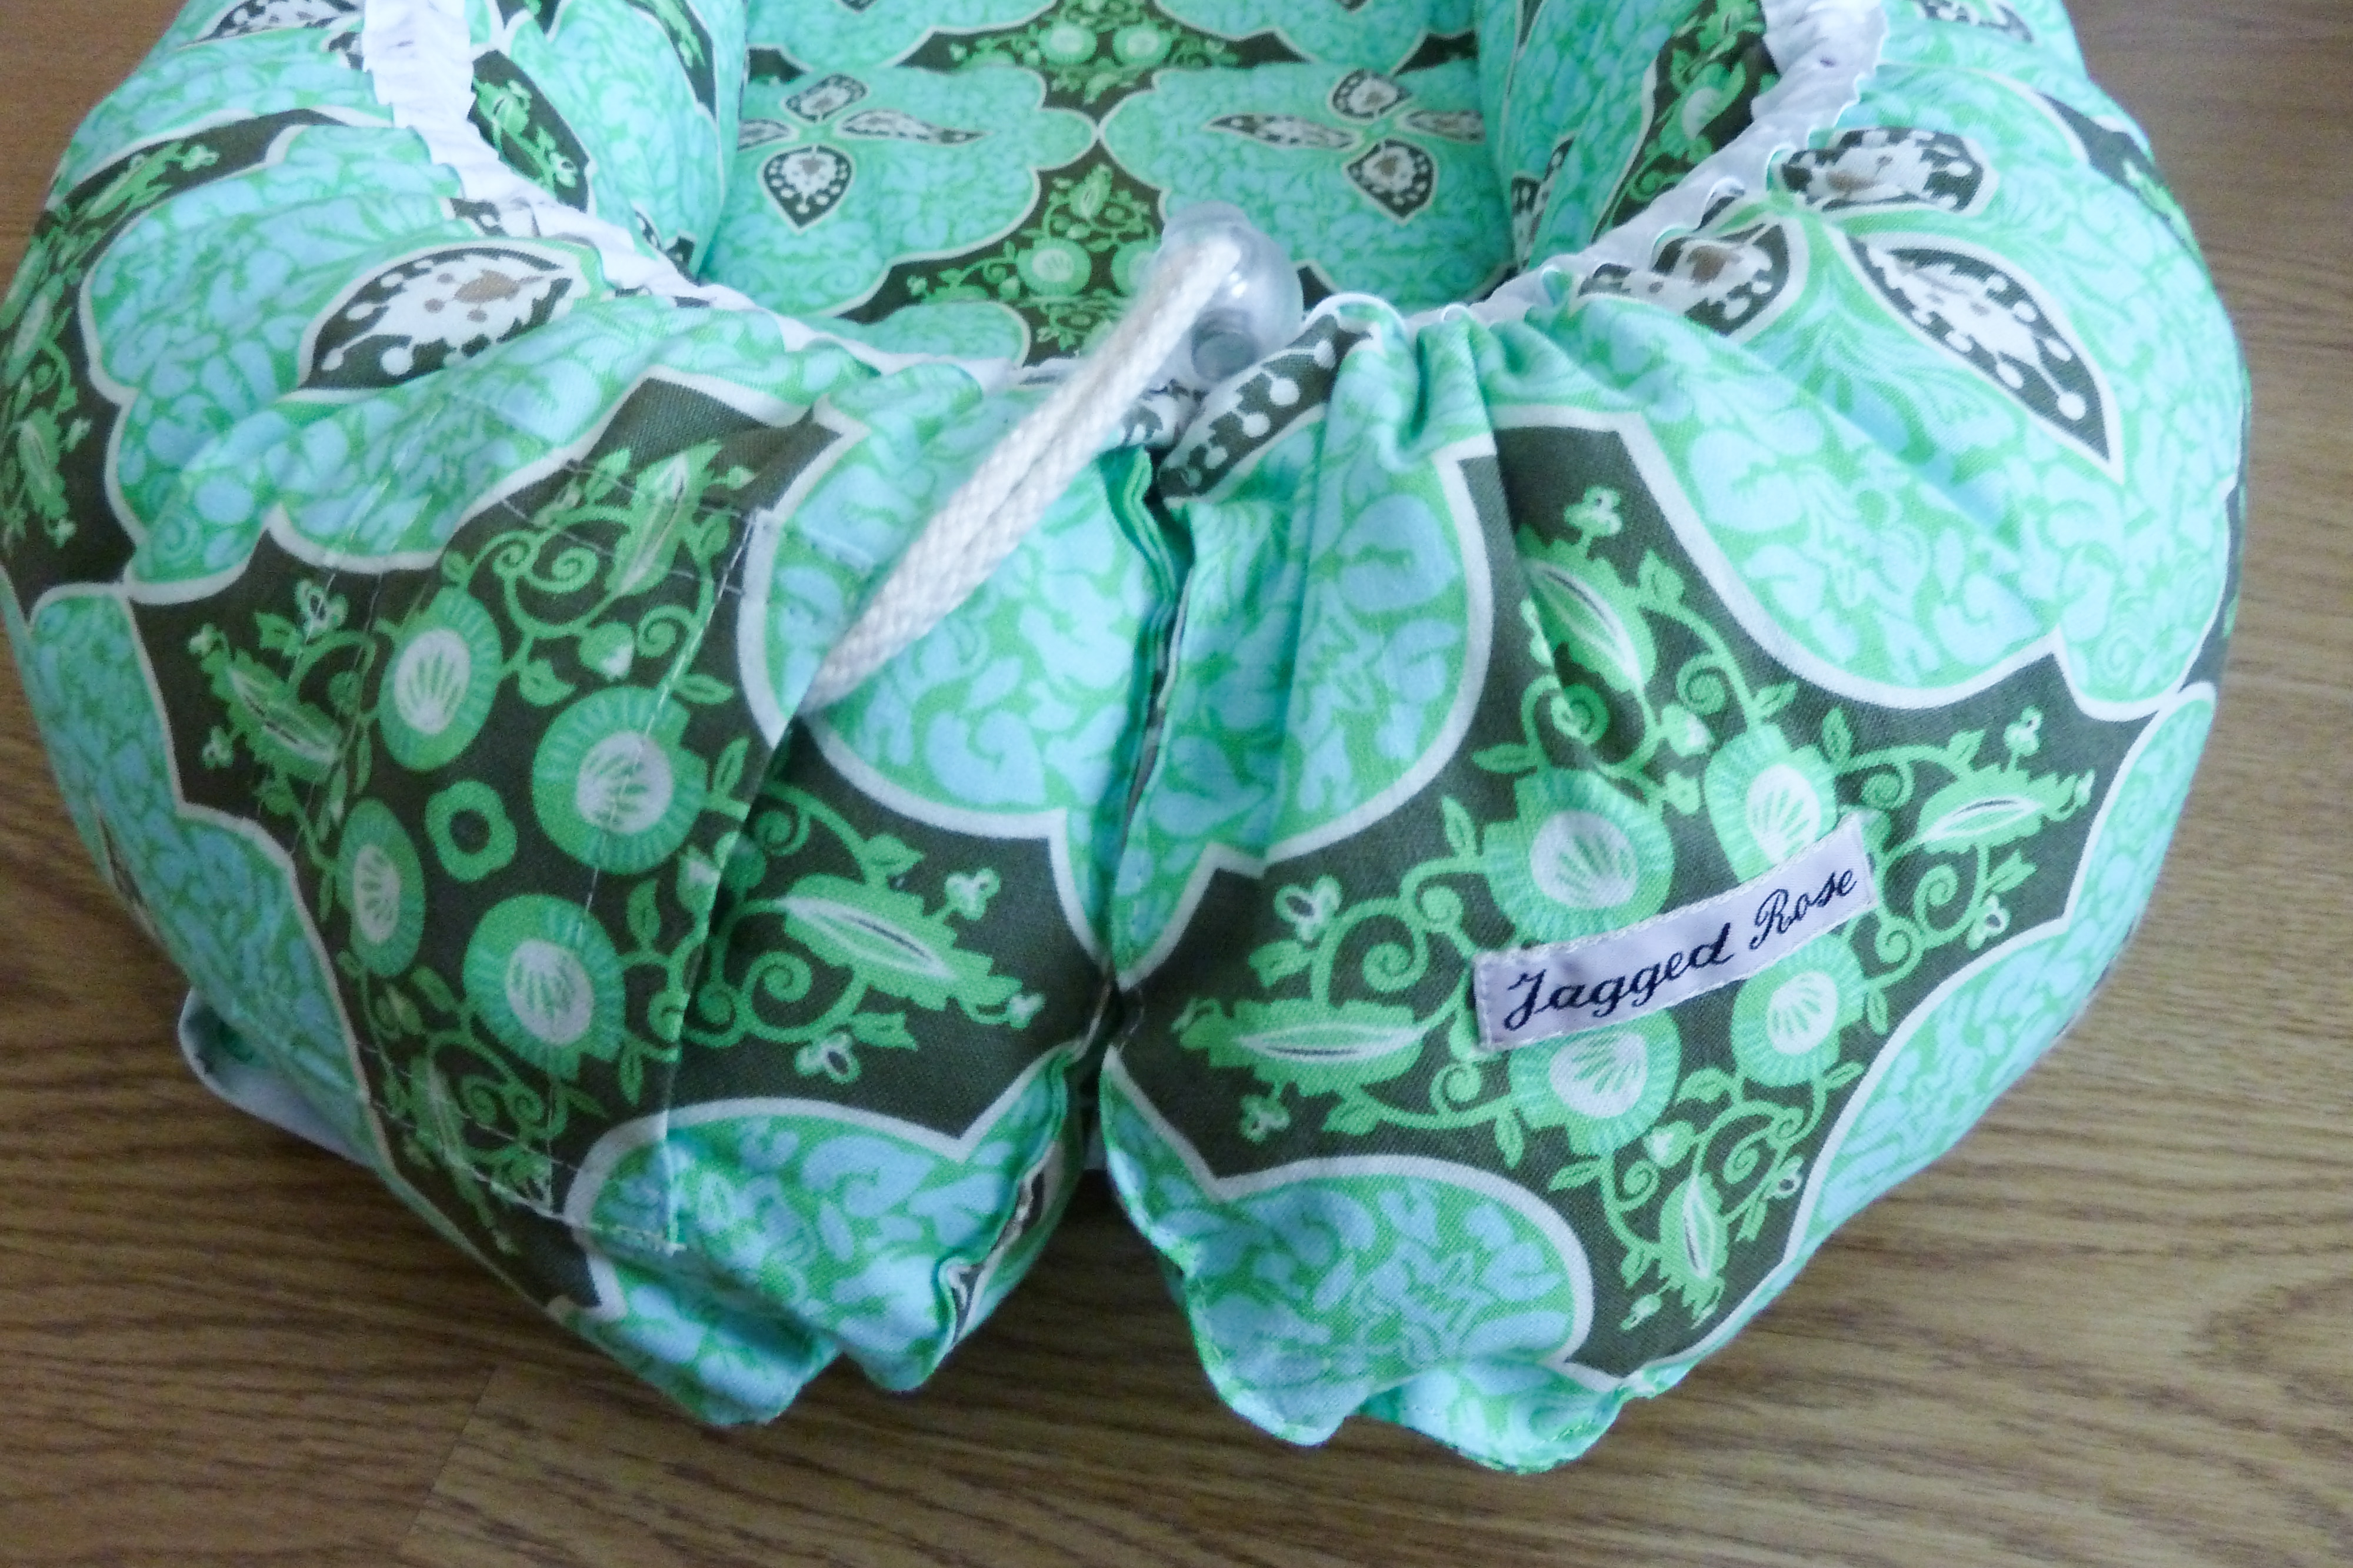
I’d love to see your finished Scandi Baby Nest, if you feel like sharing! Leave me a comment or if you’re on Instagram use #scandibabynest or tag me @jaggedrose :)
If you missed the first part of the Sew-along you can find it here.
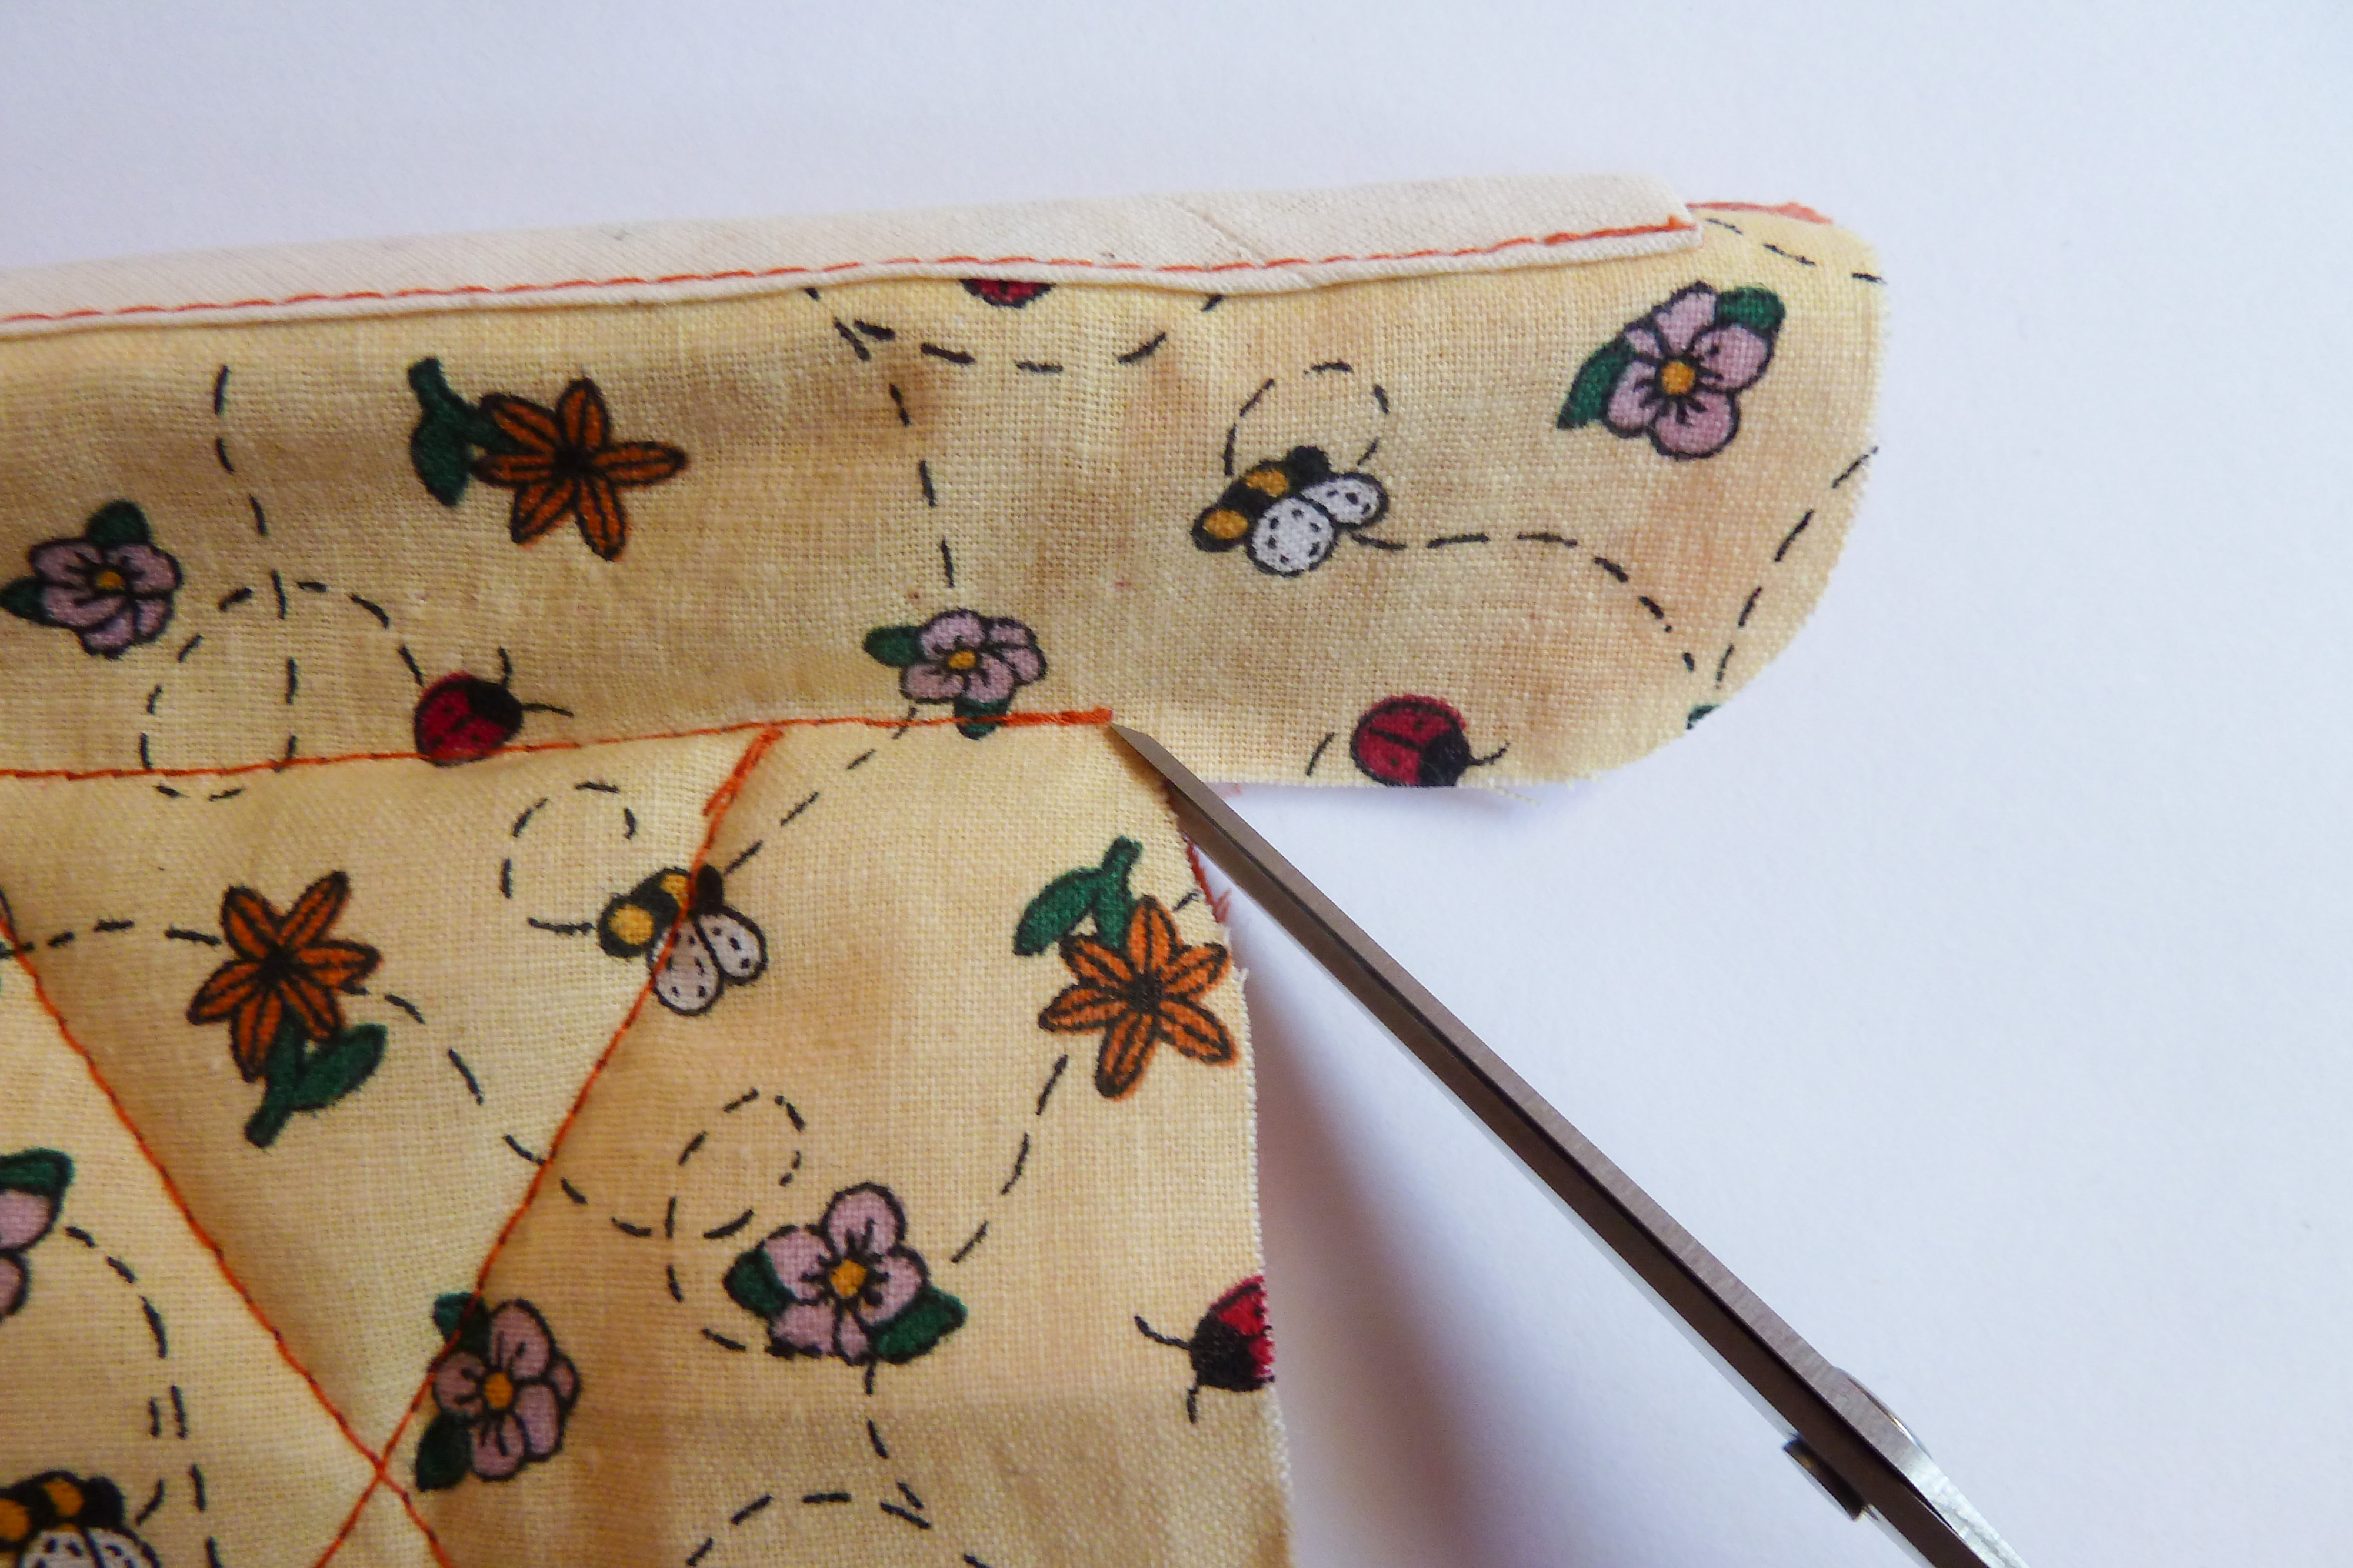
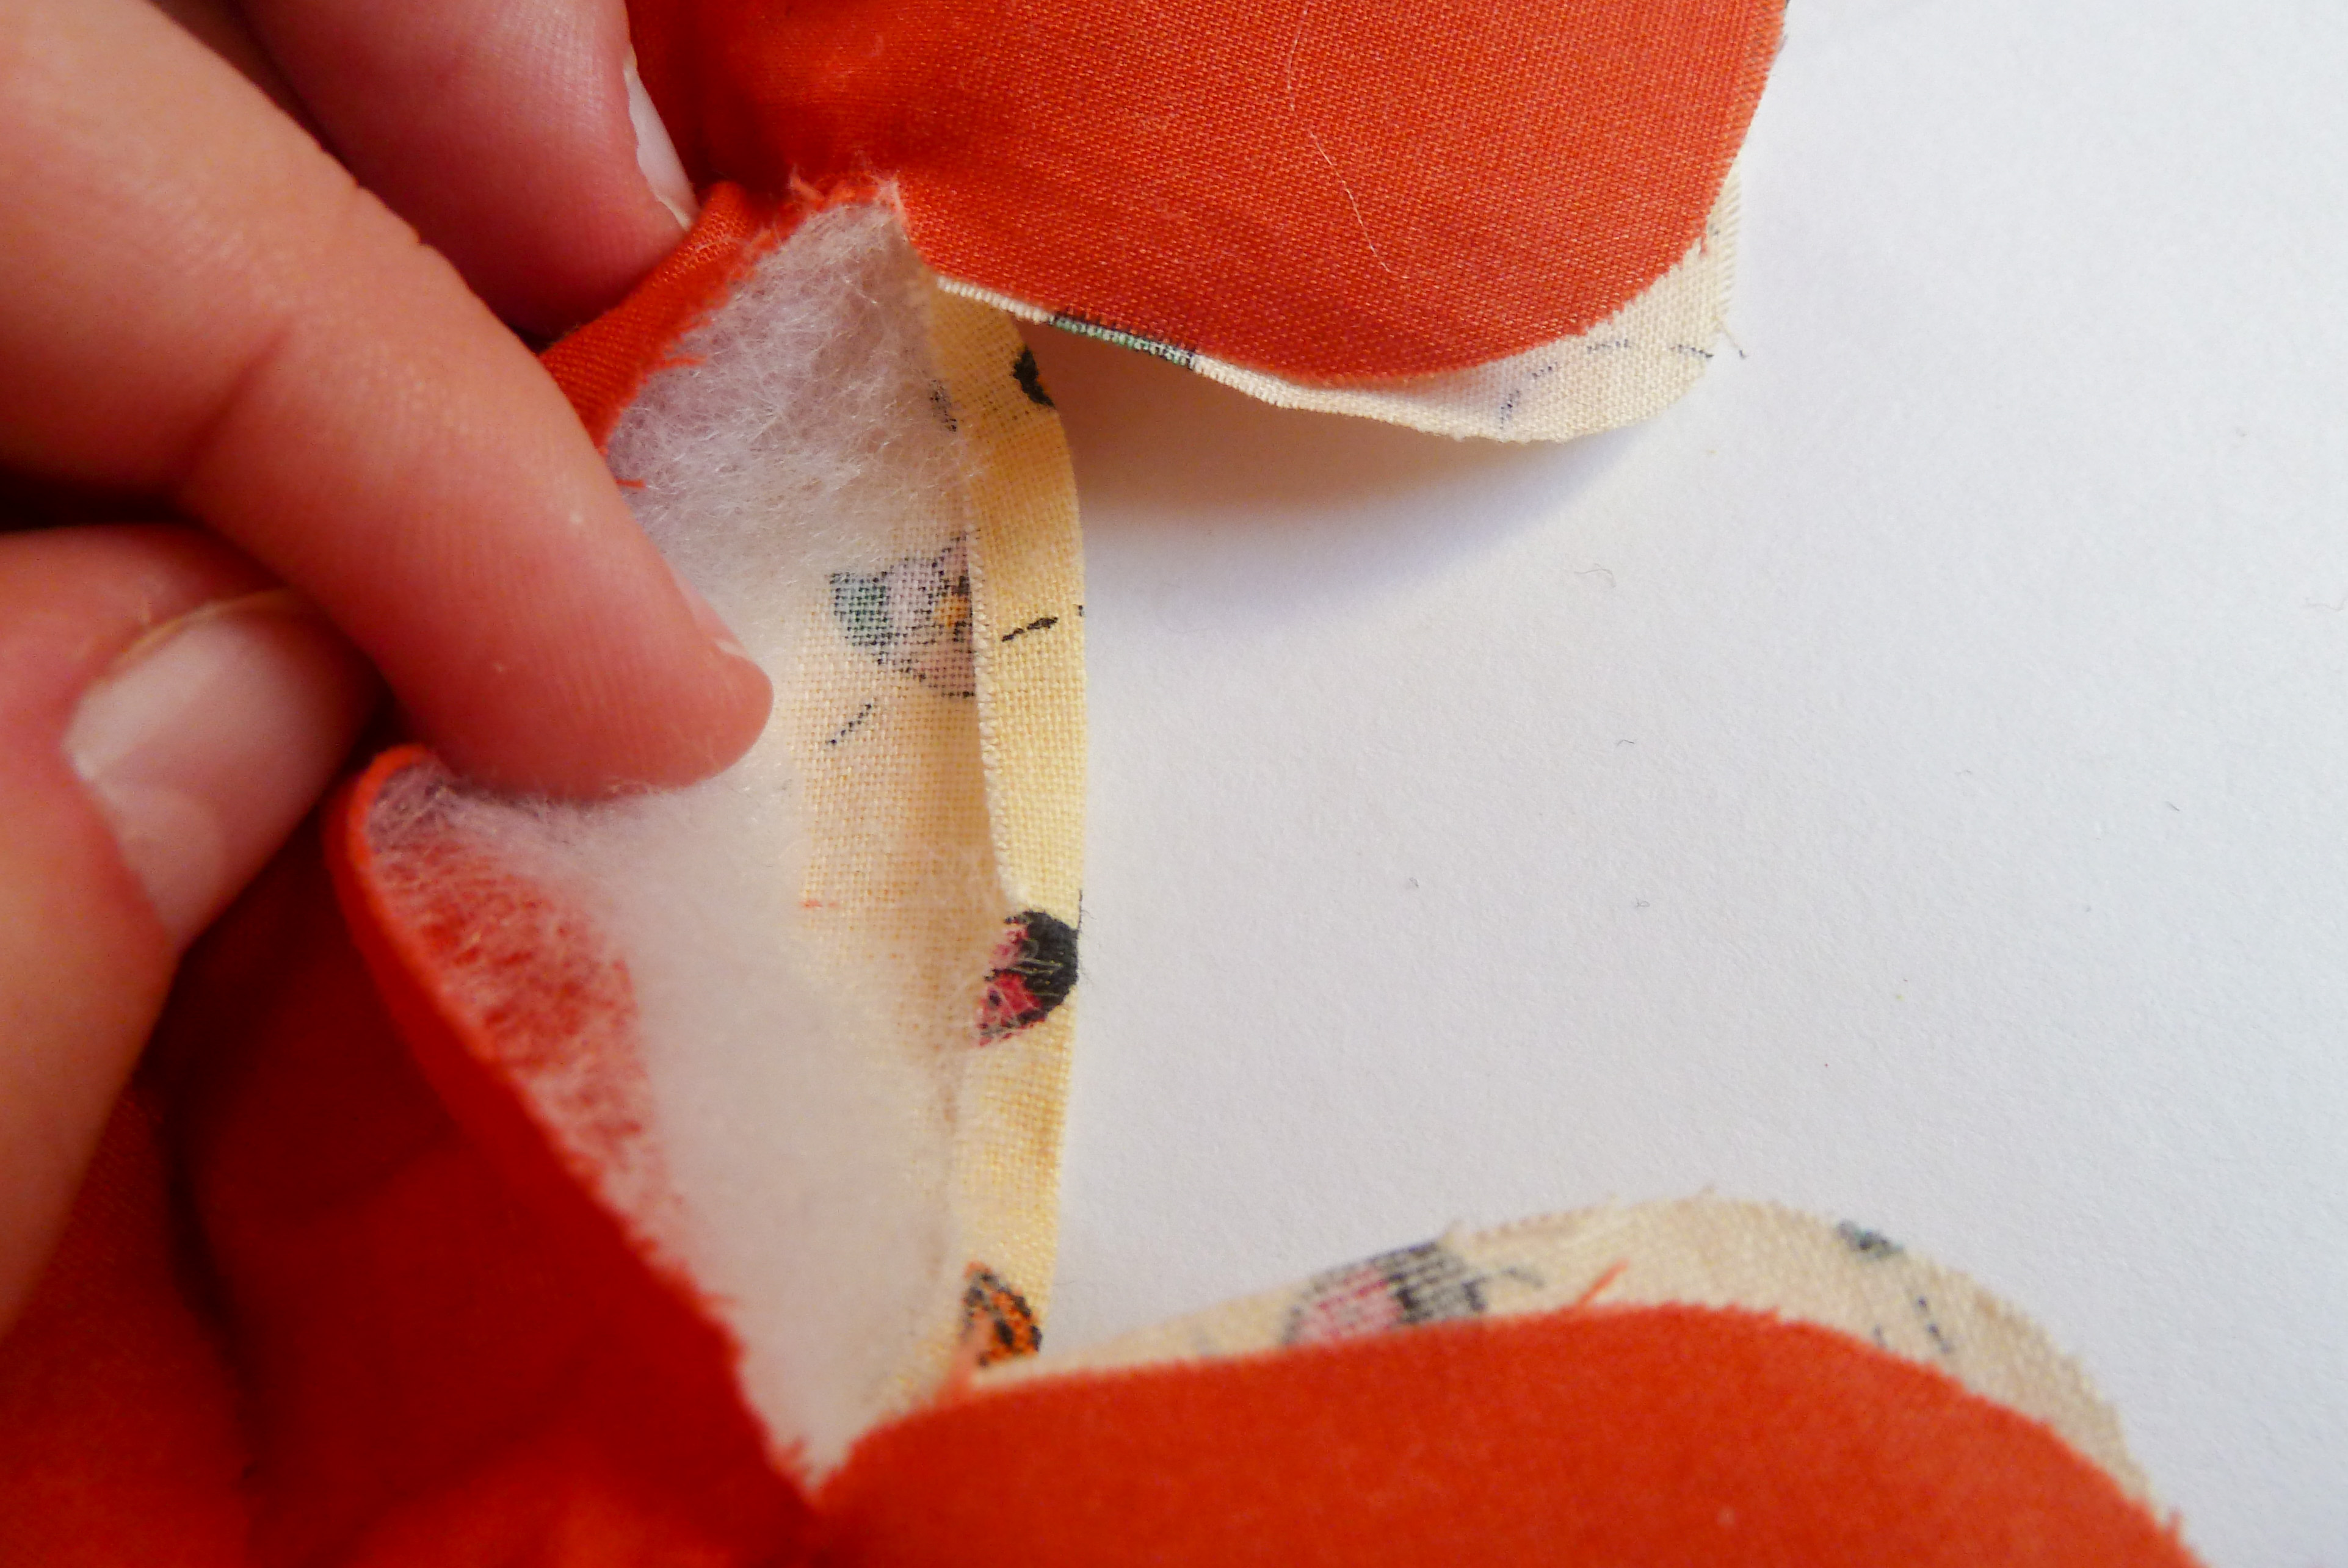
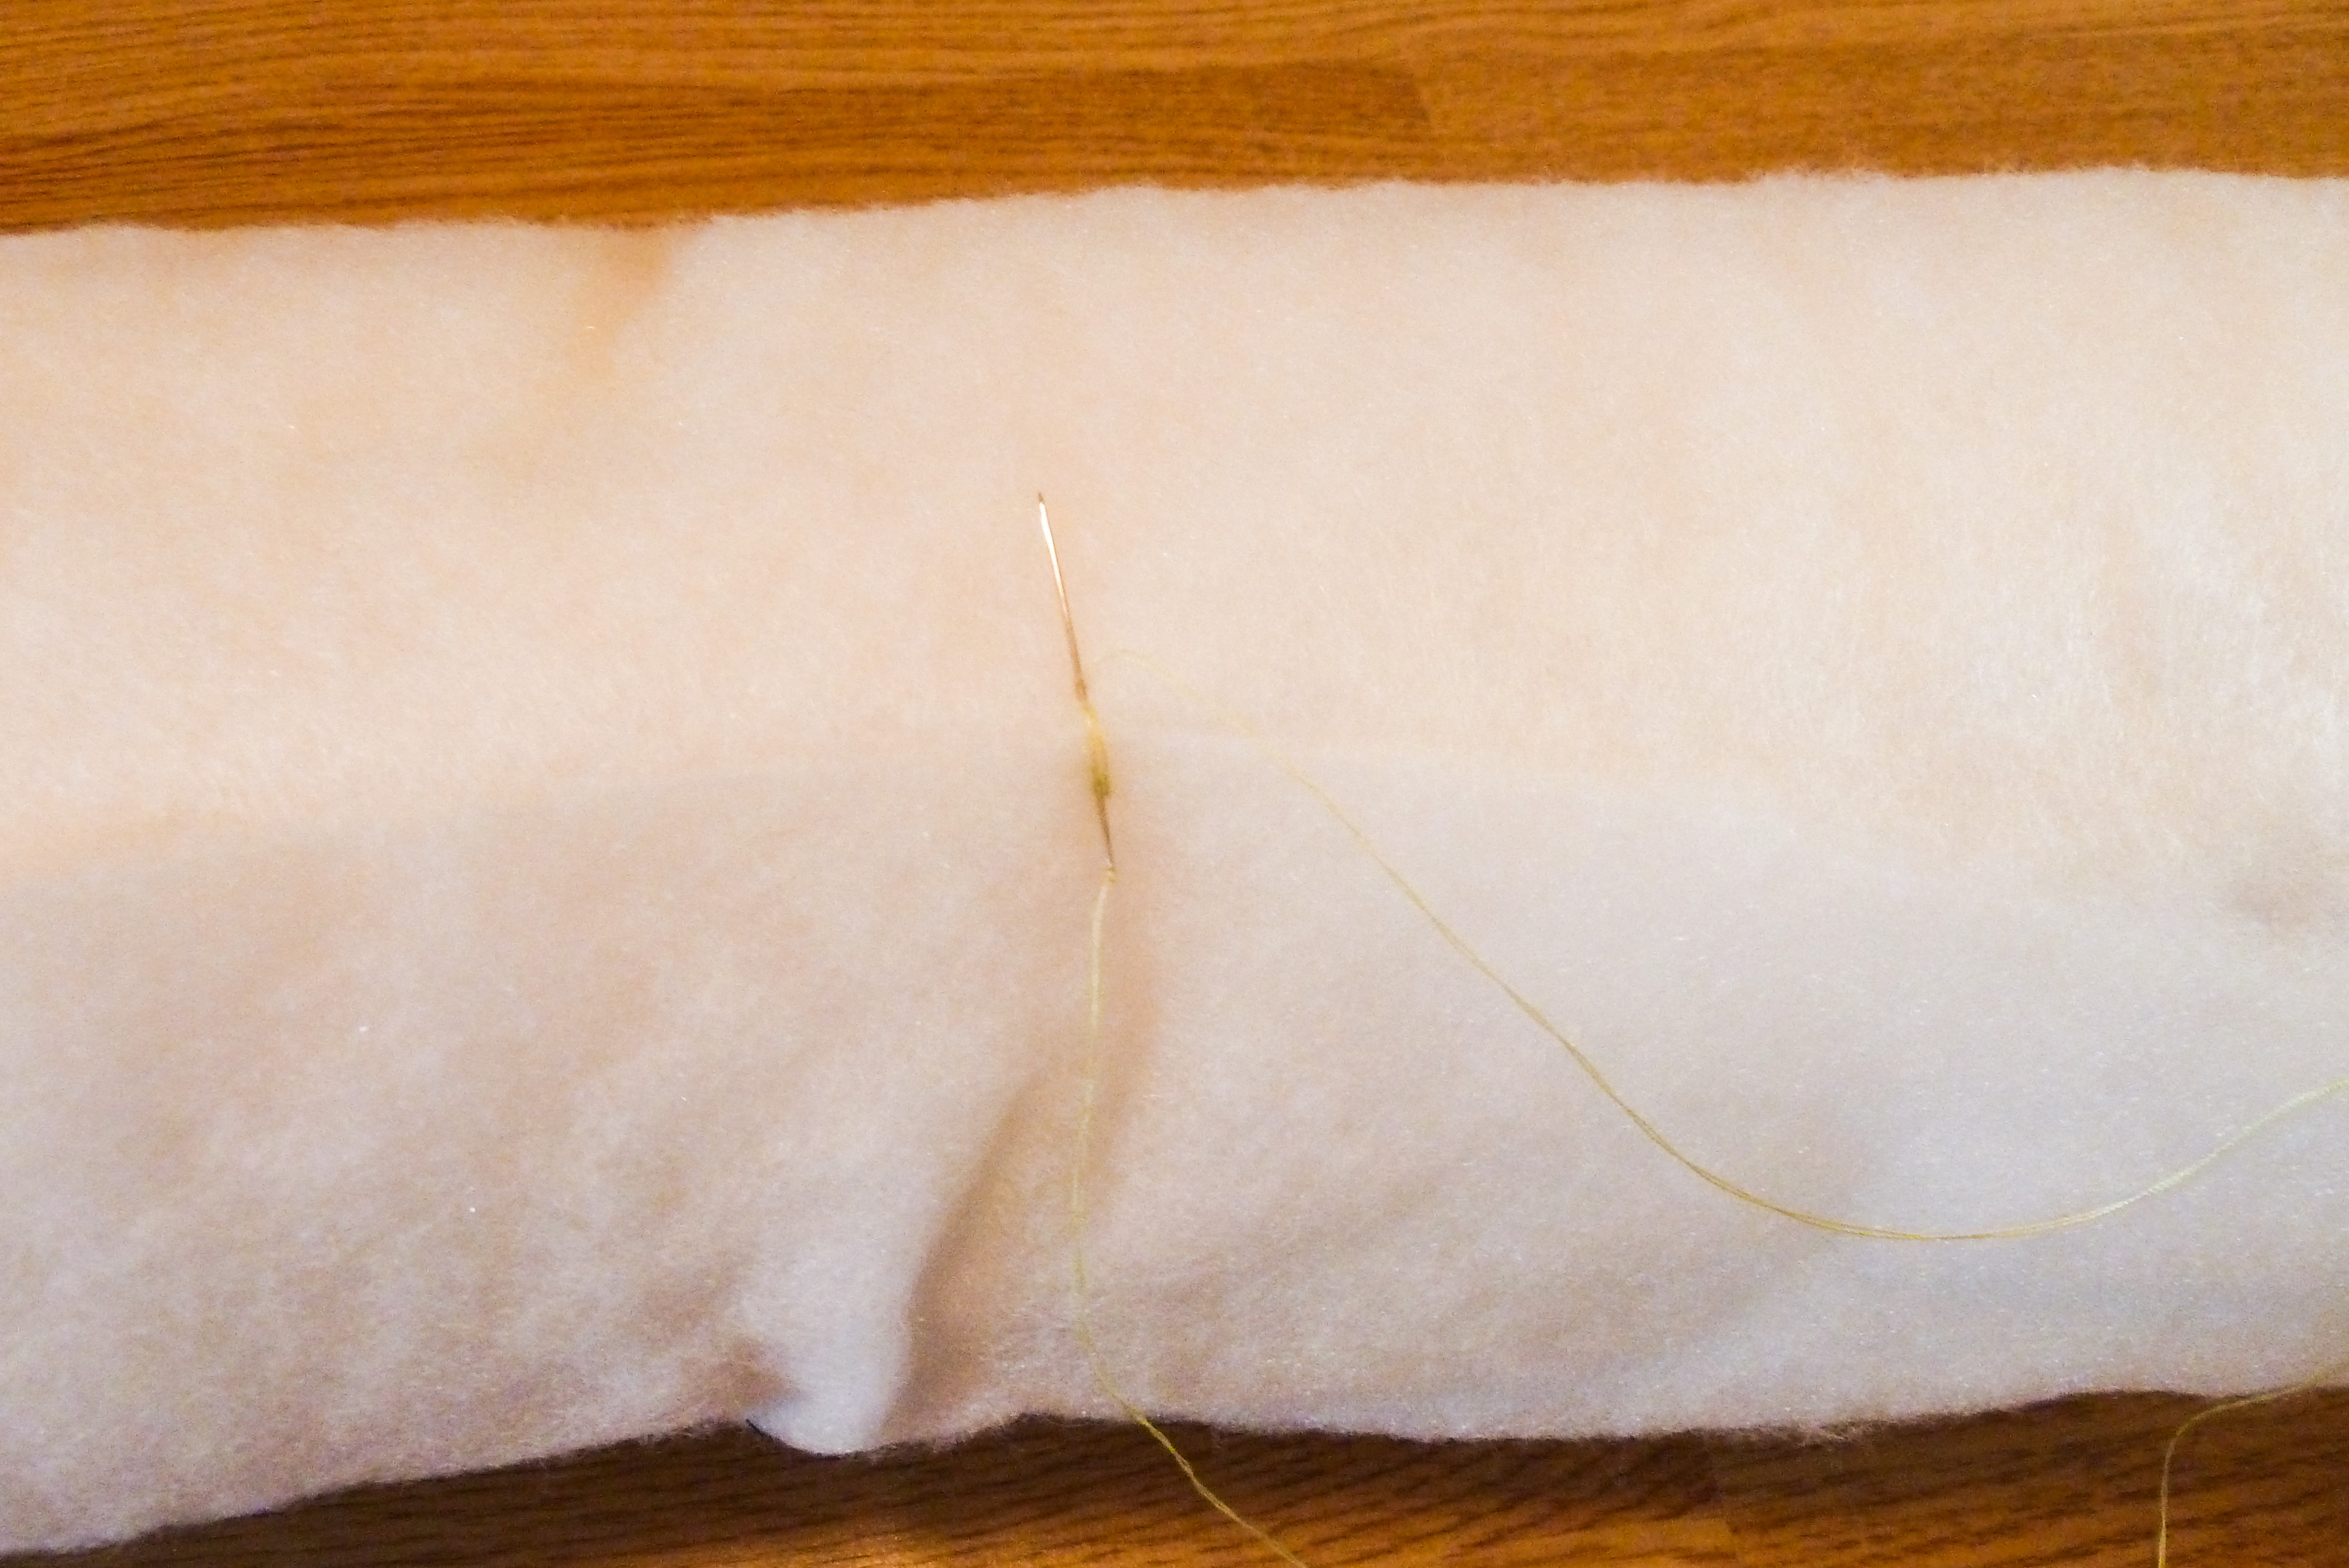
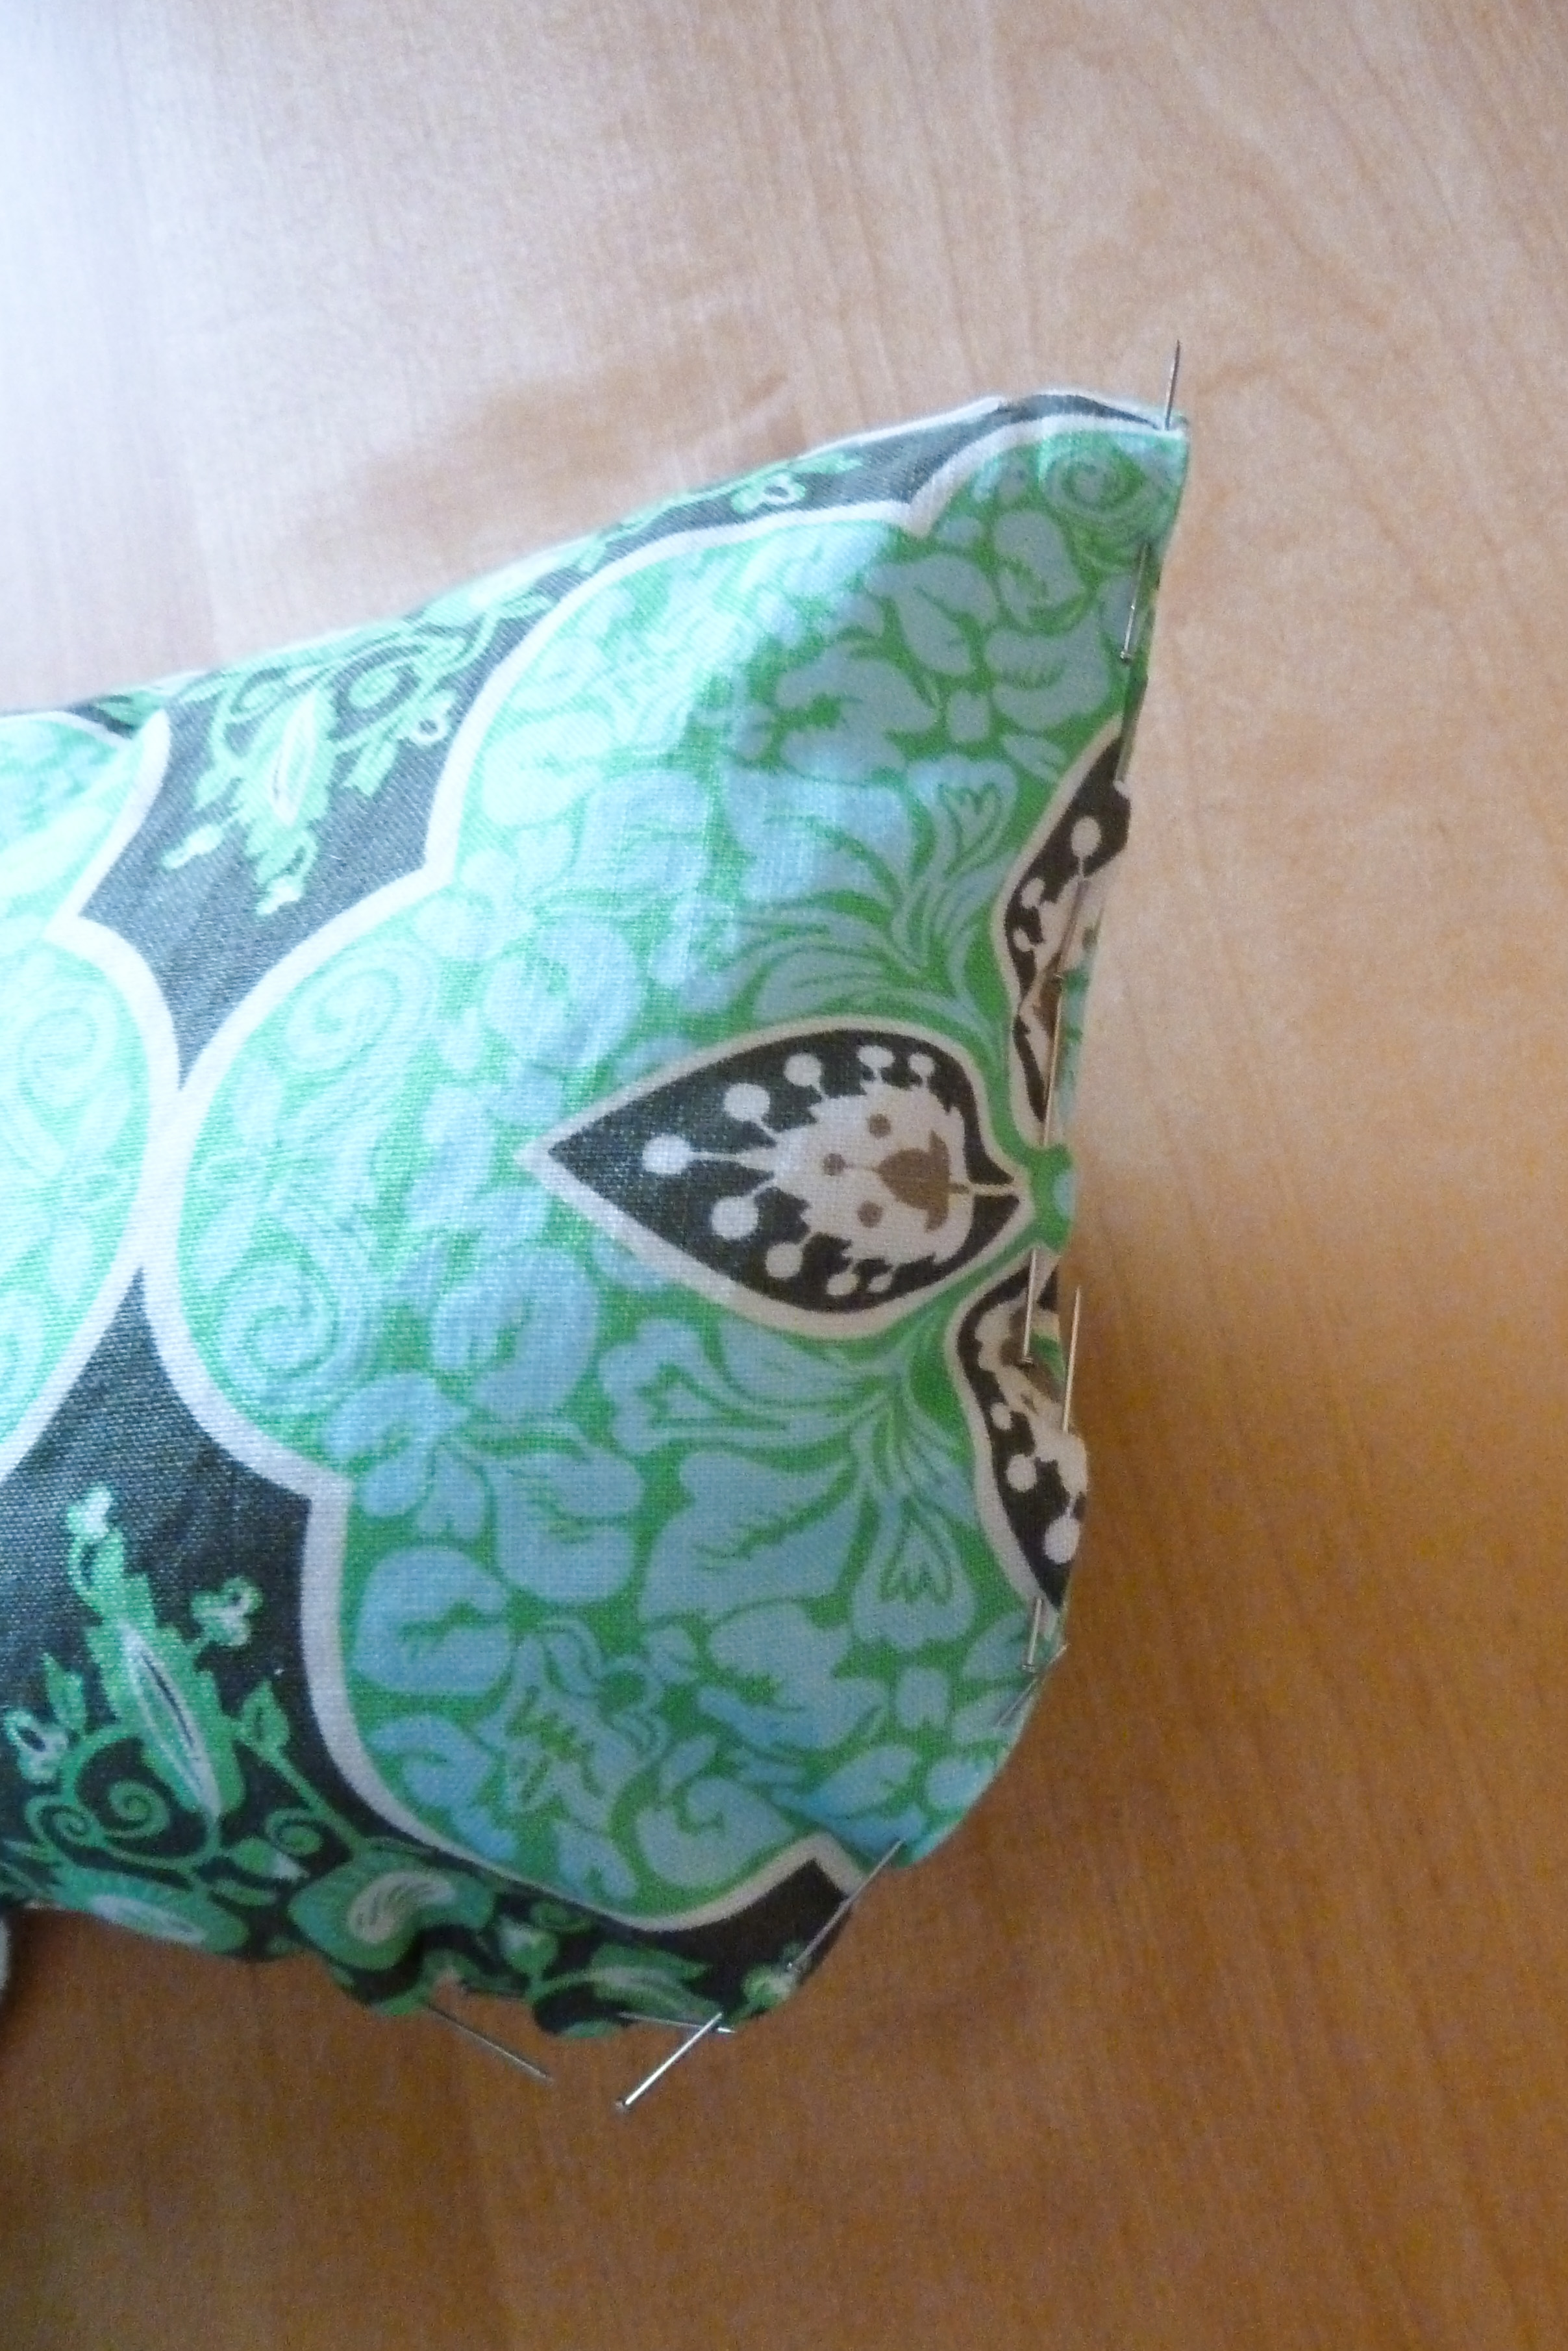
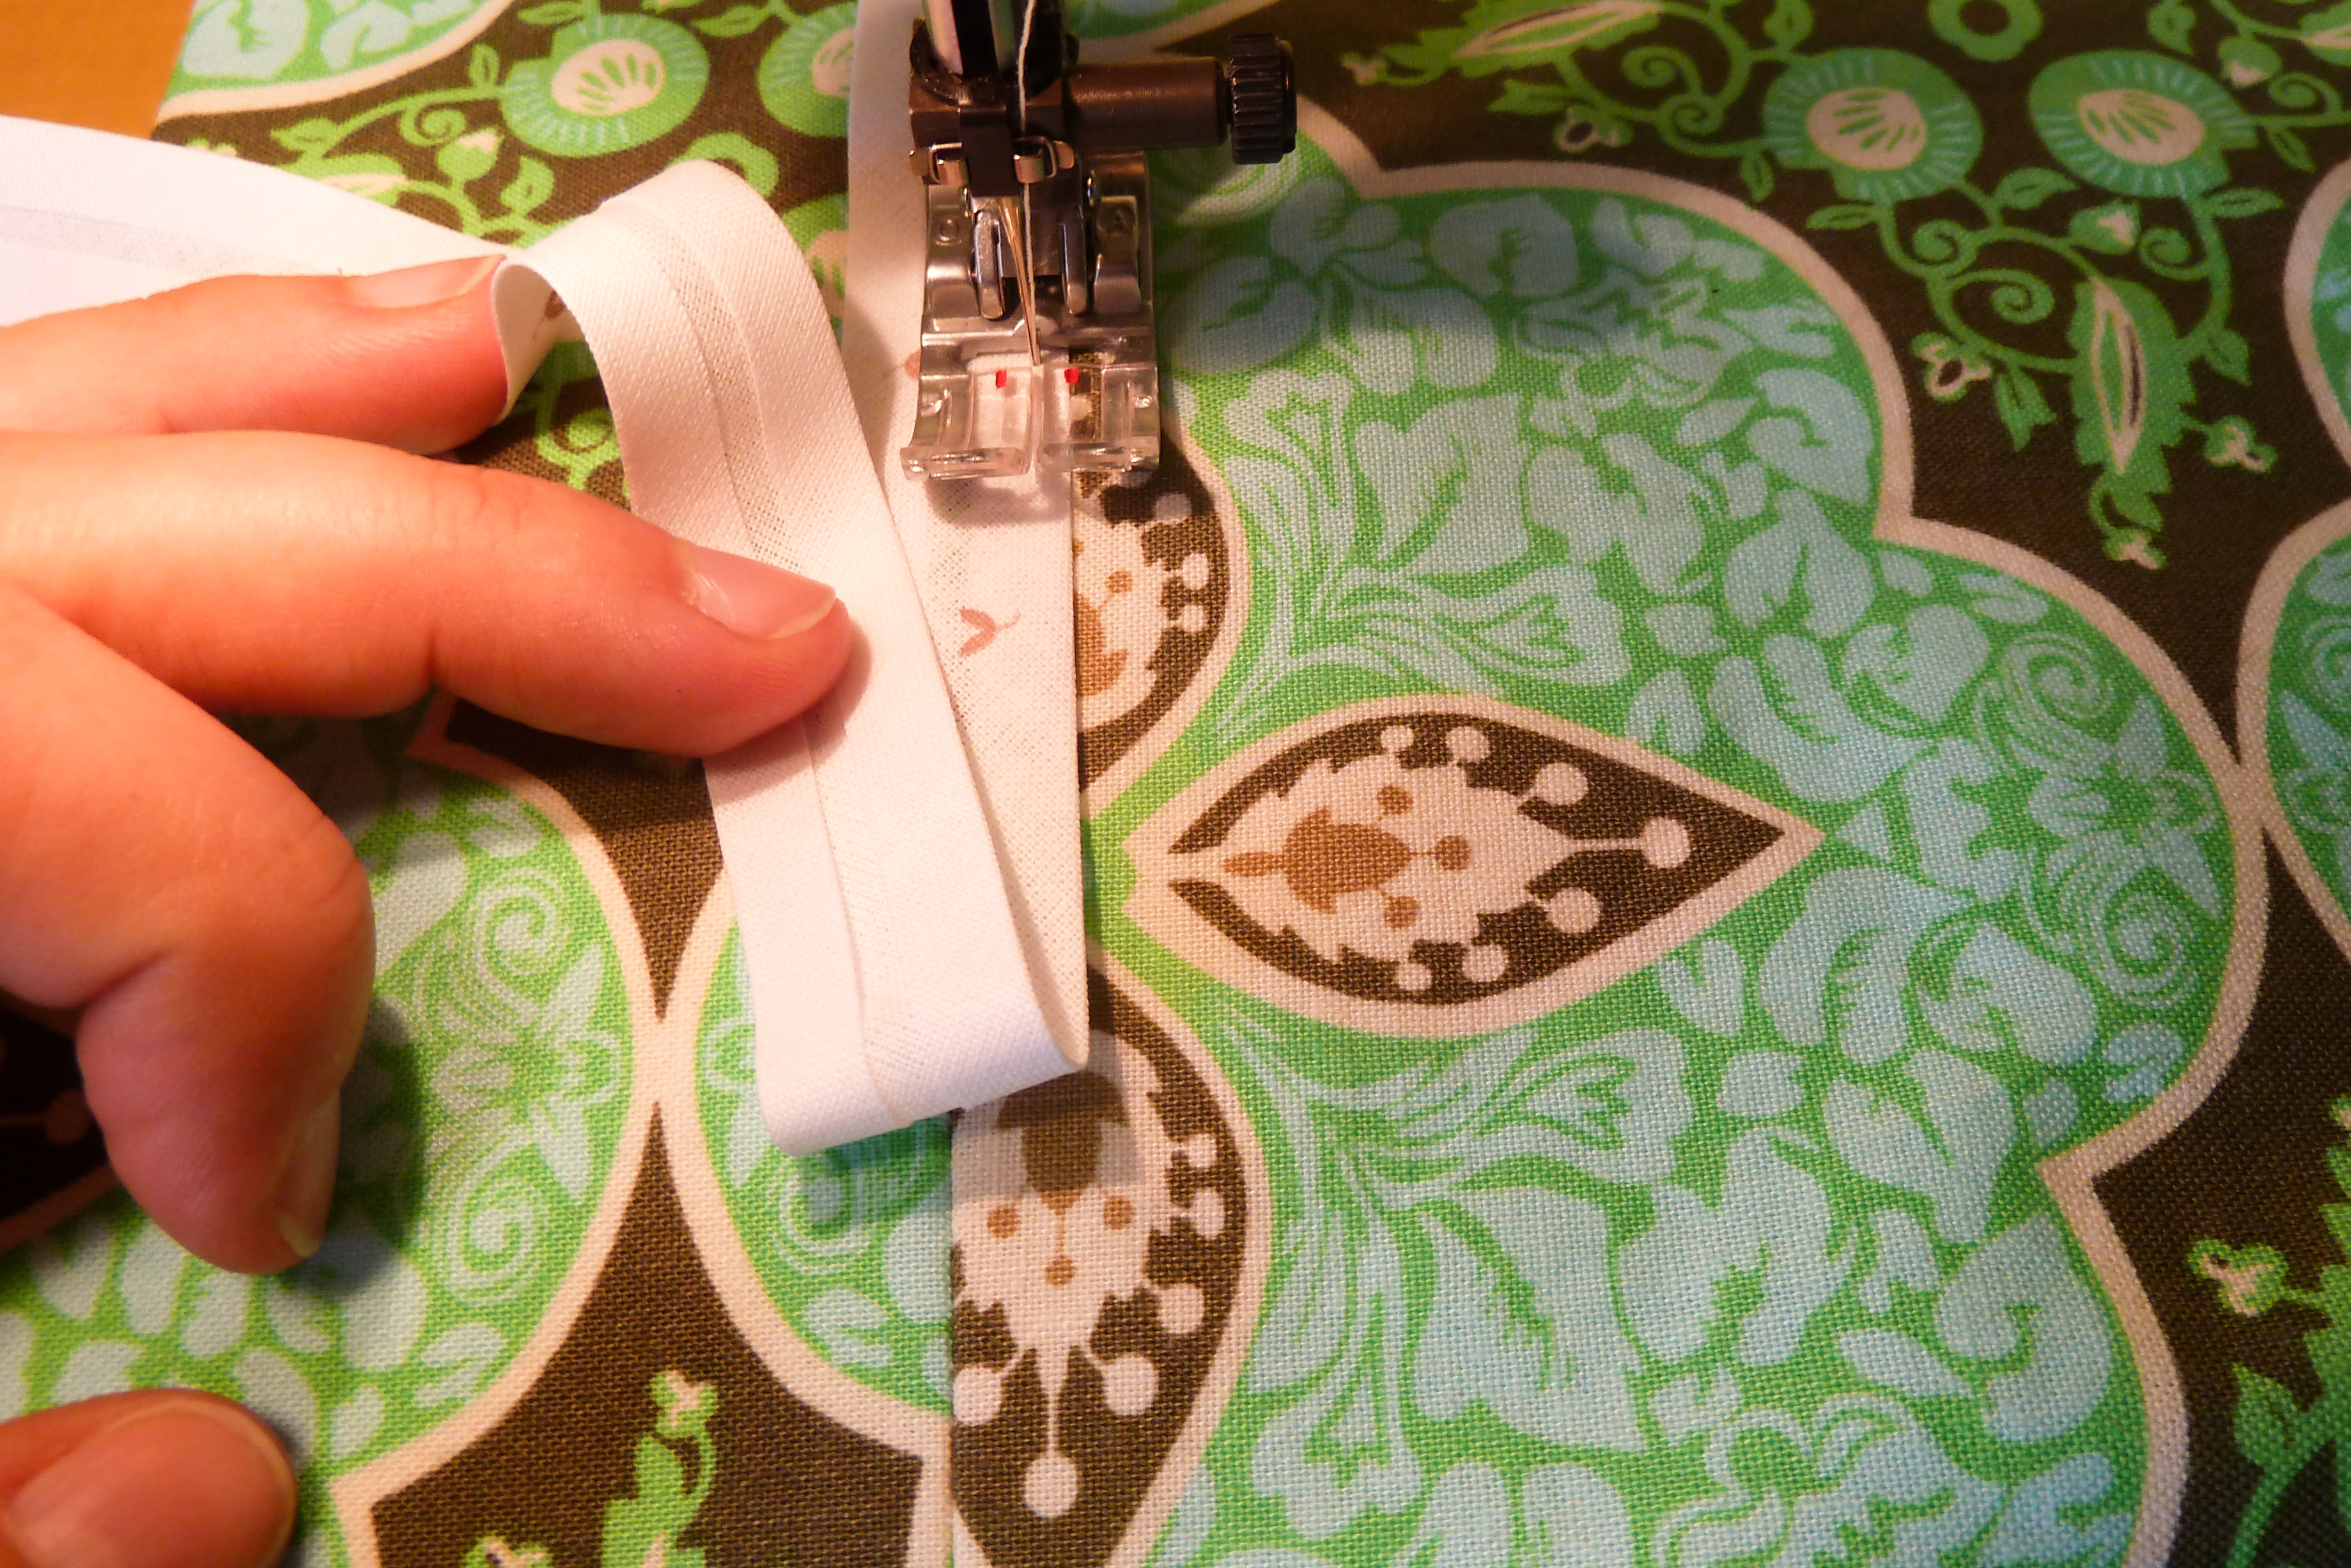
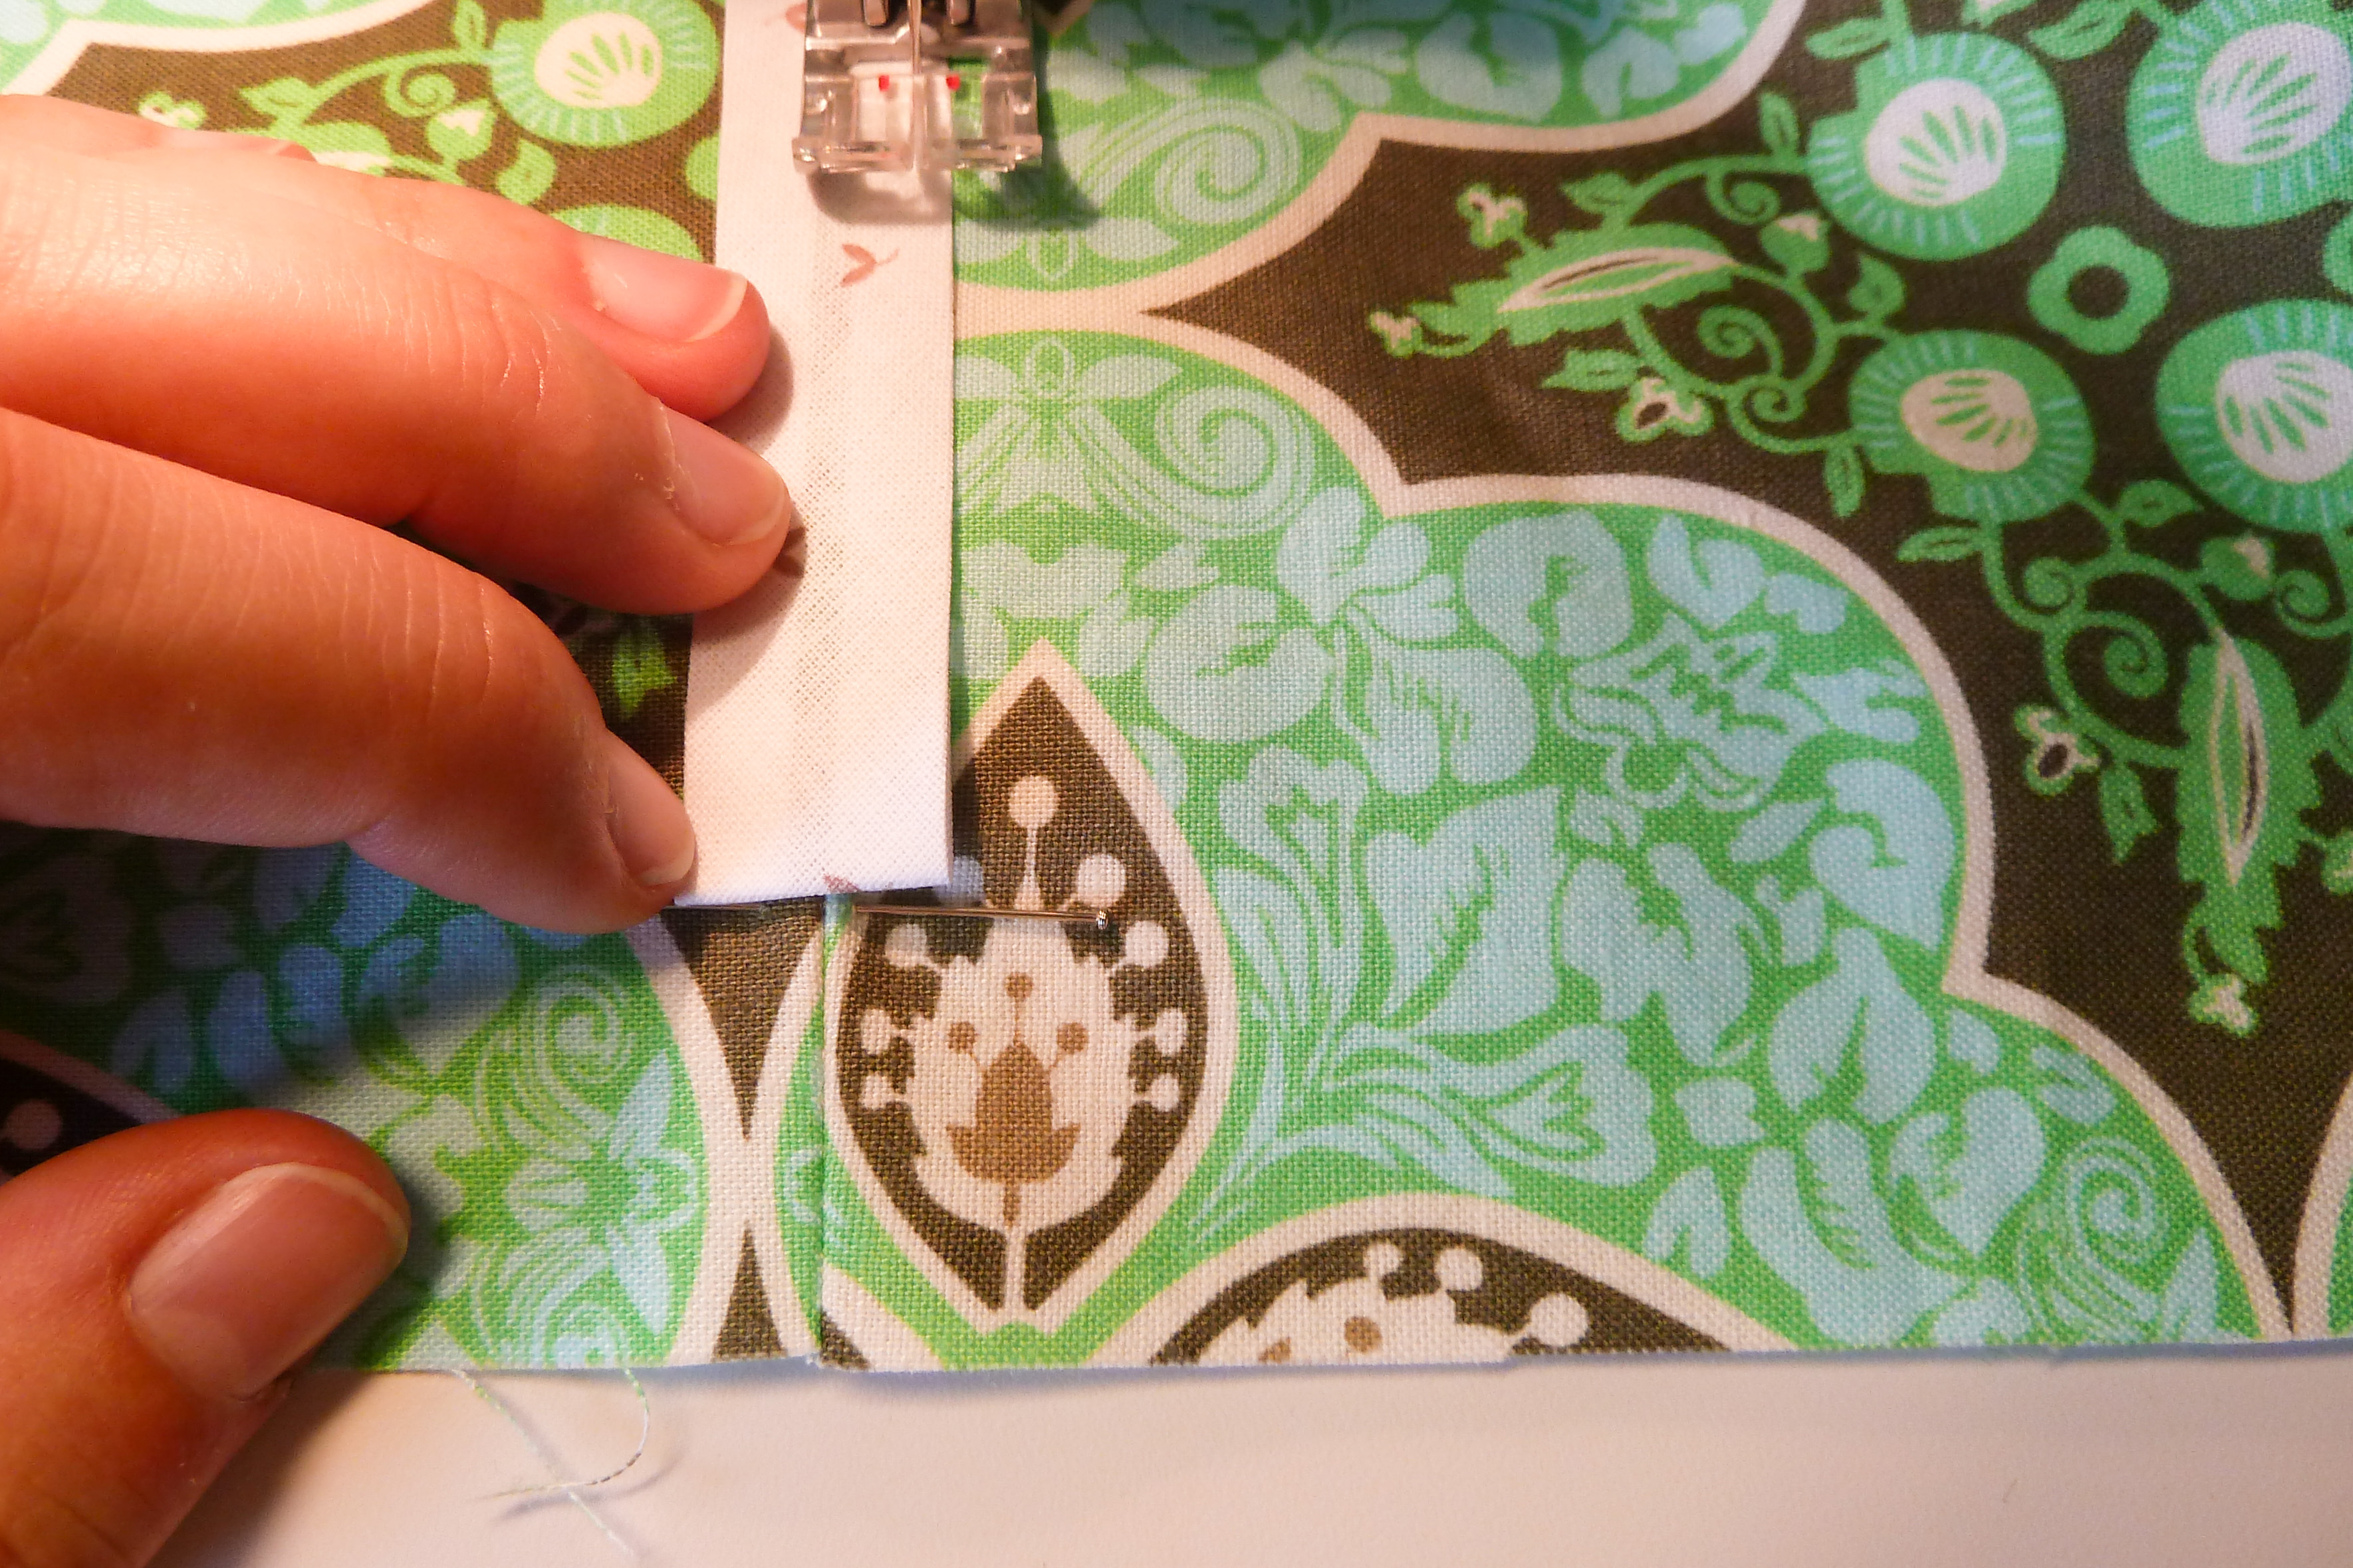
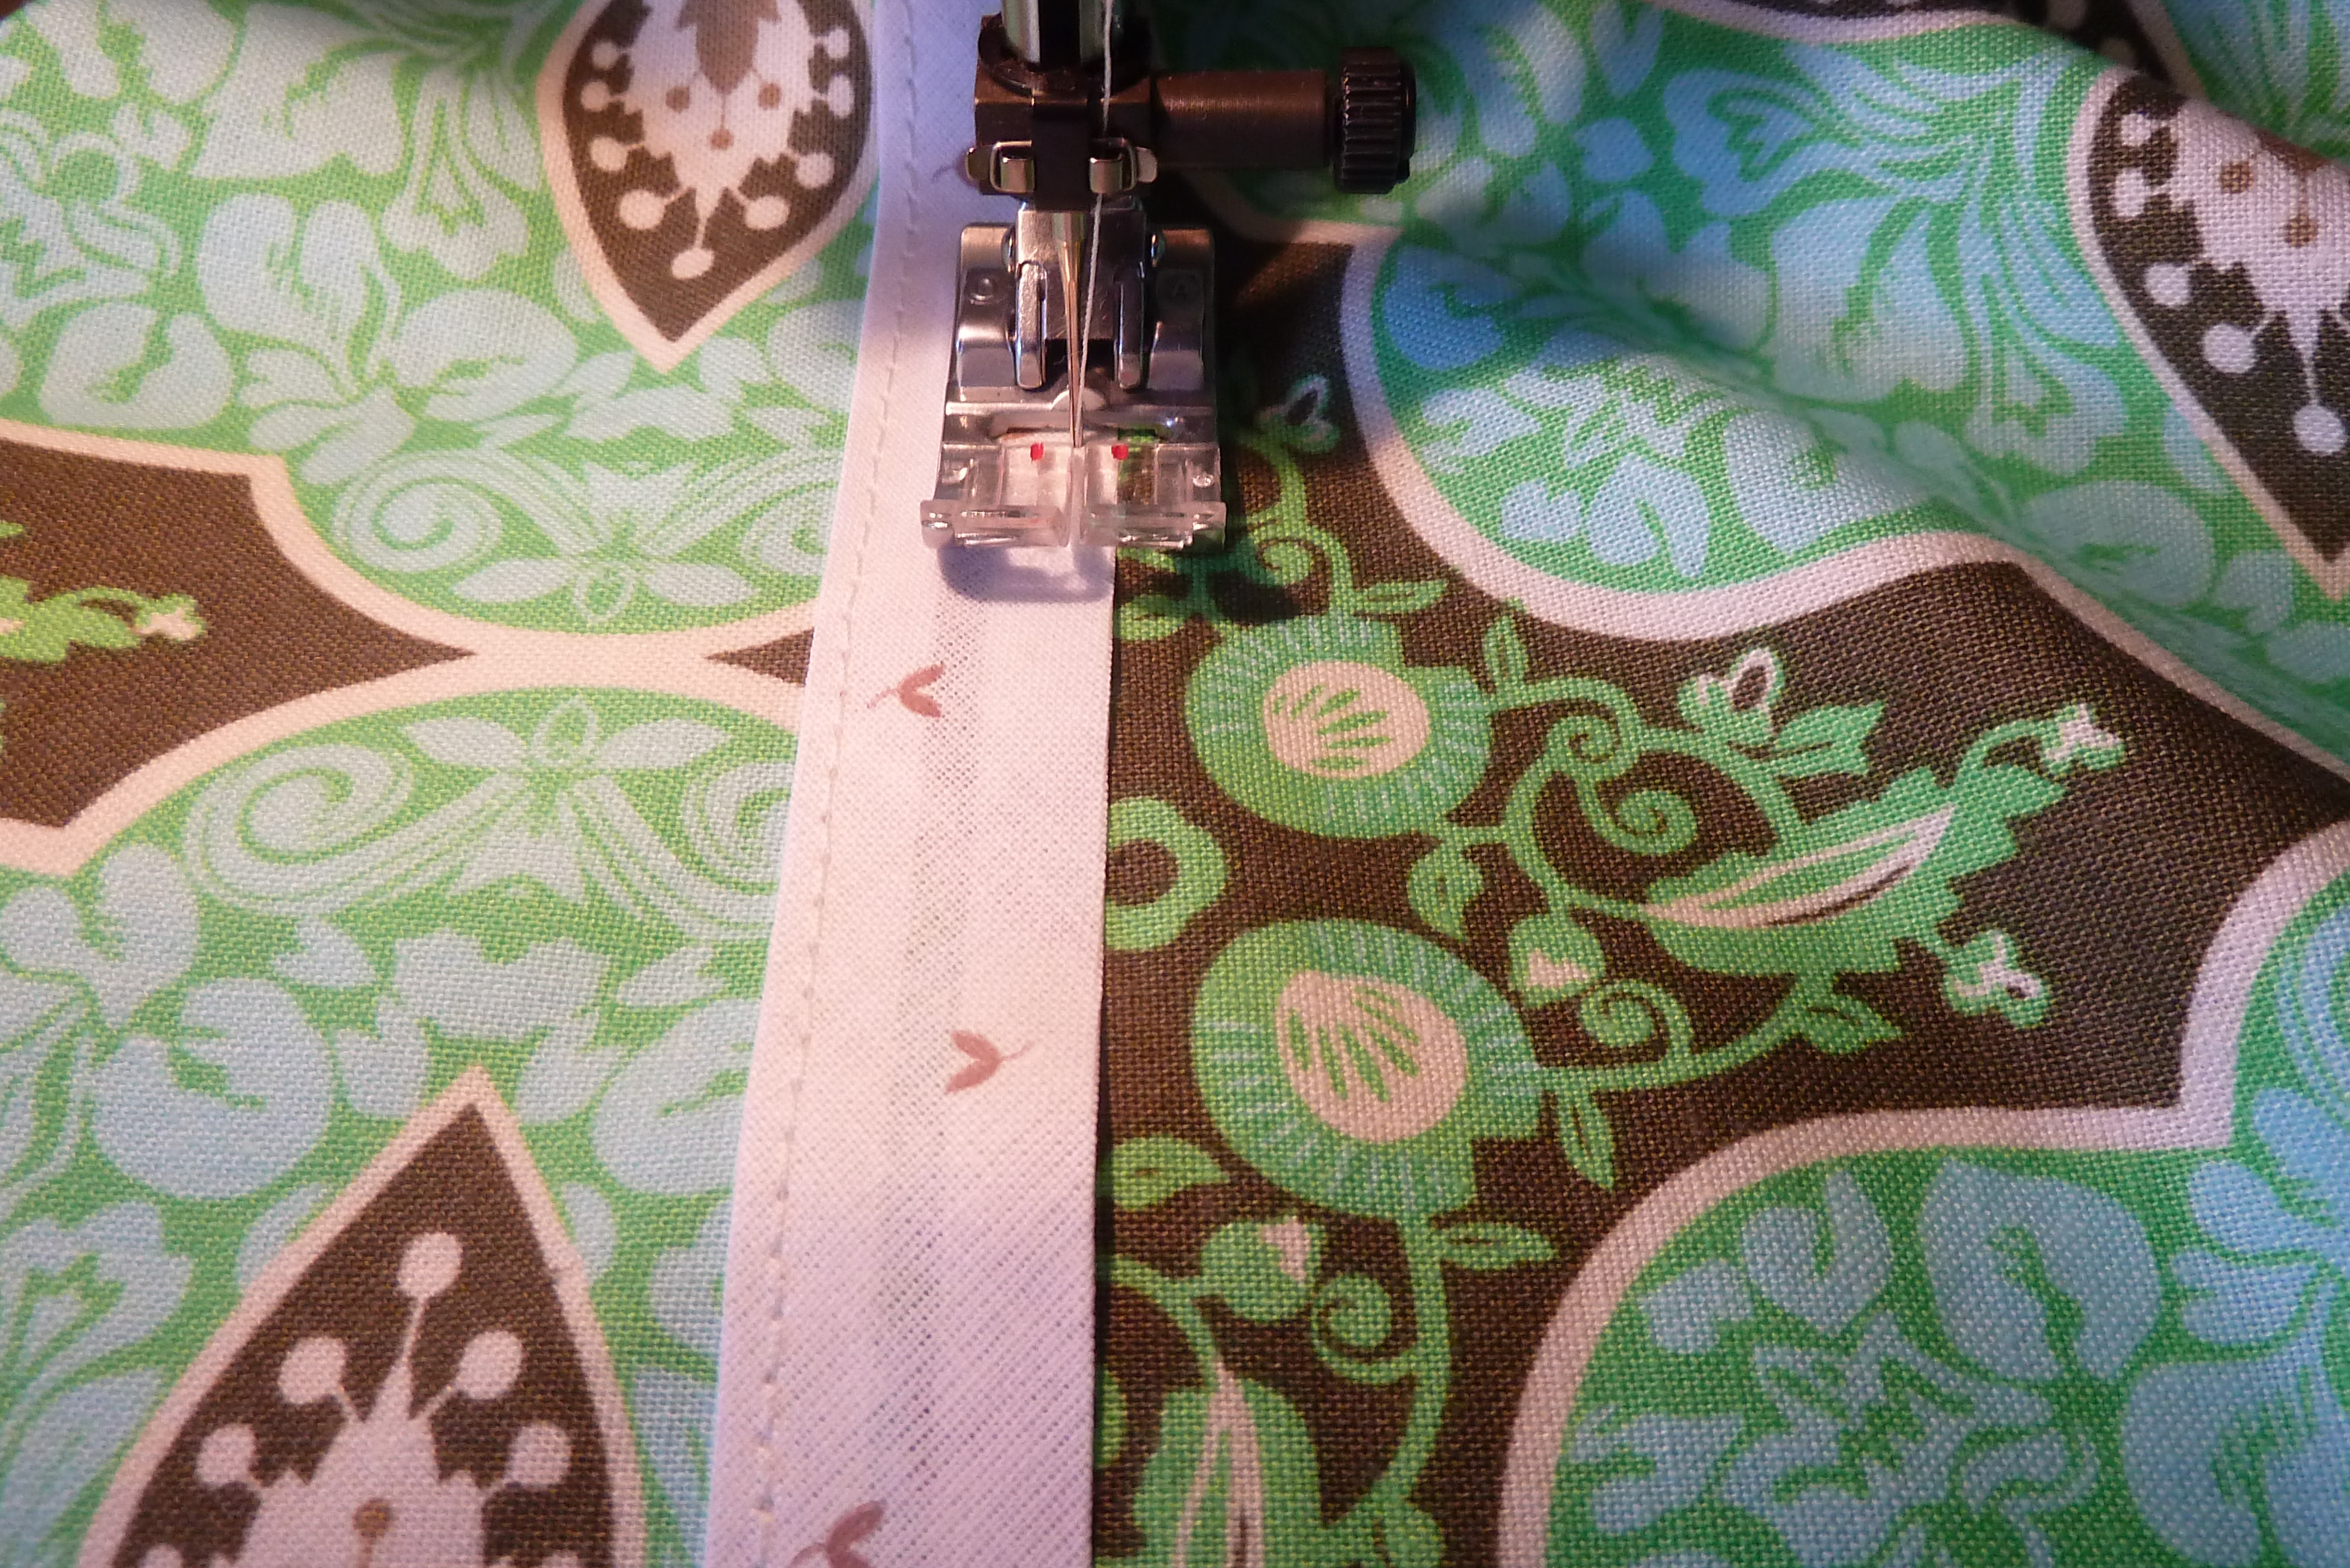
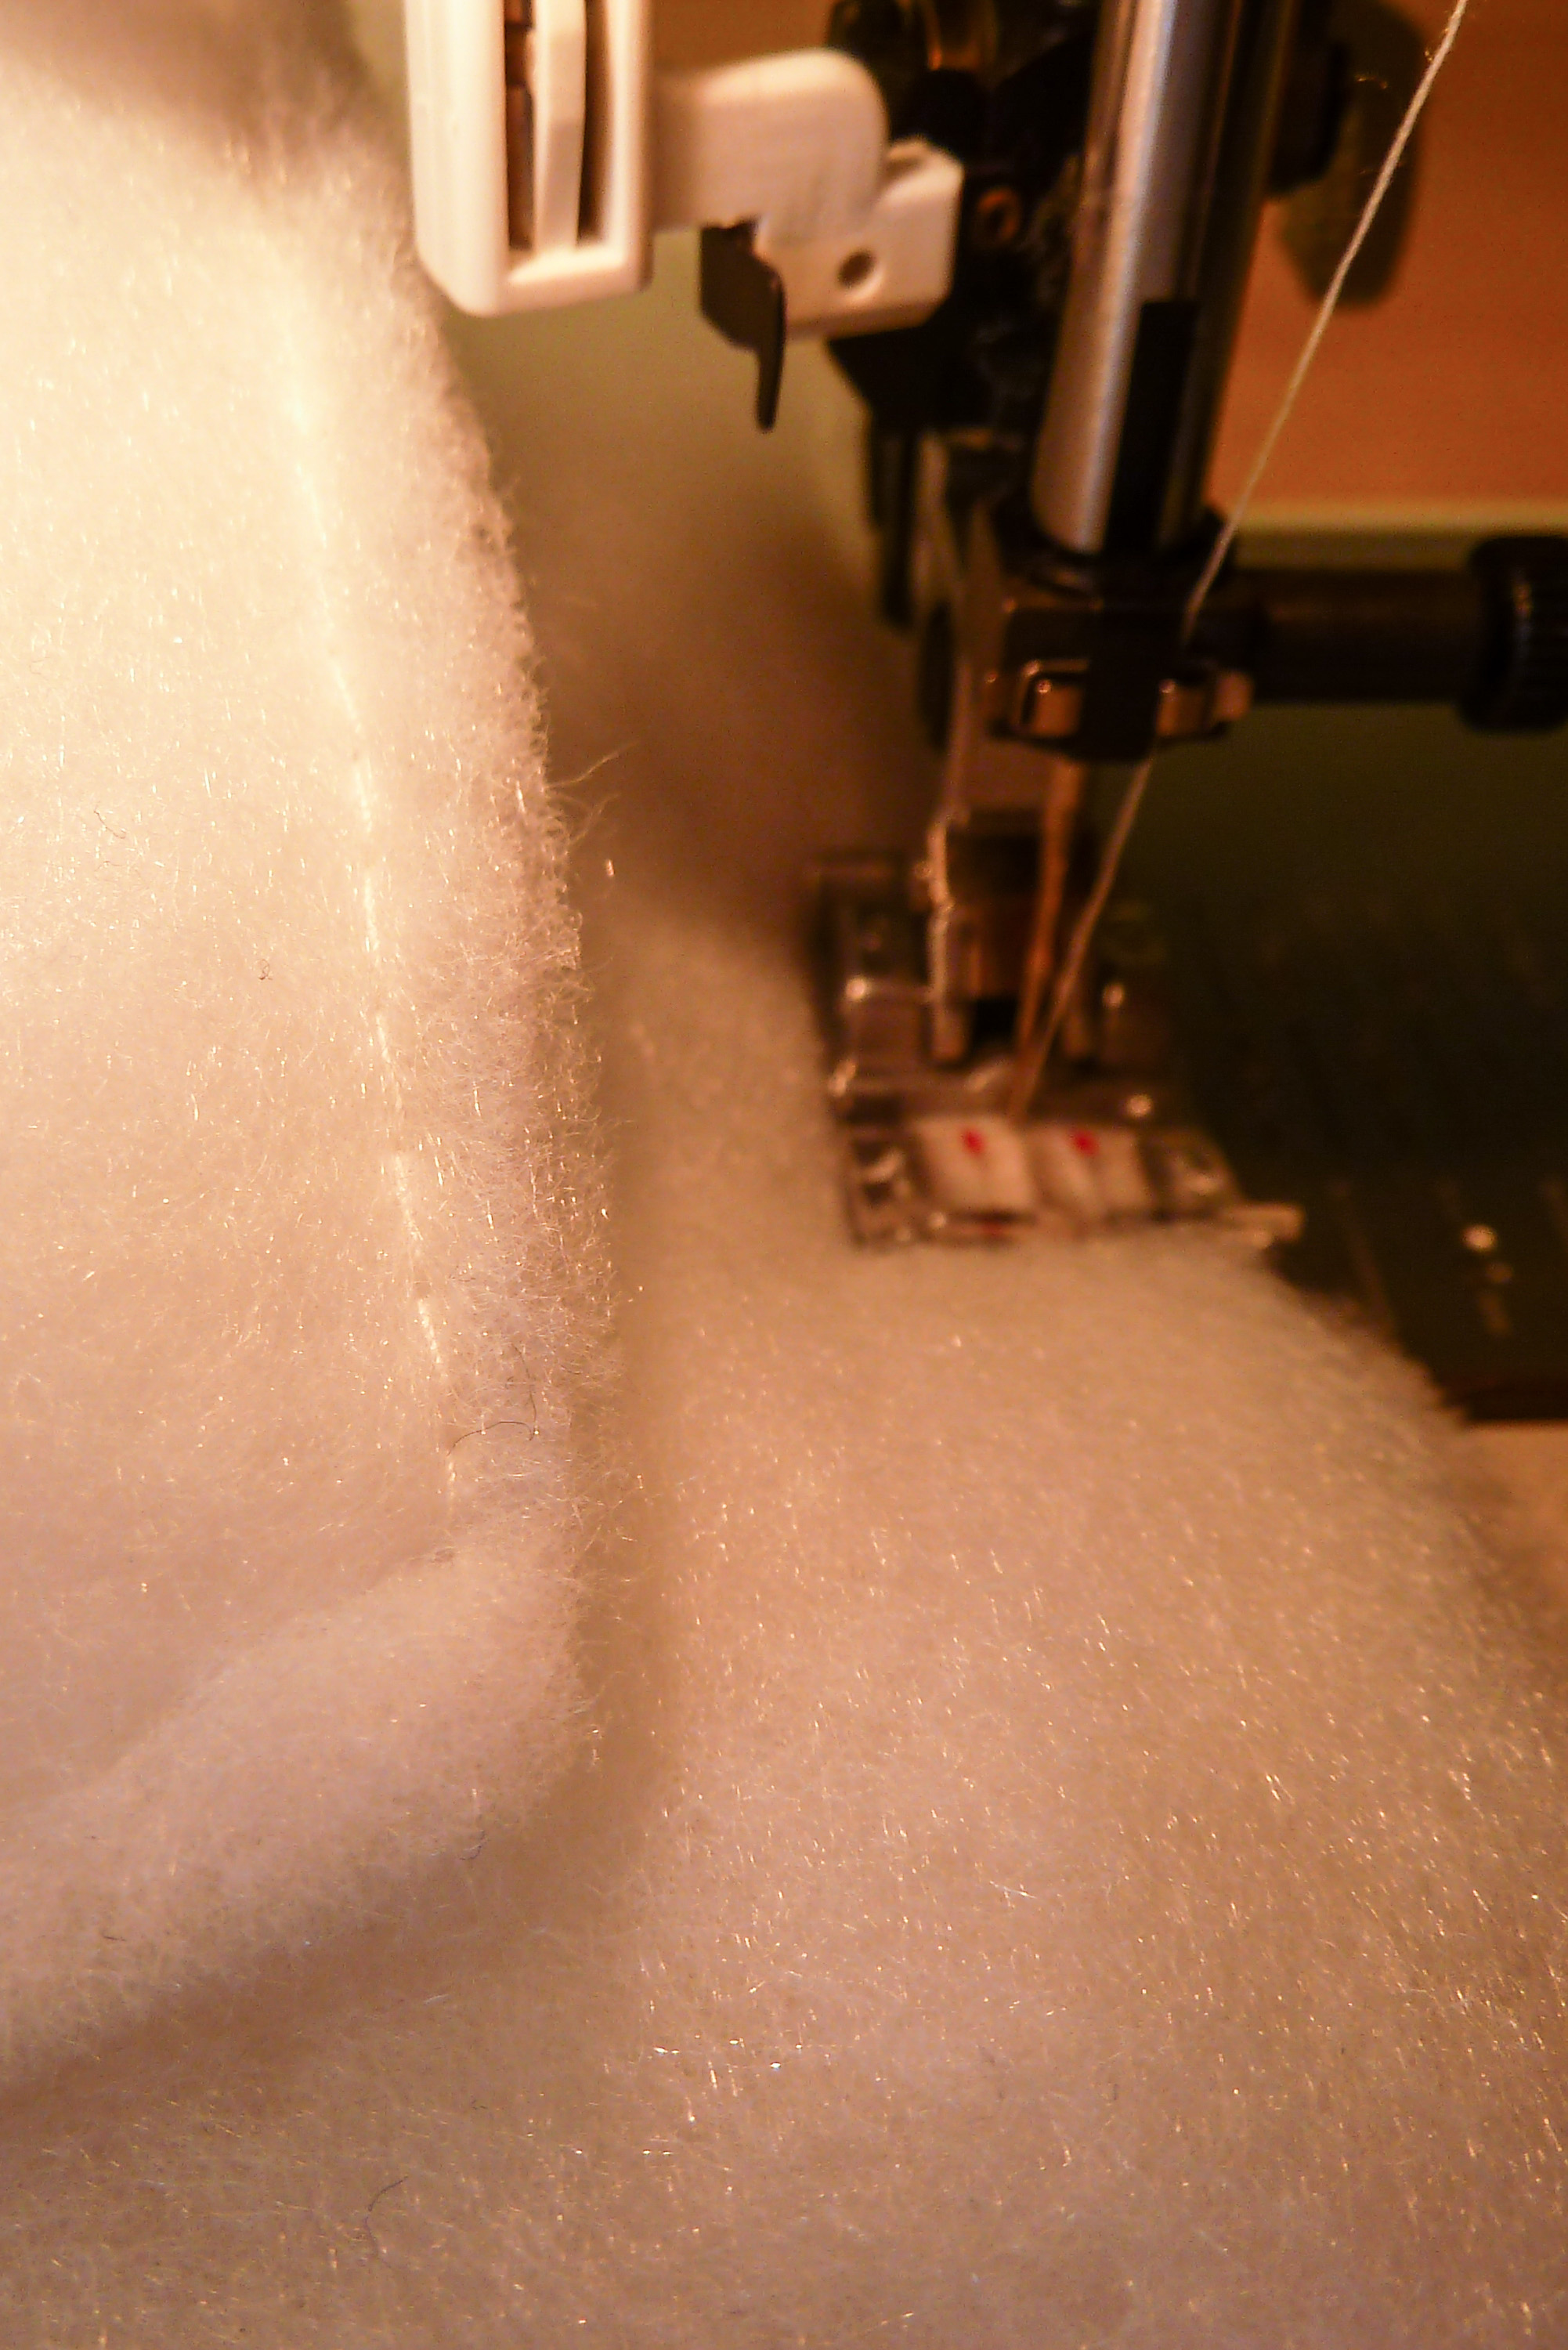
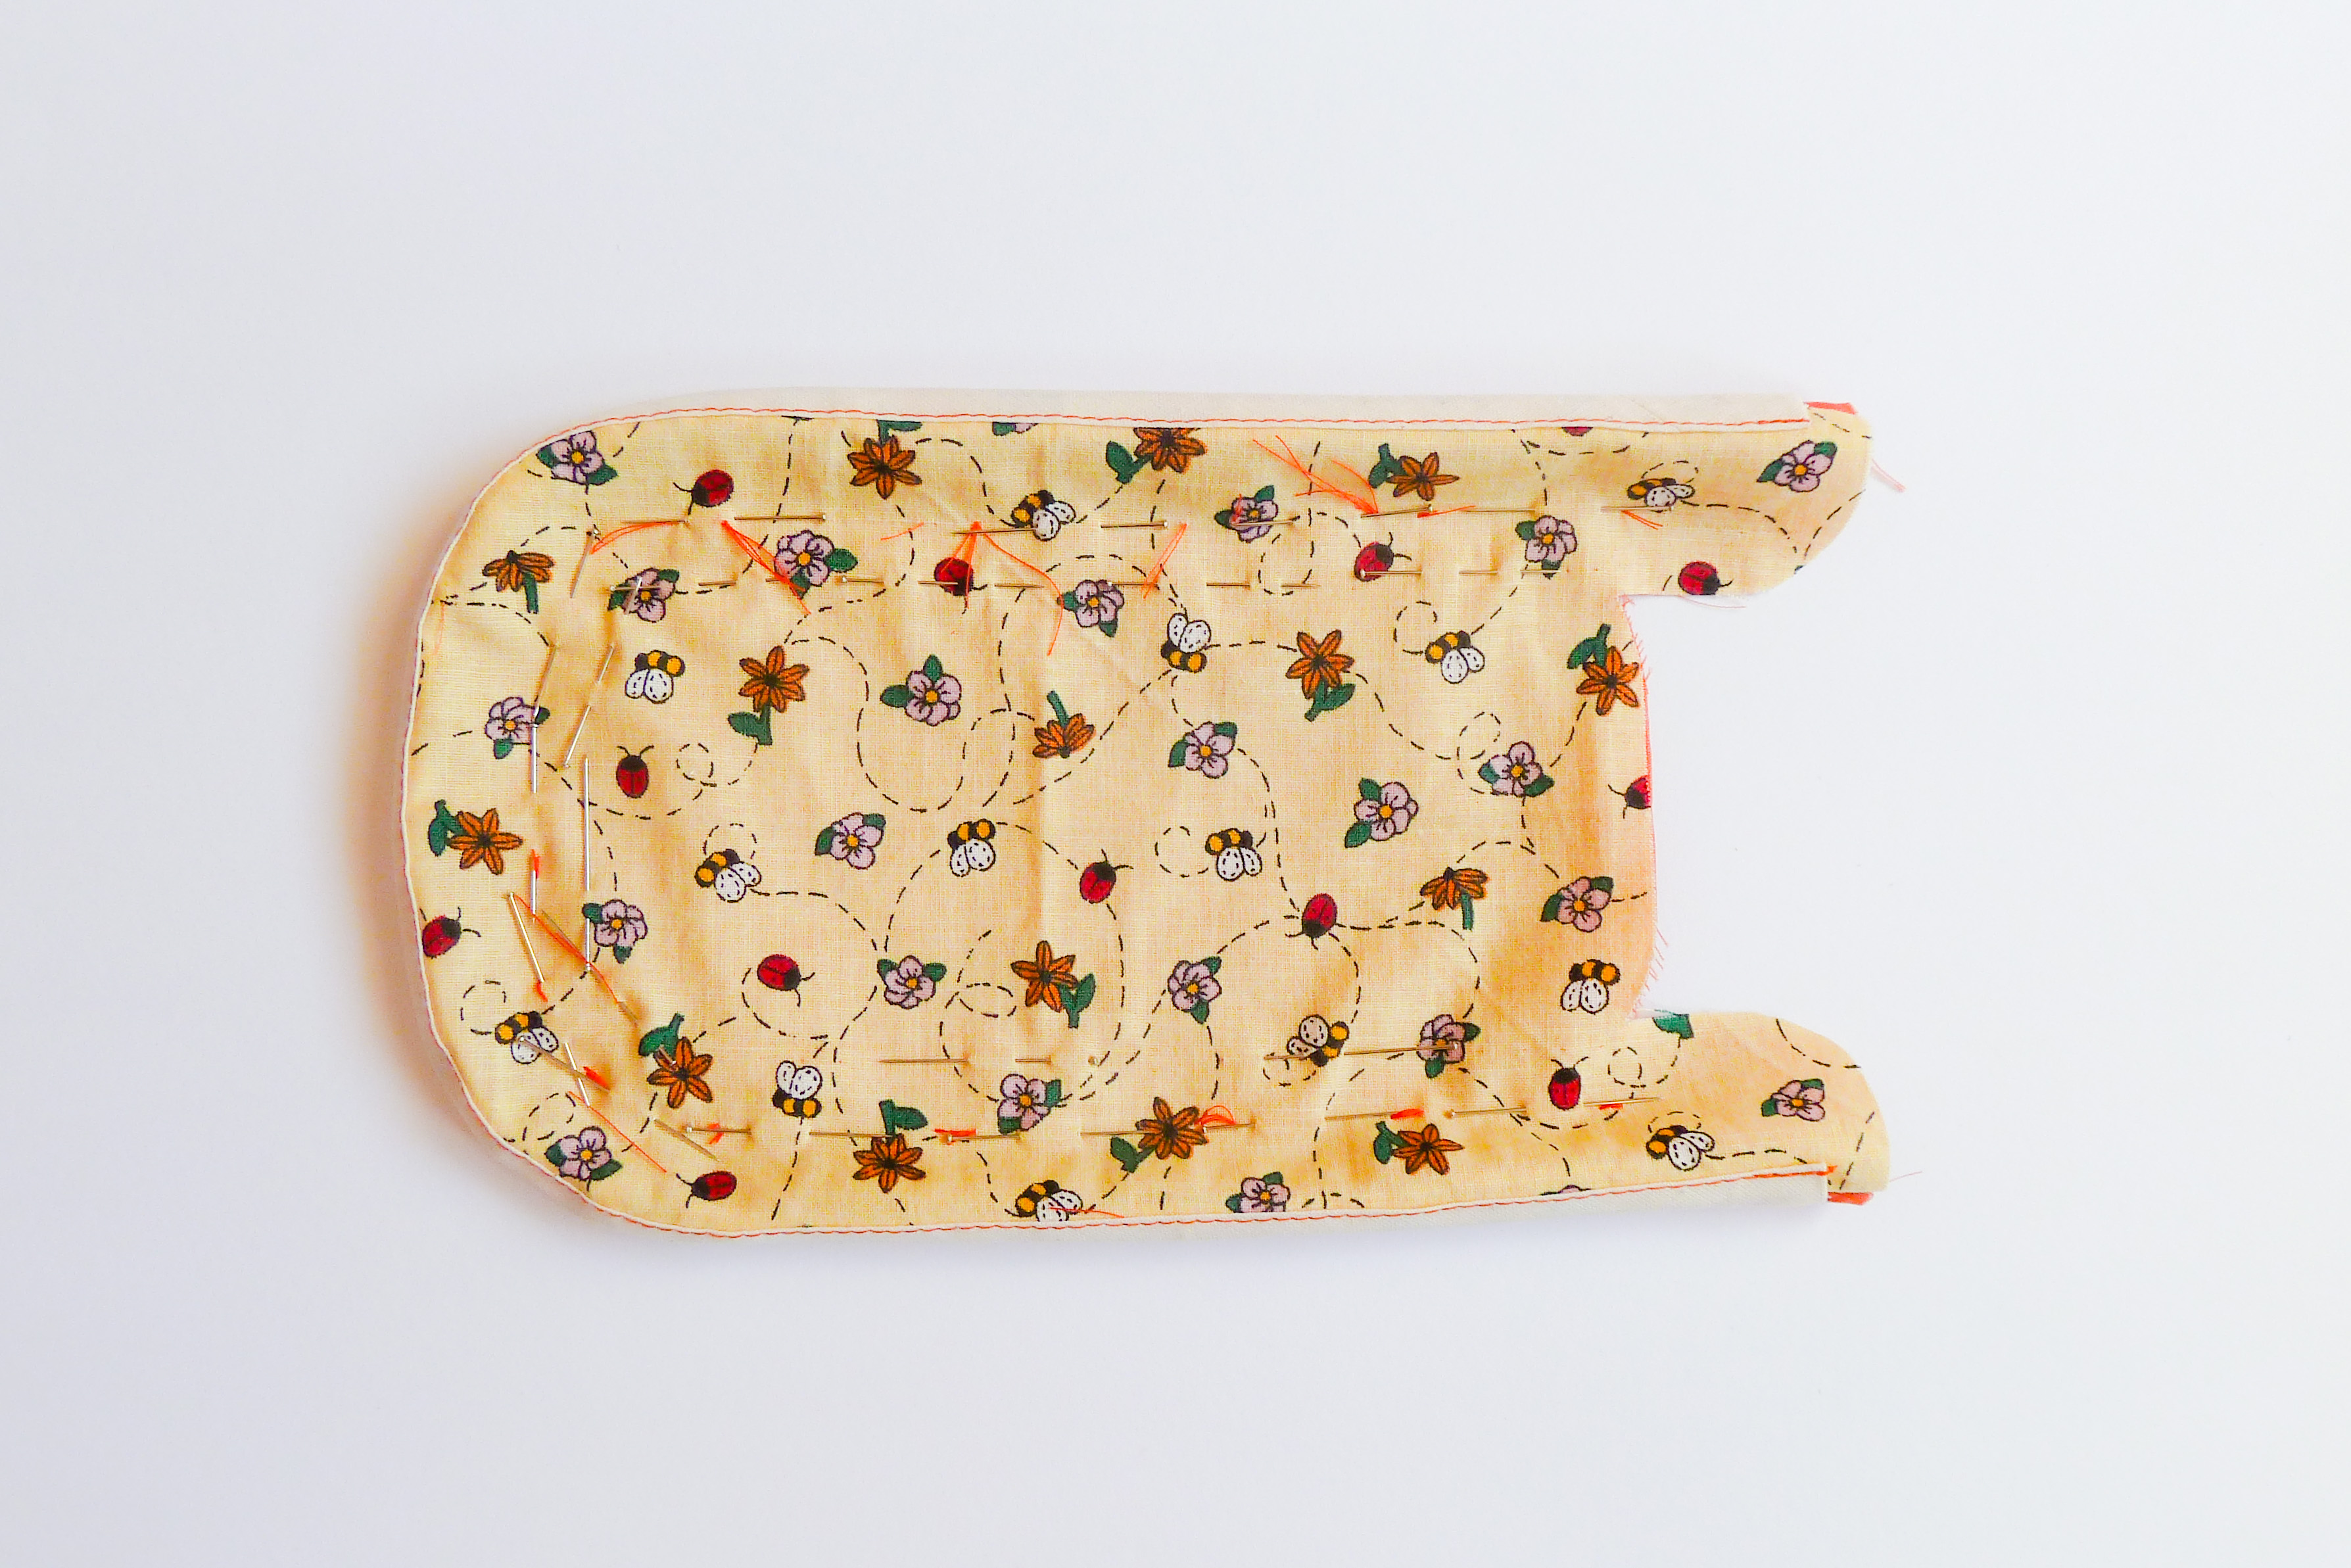
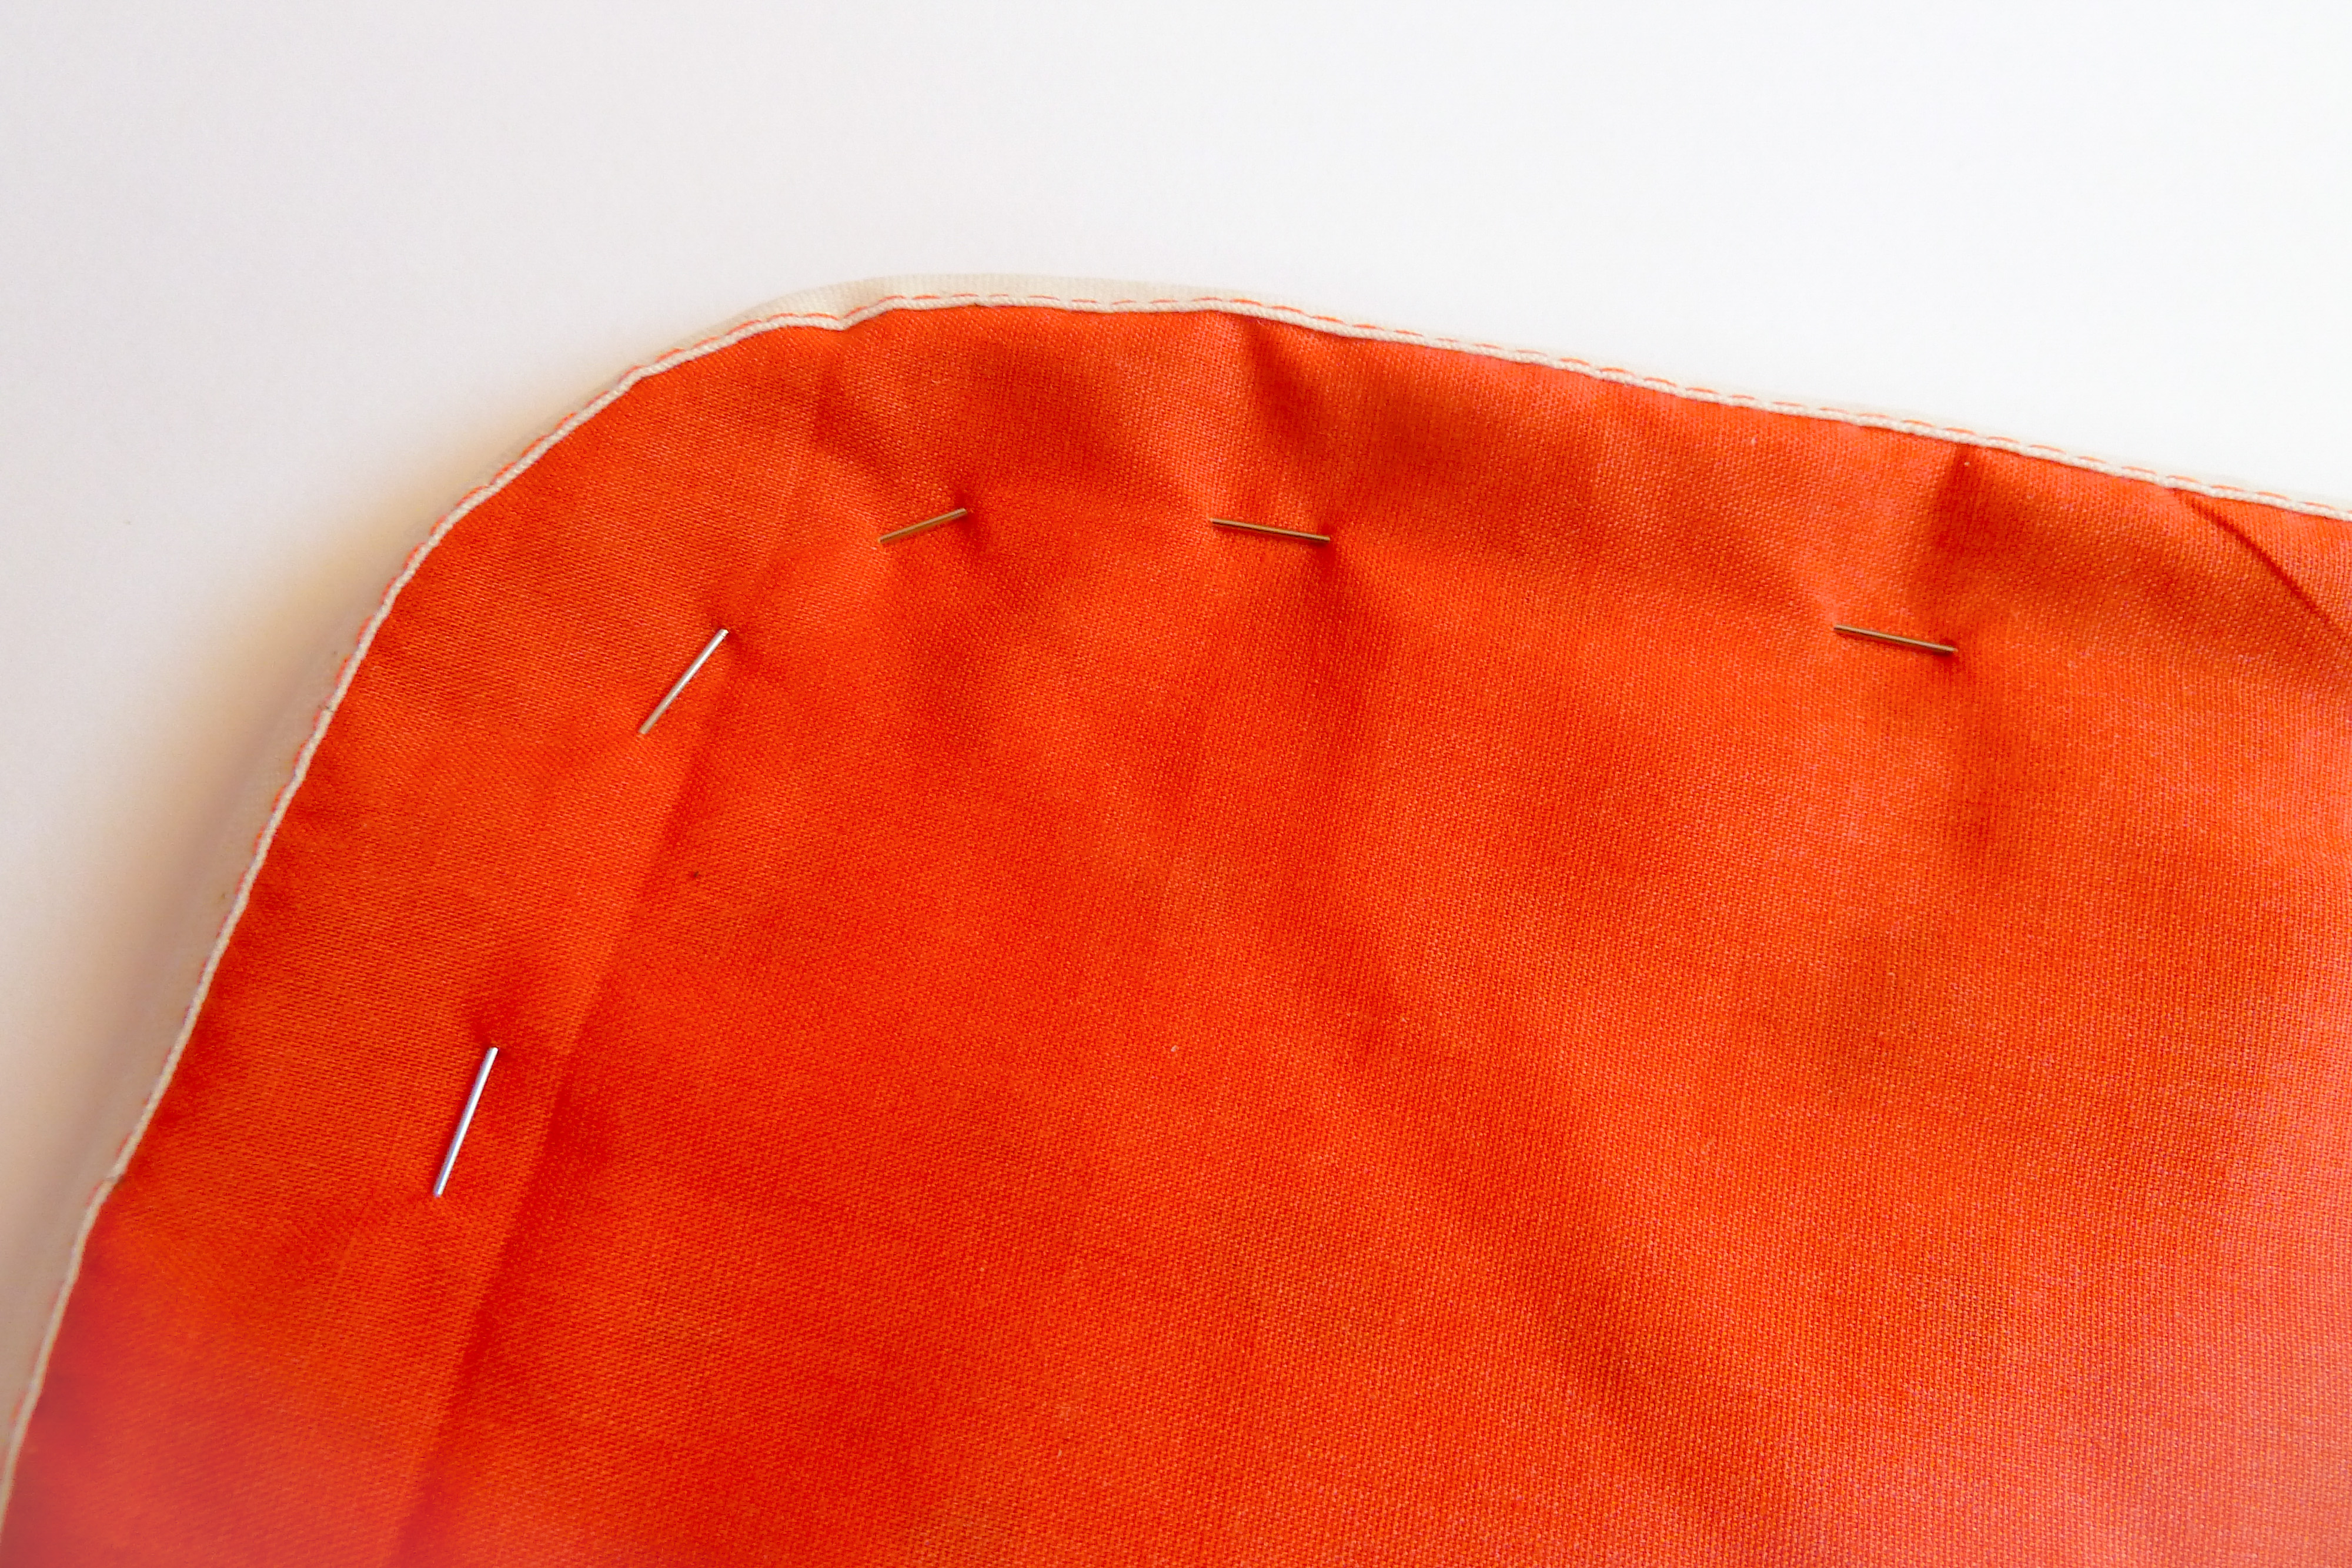
It’s time for us to start sewing, Yay!


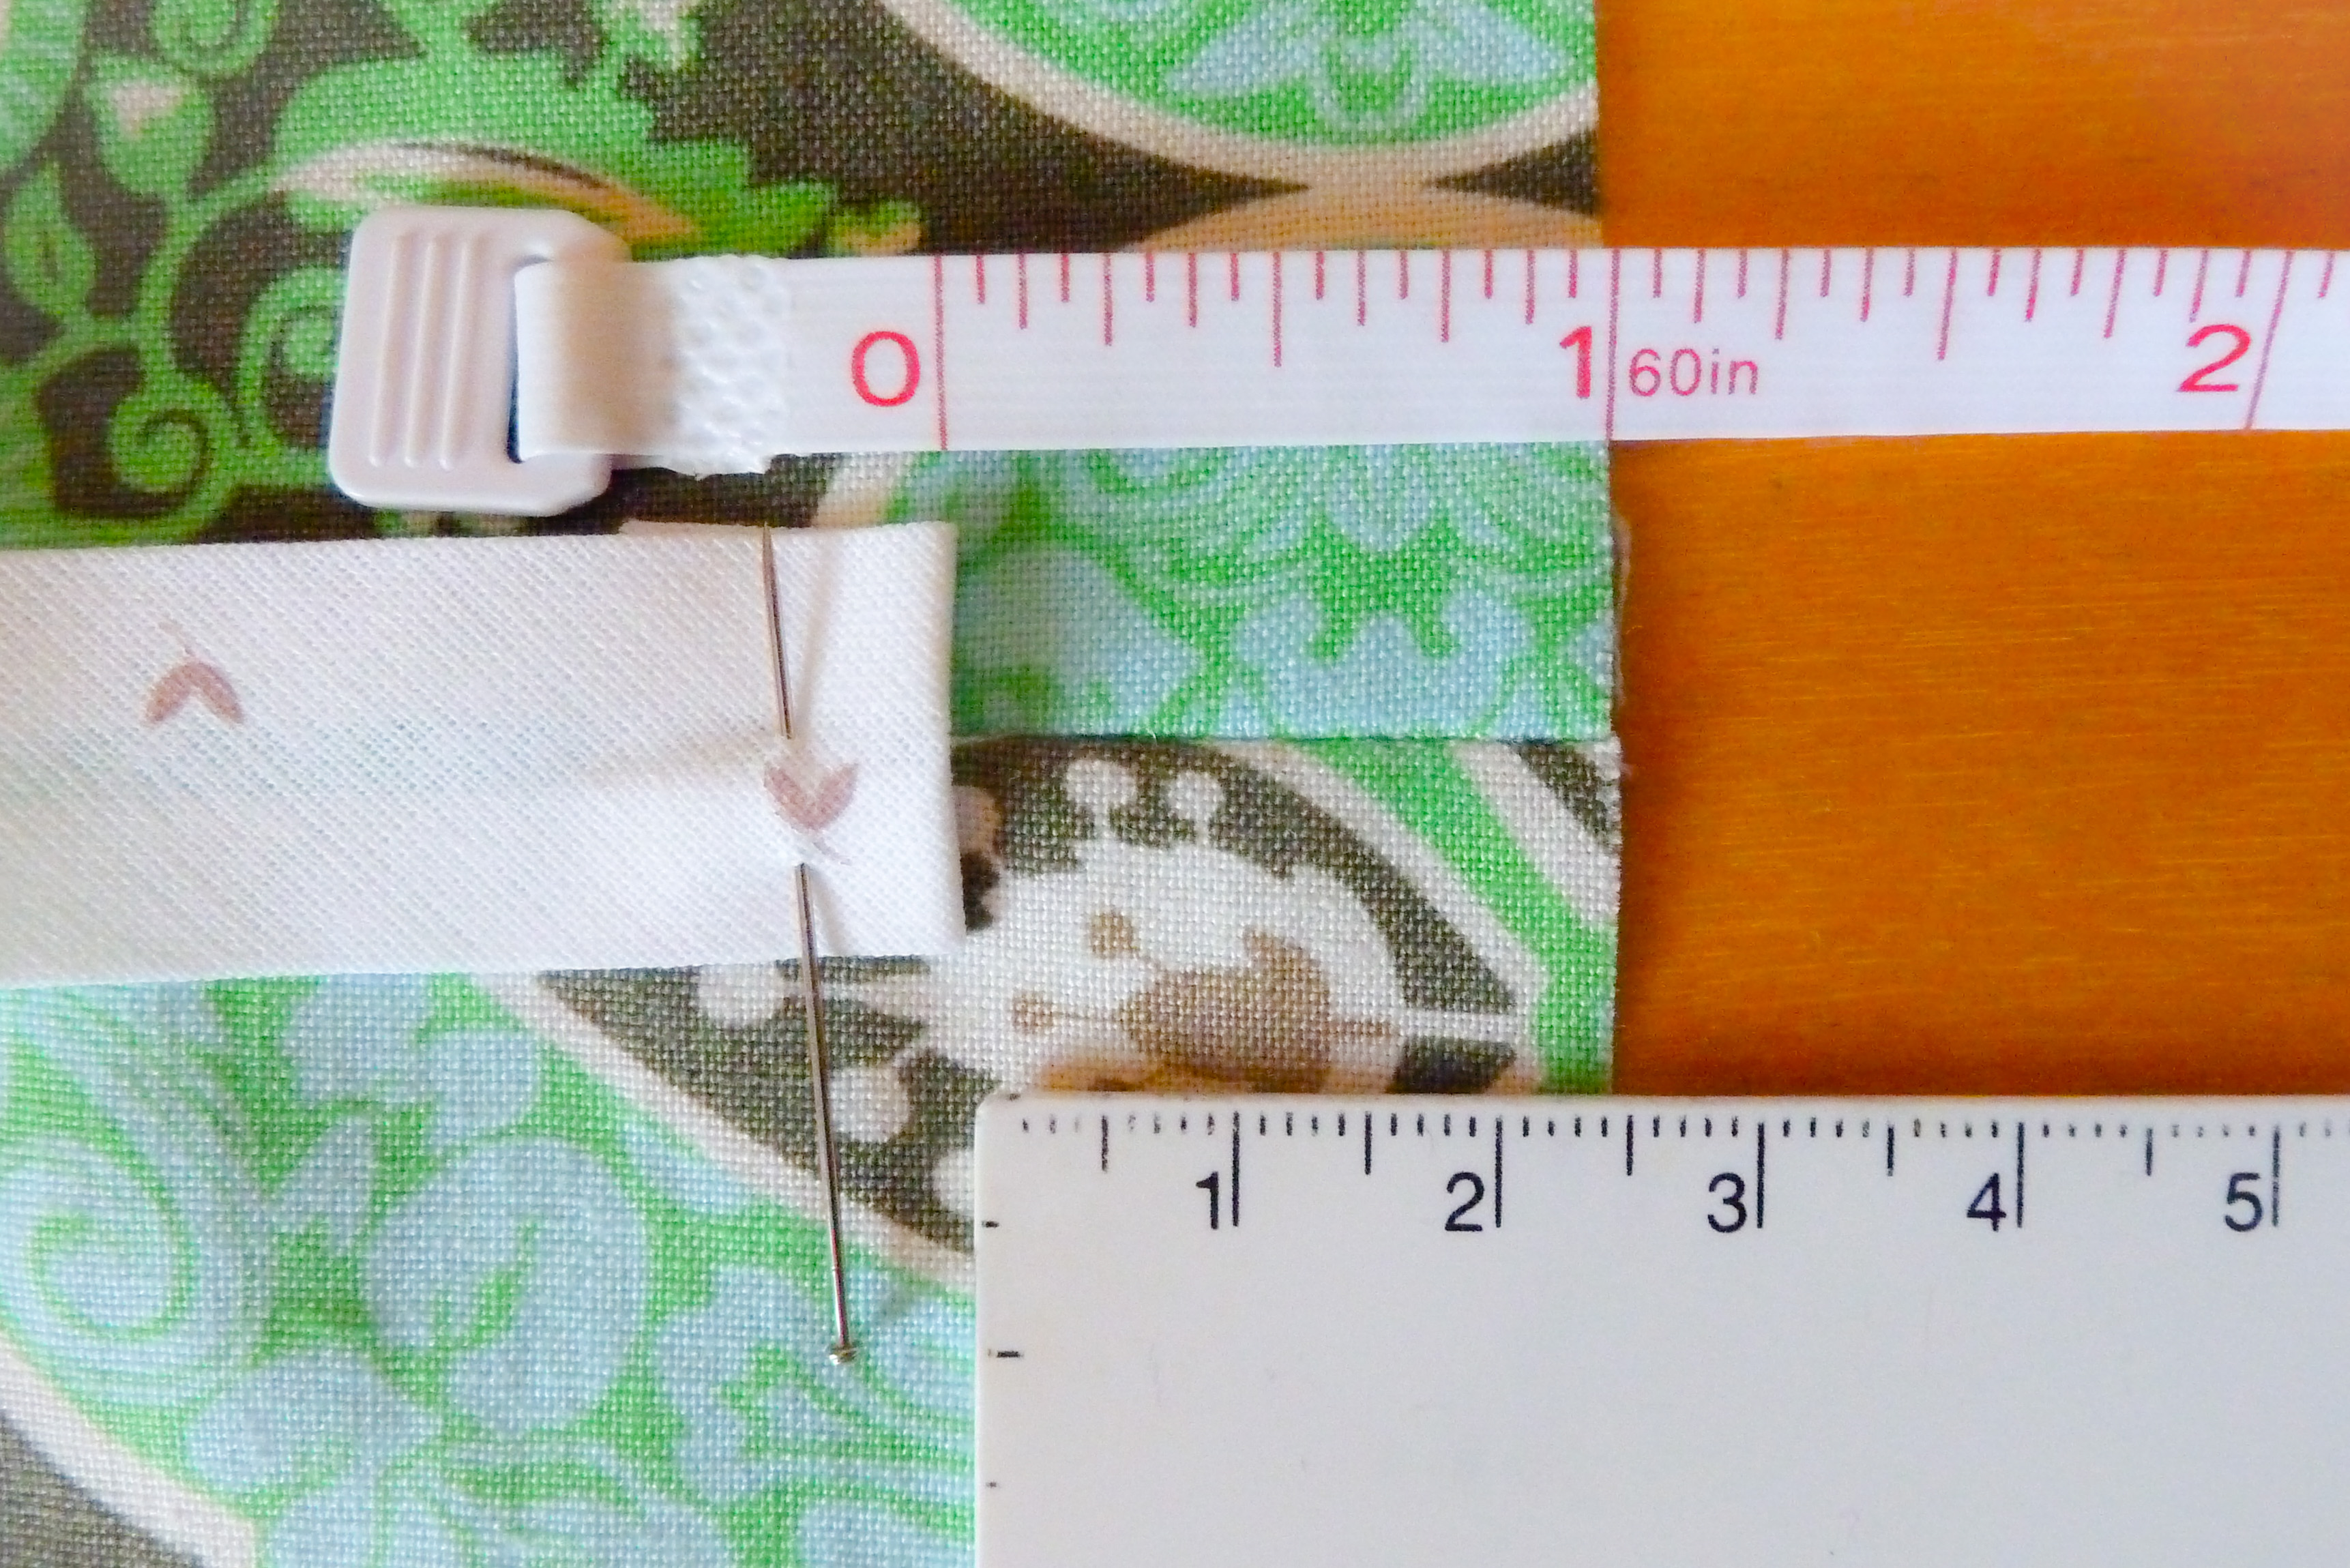
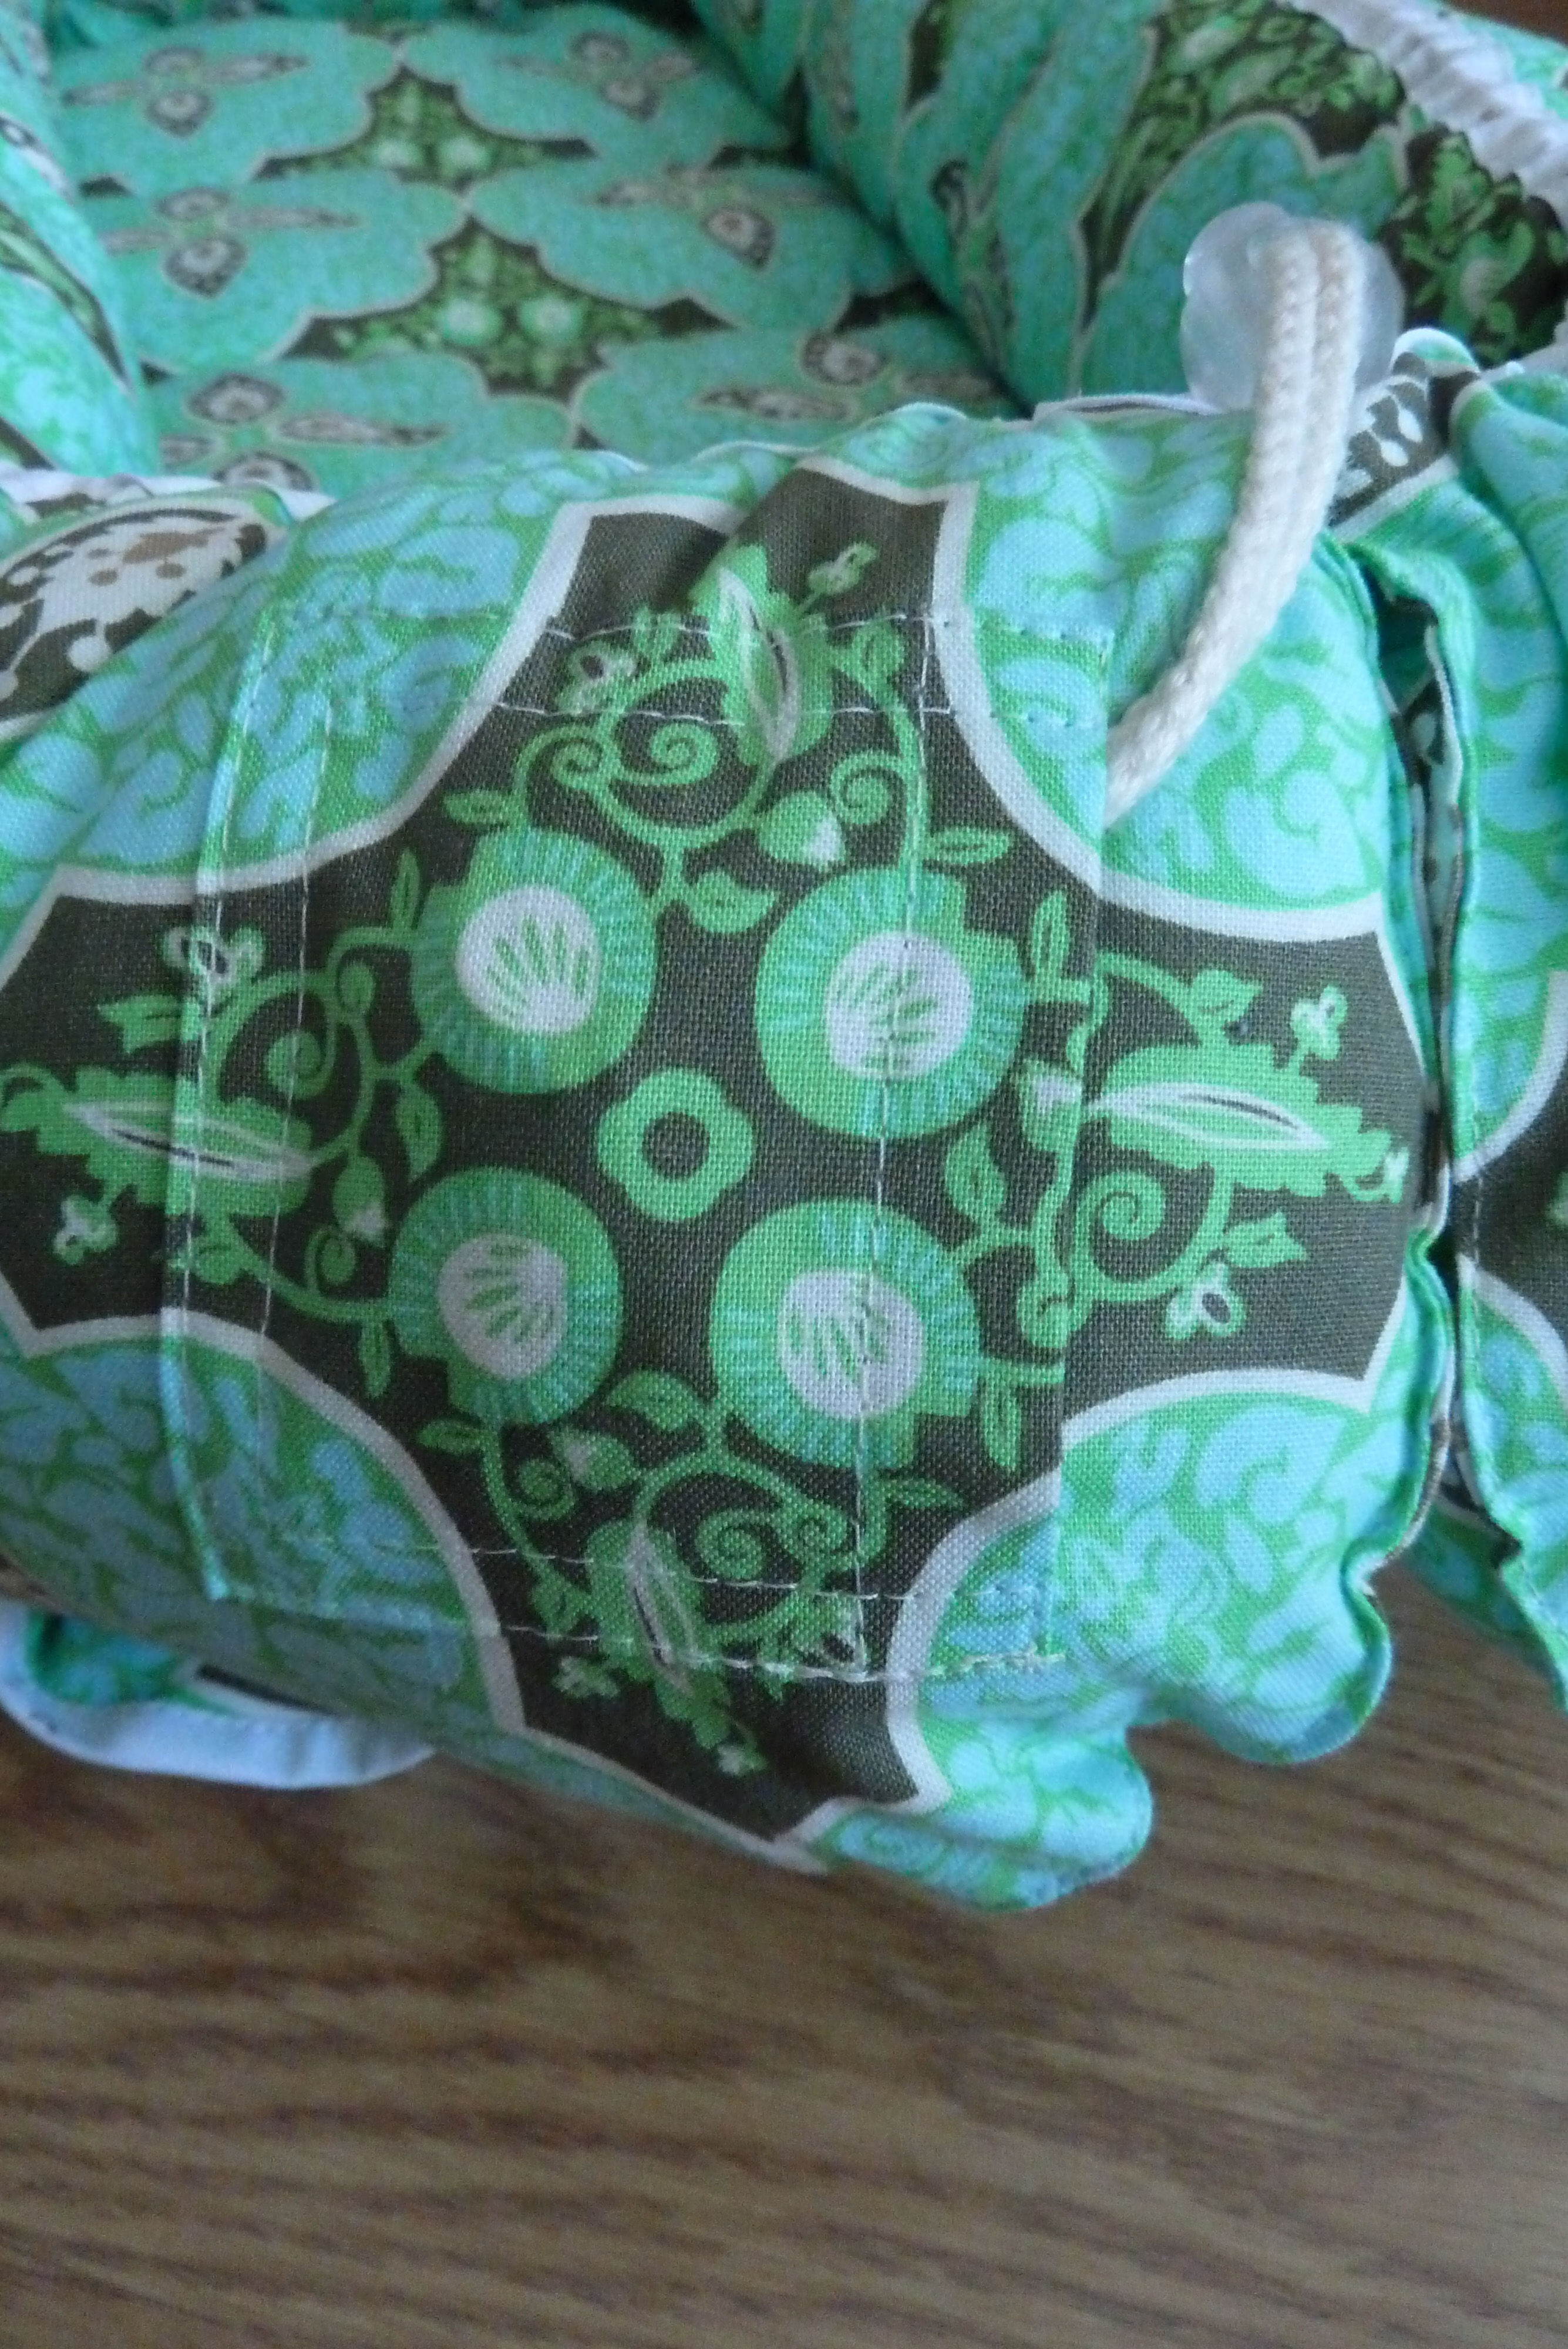
Bonus Sew-along Tip!
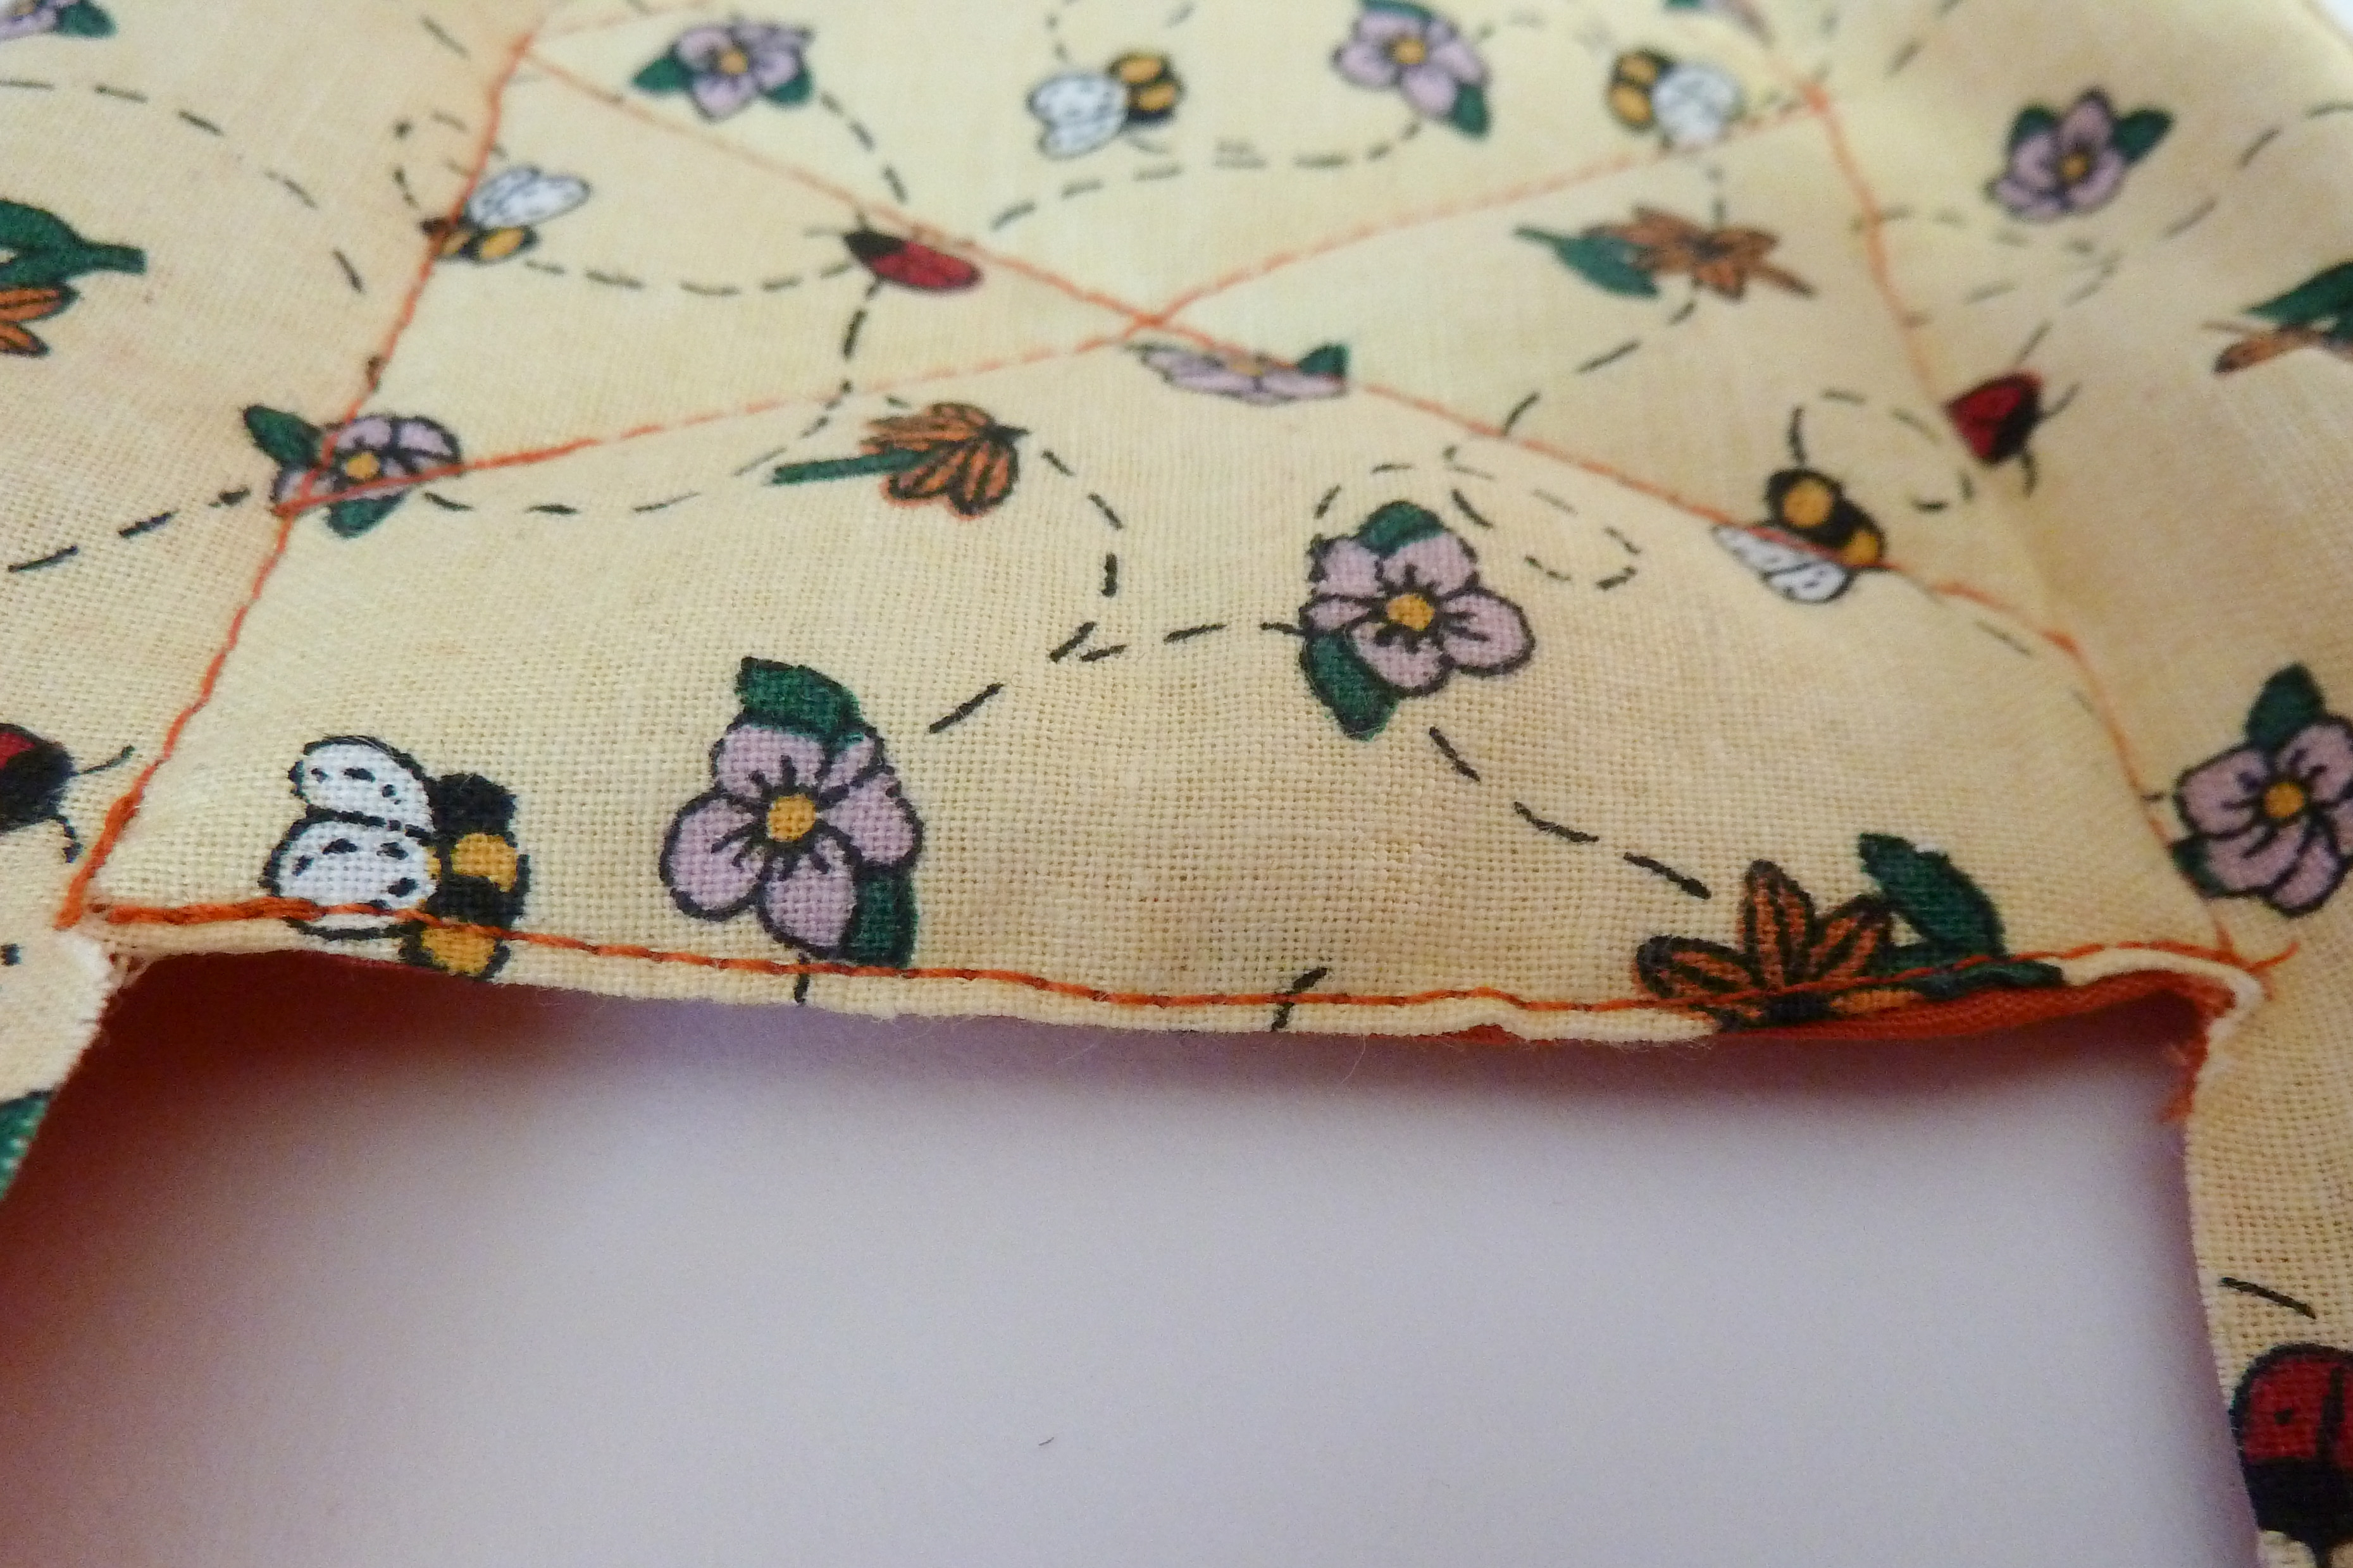
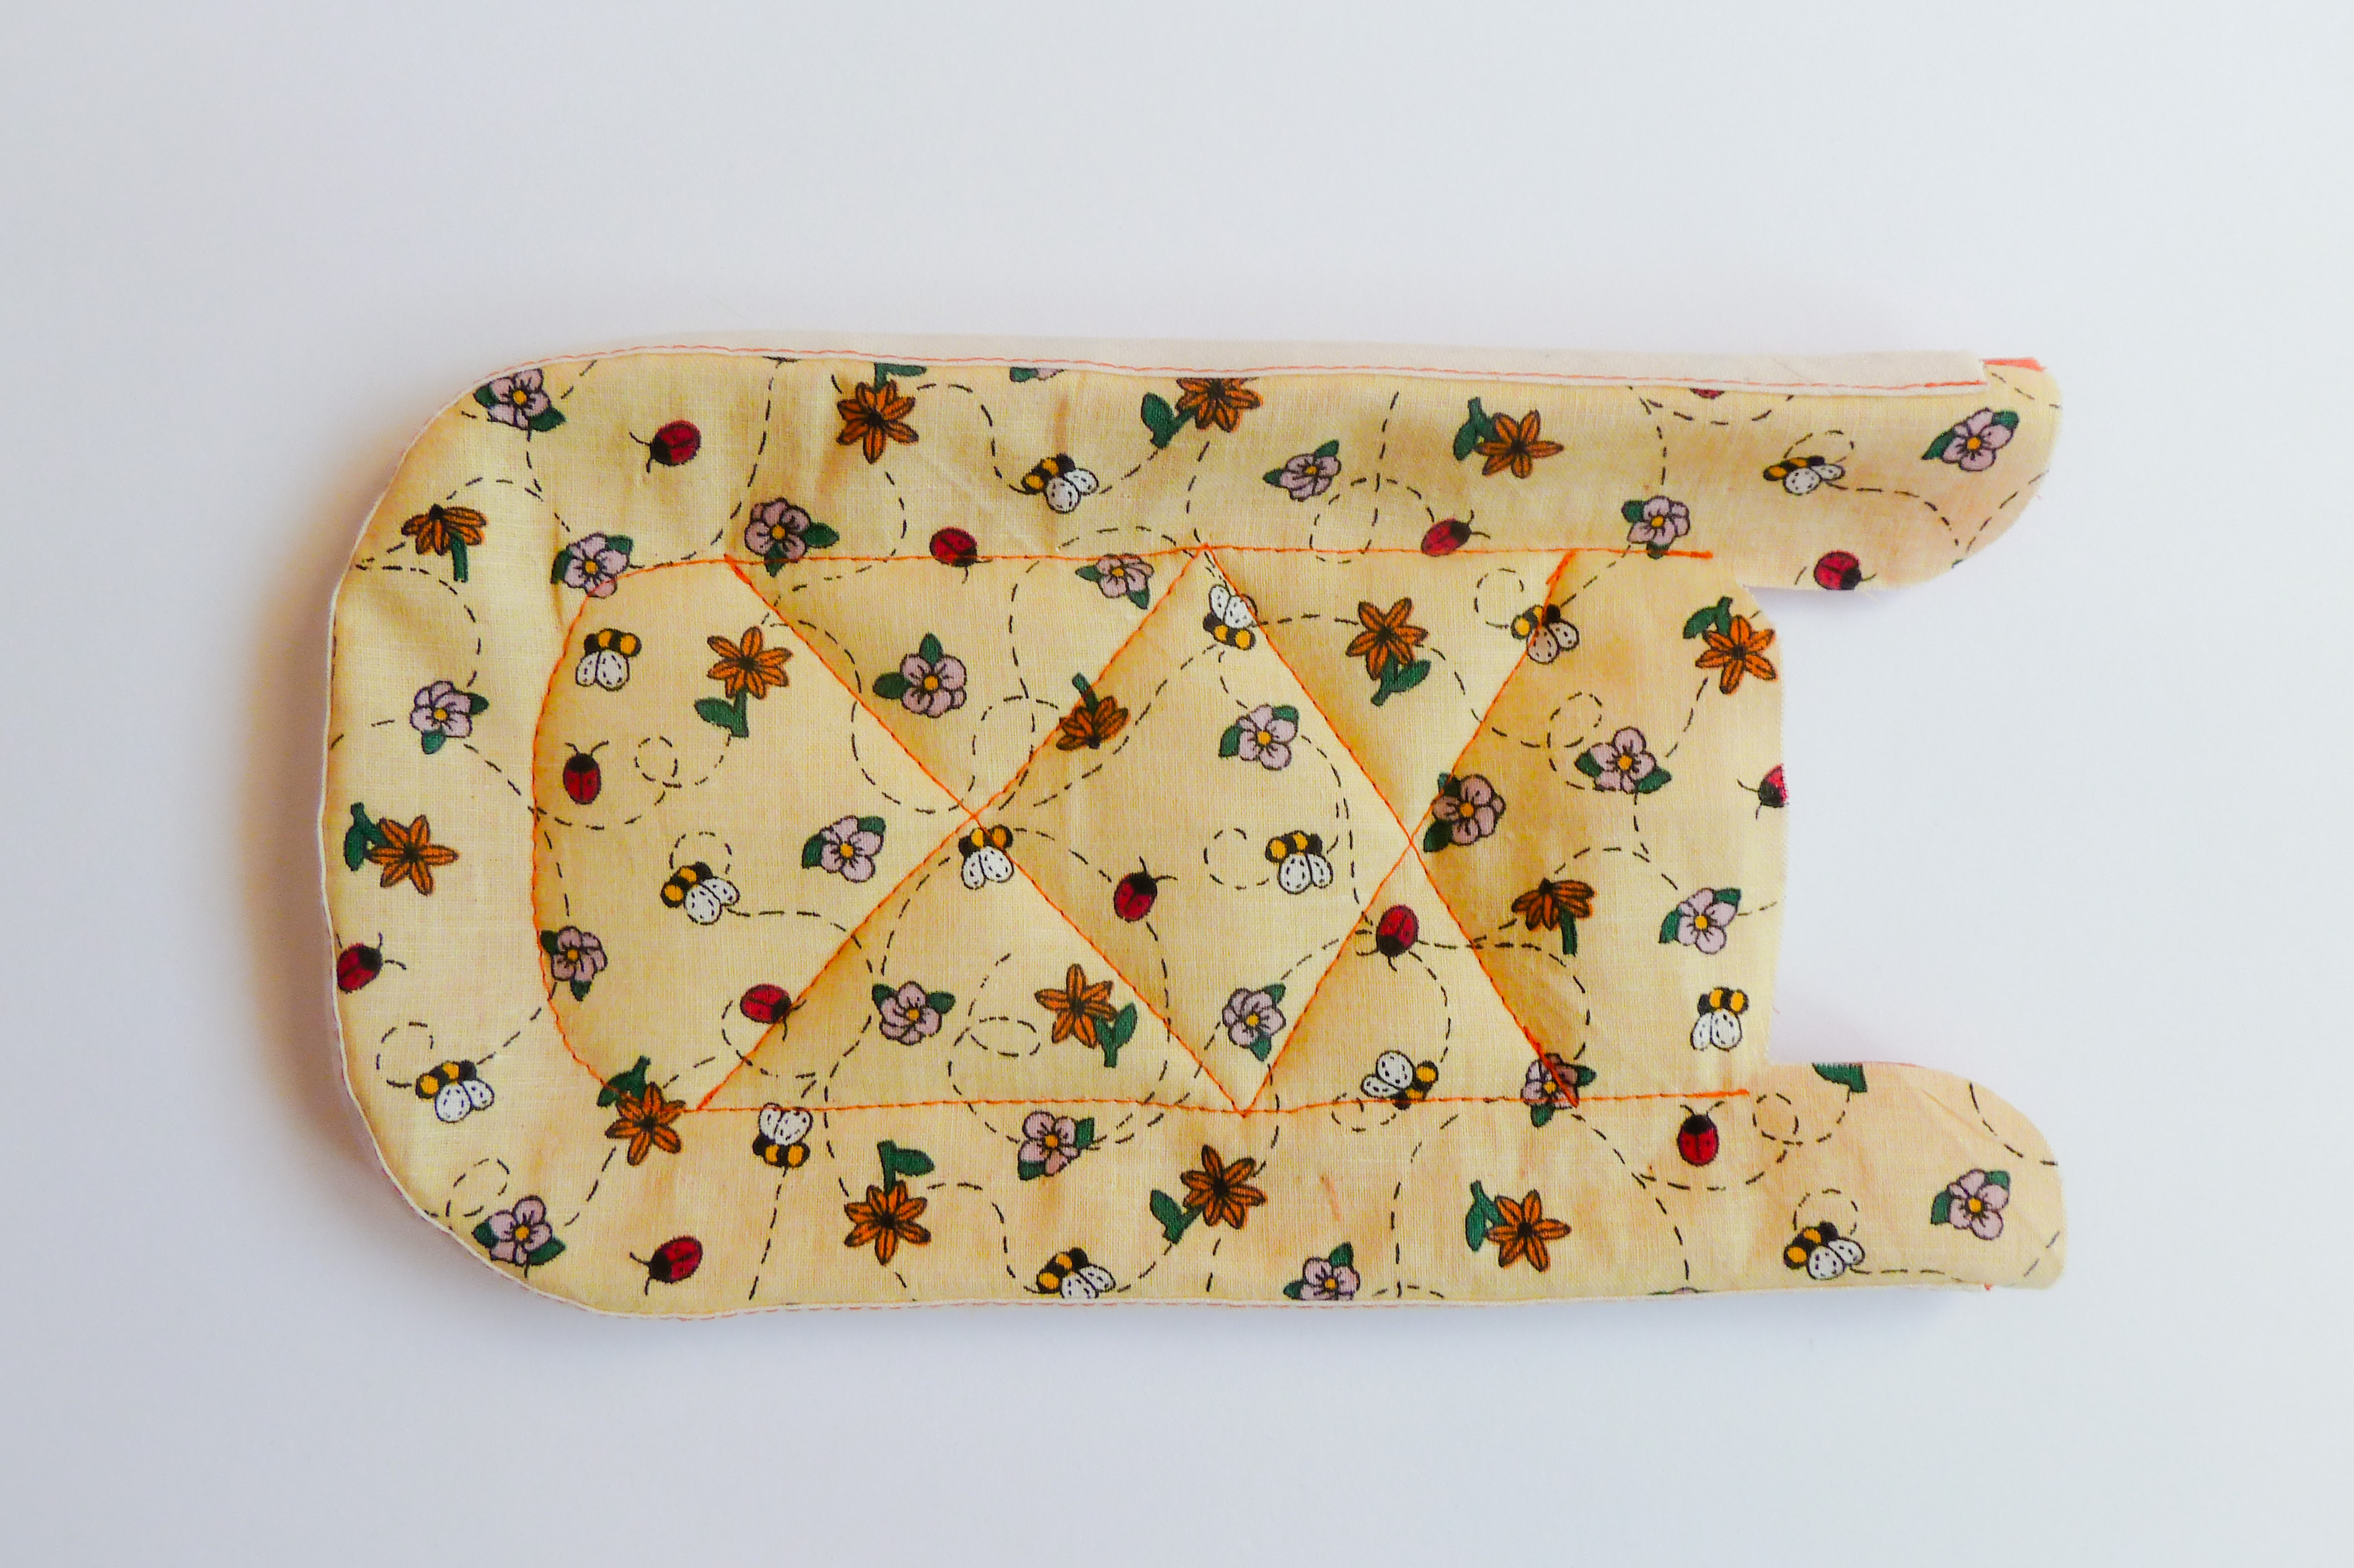
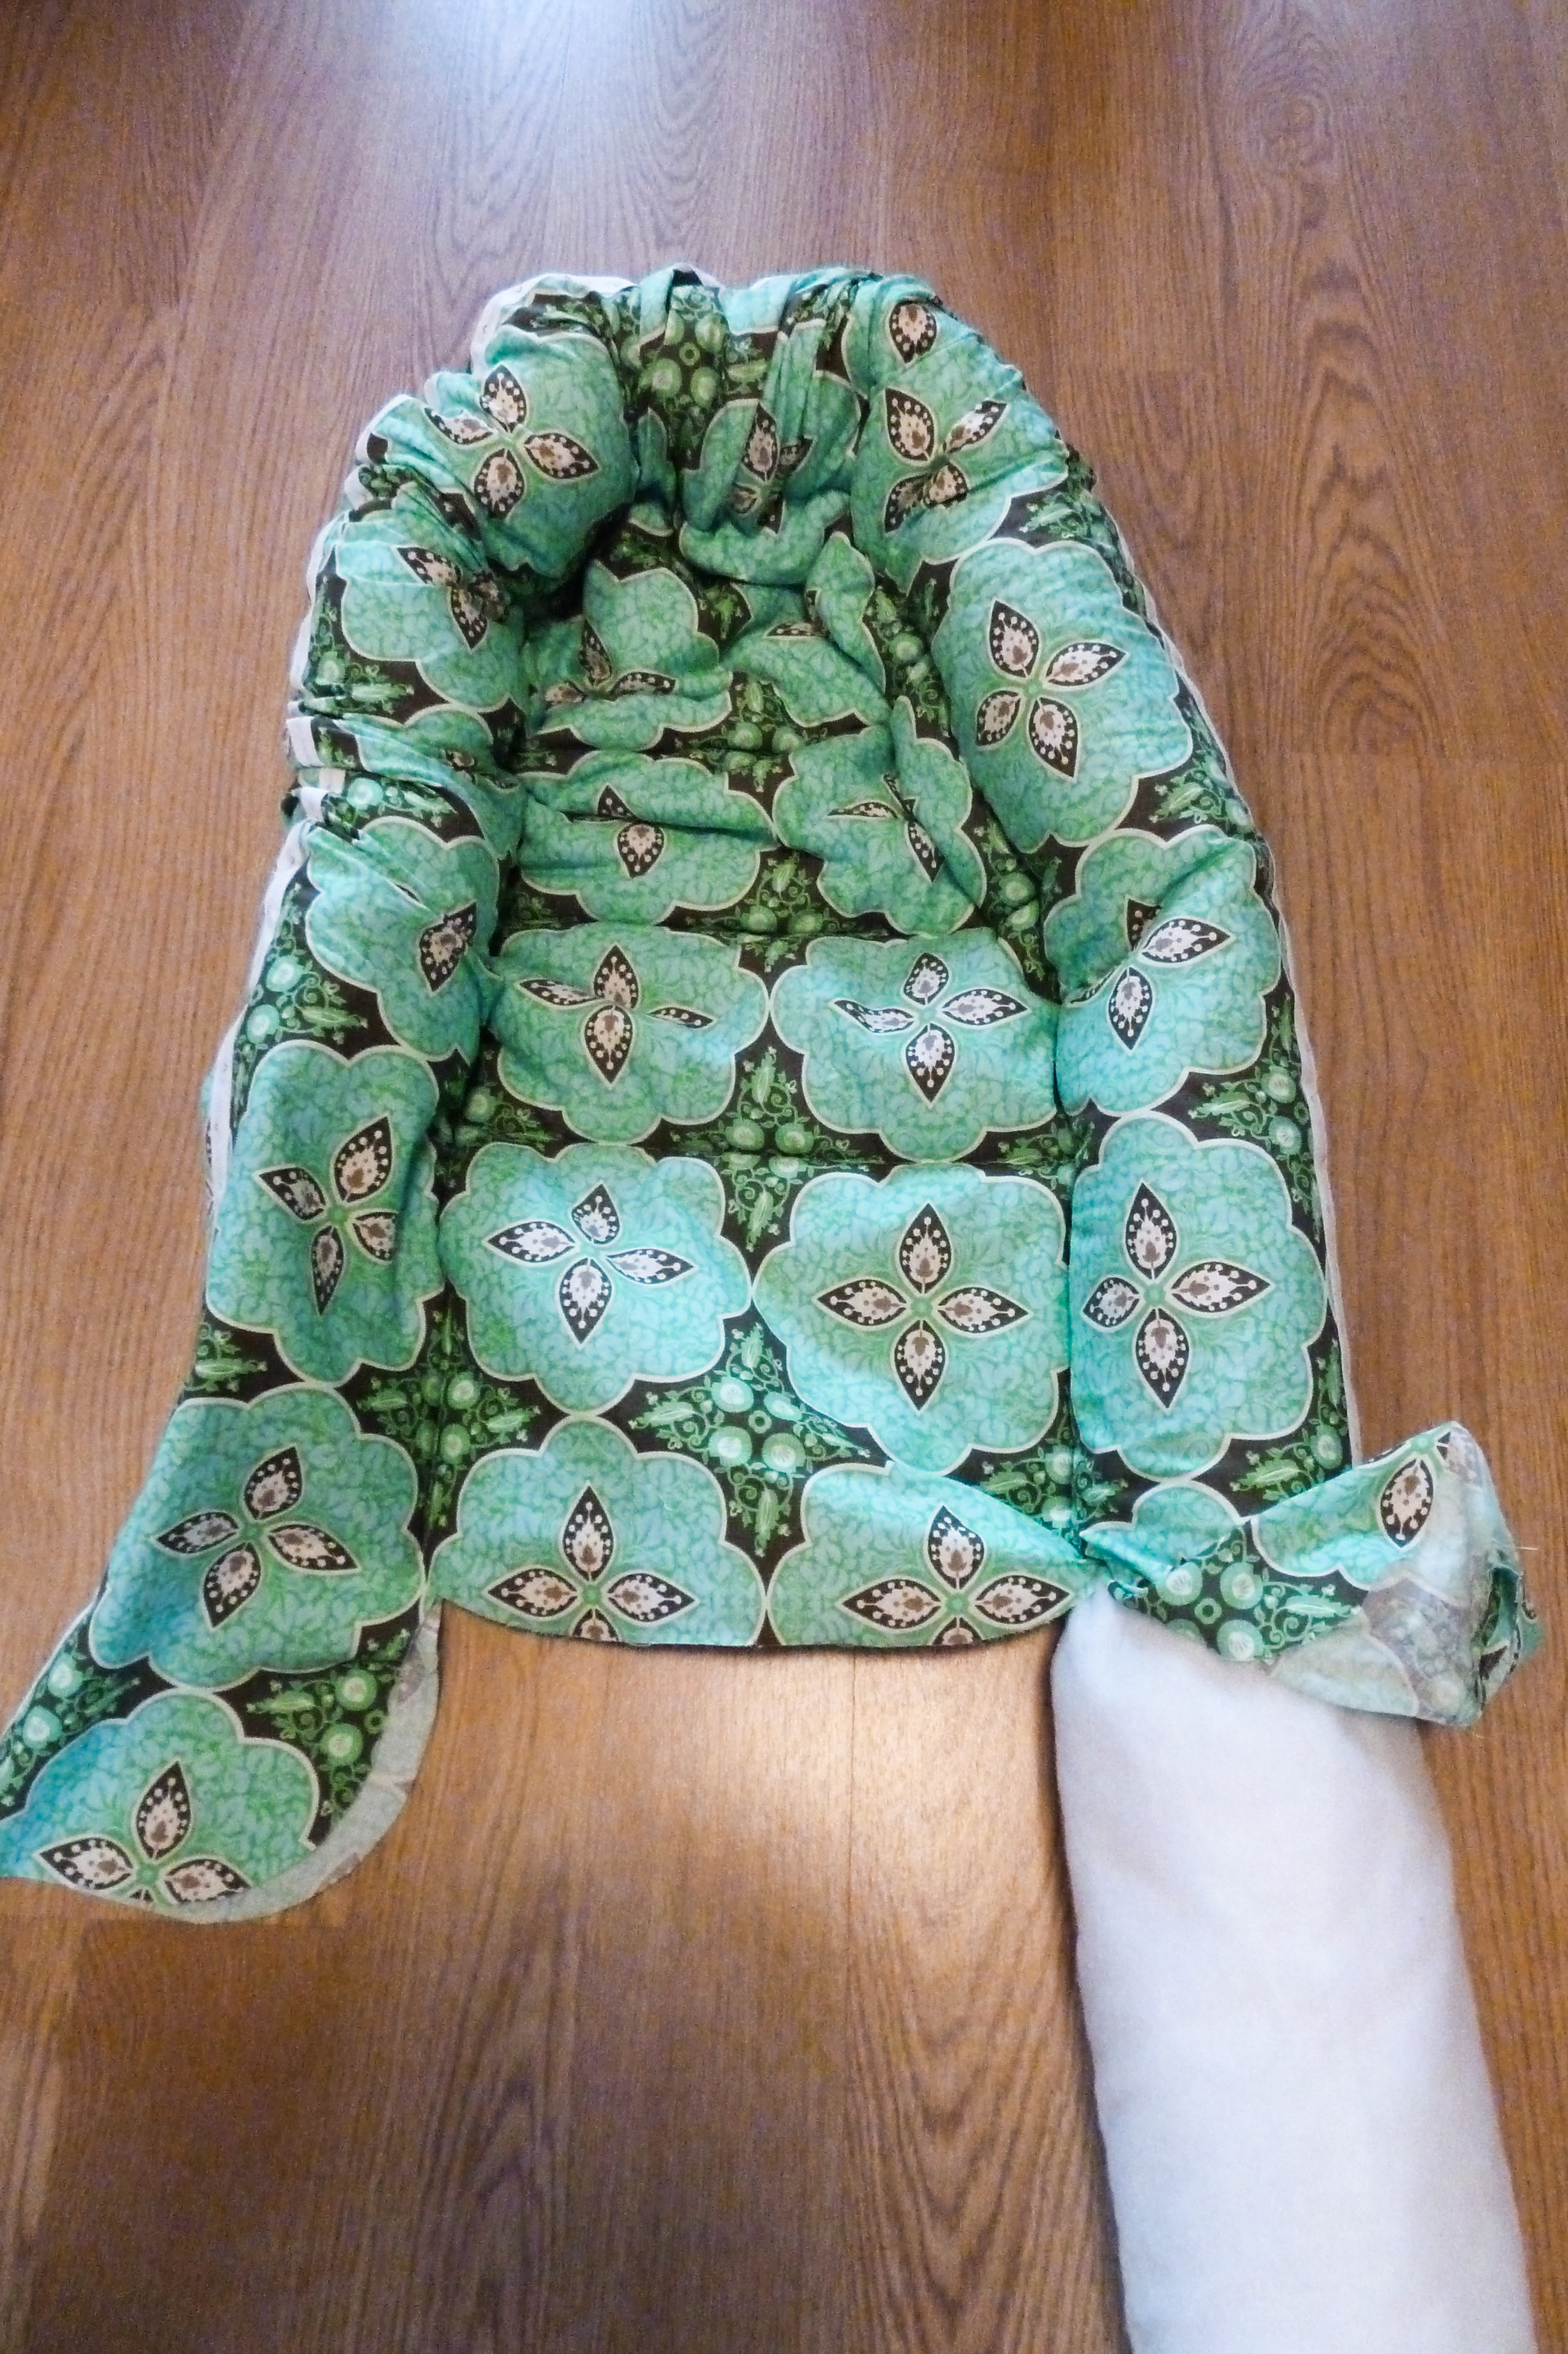
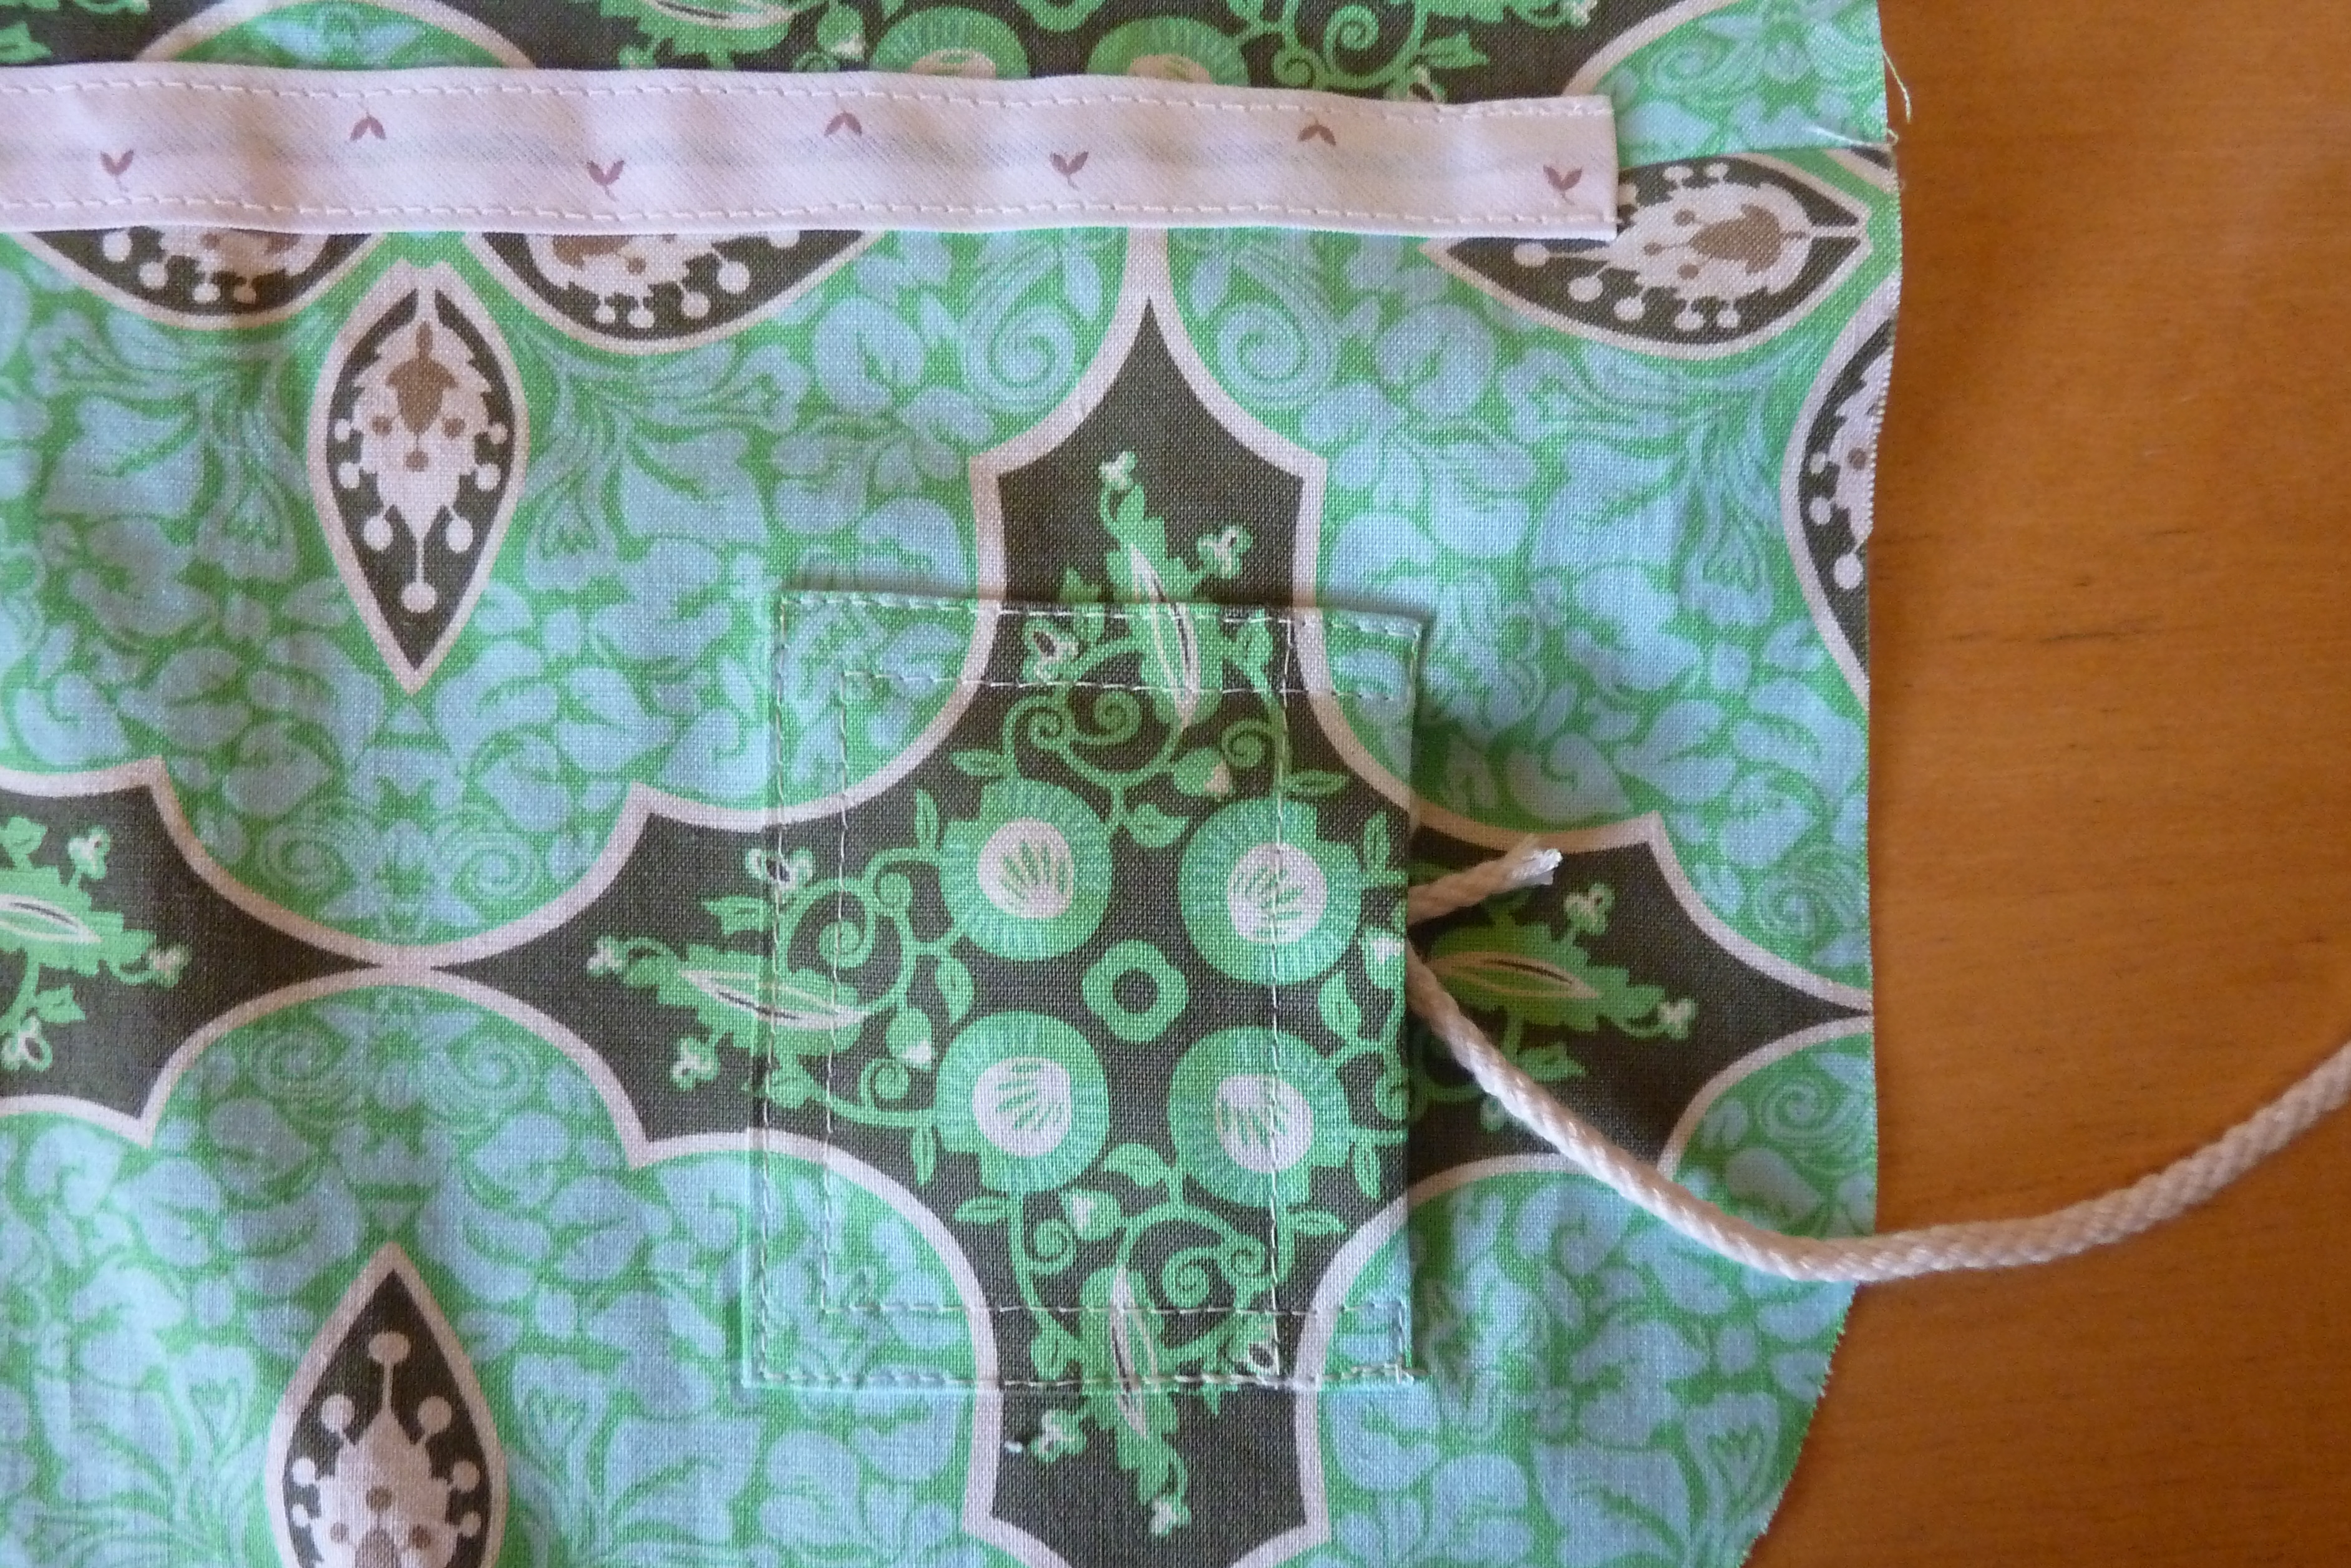
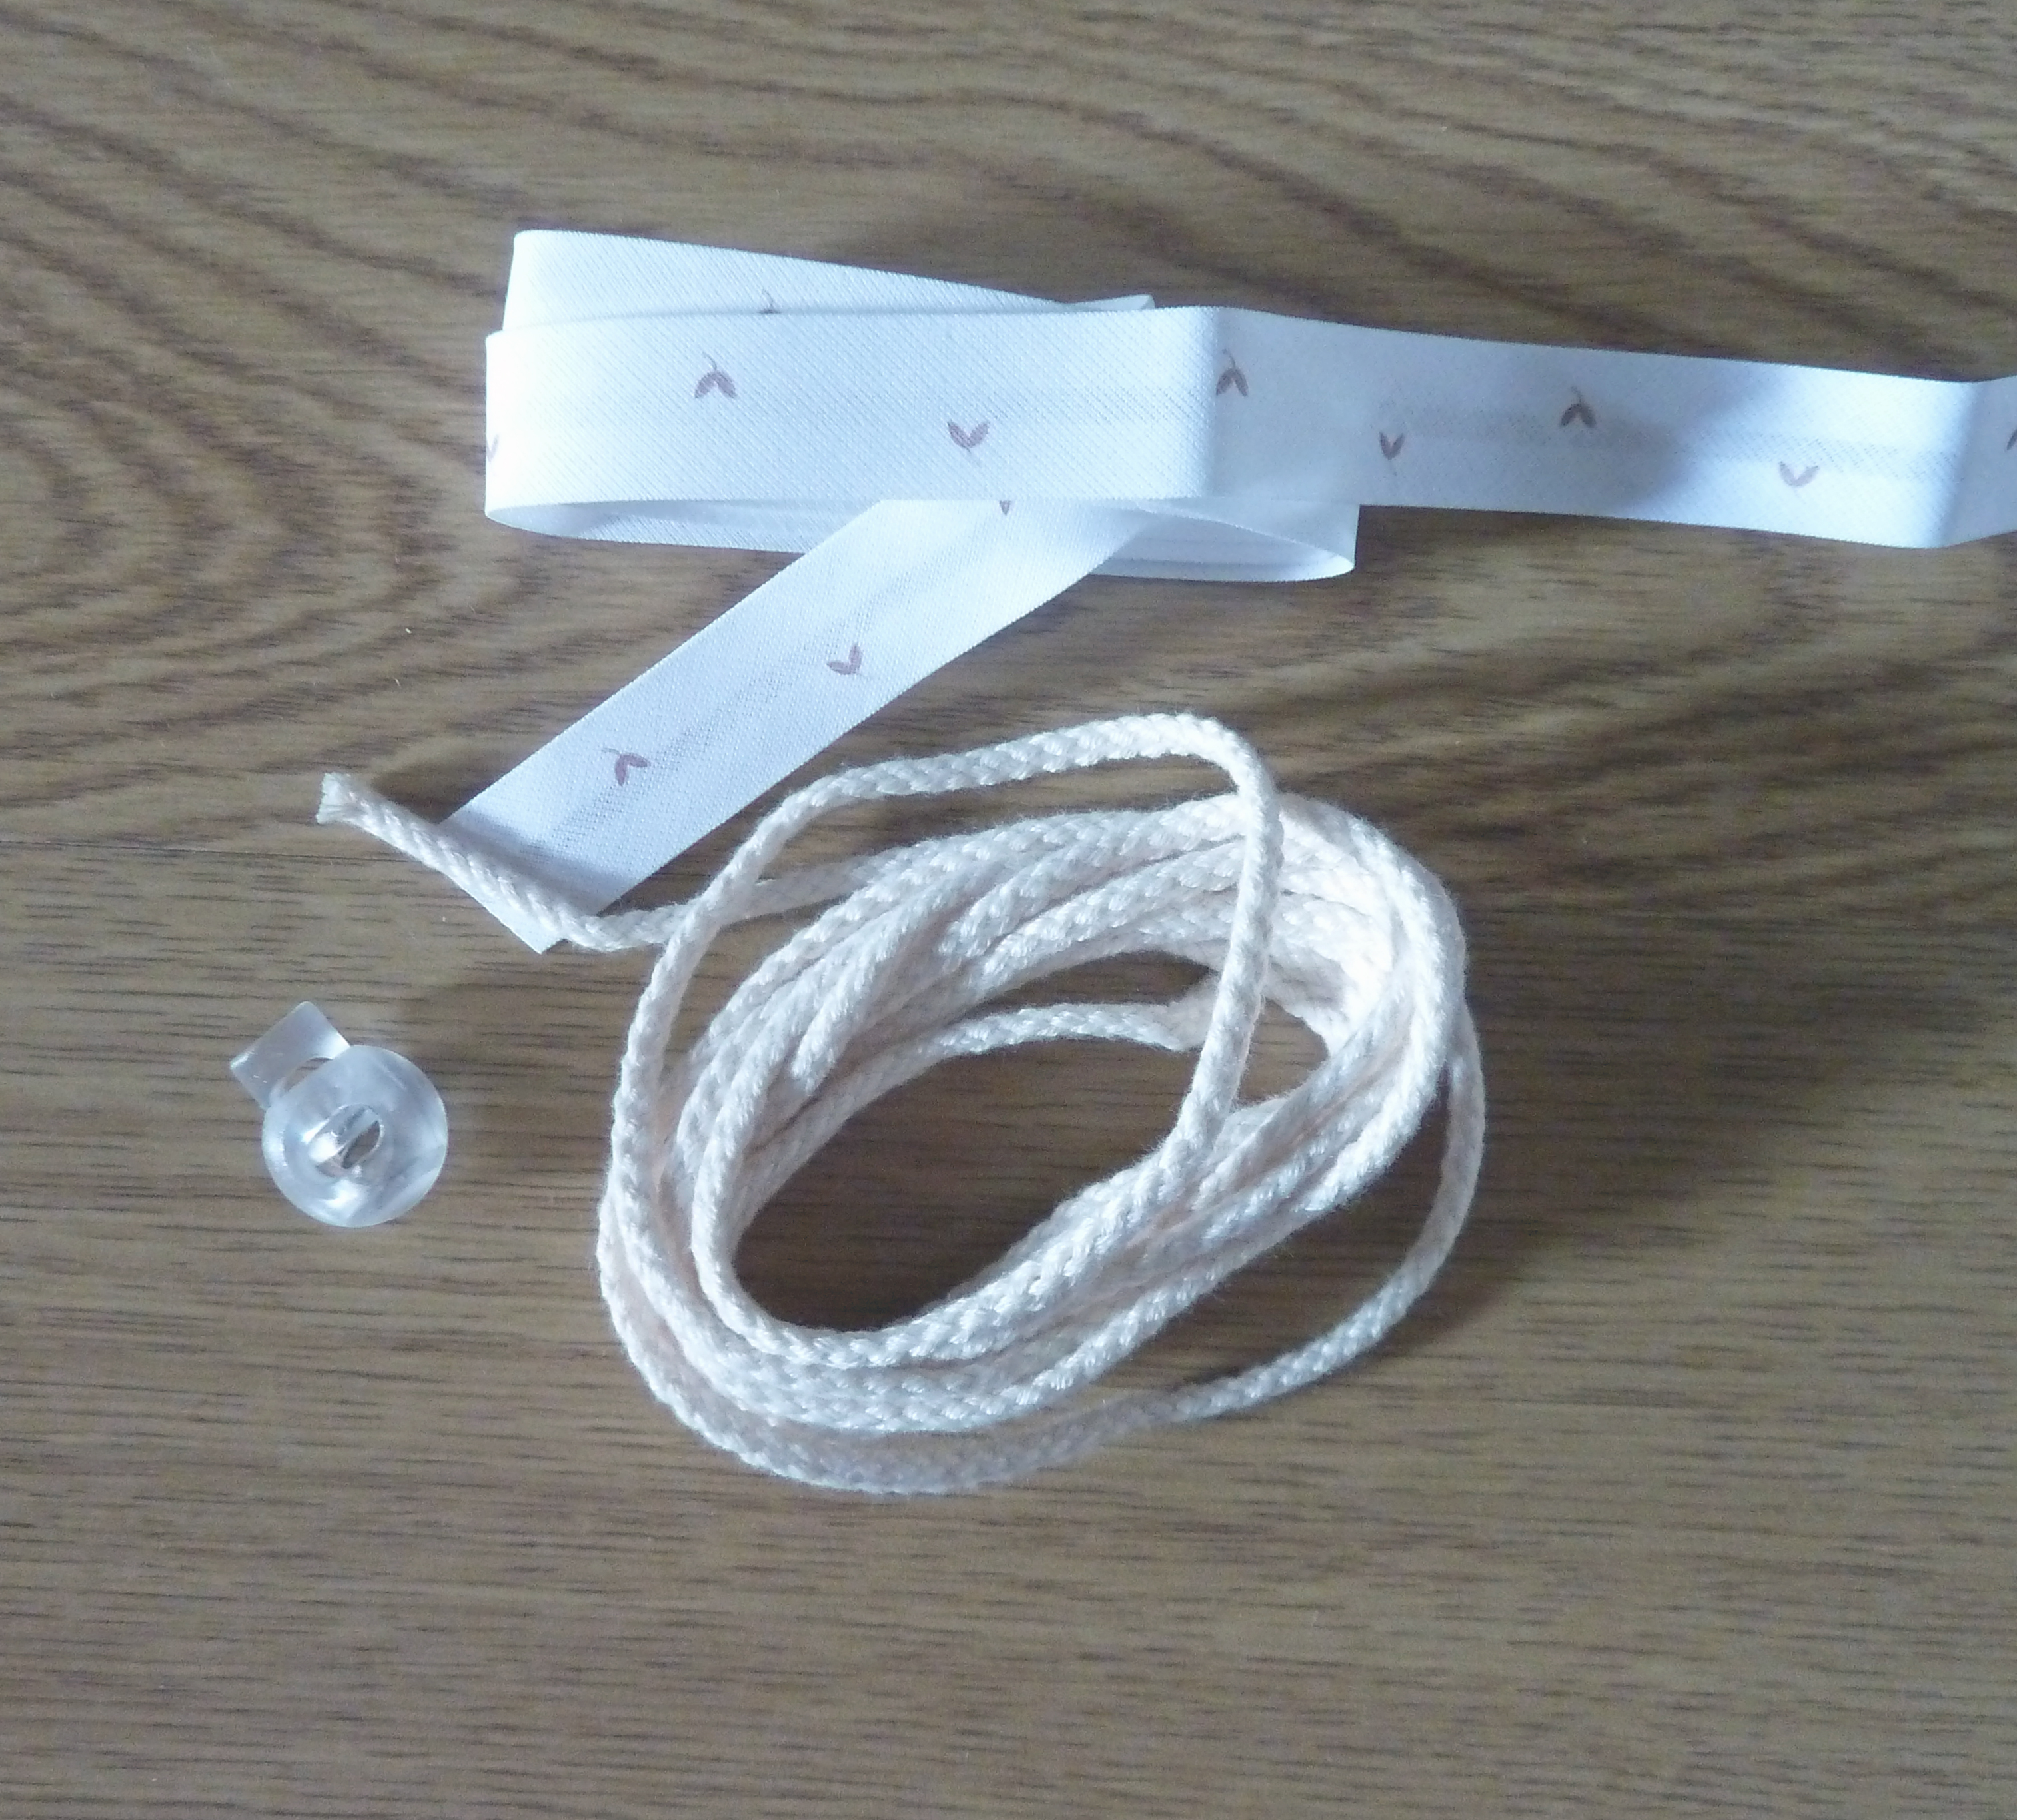
Optional – Make a little pocket to hold your drawstring cord.
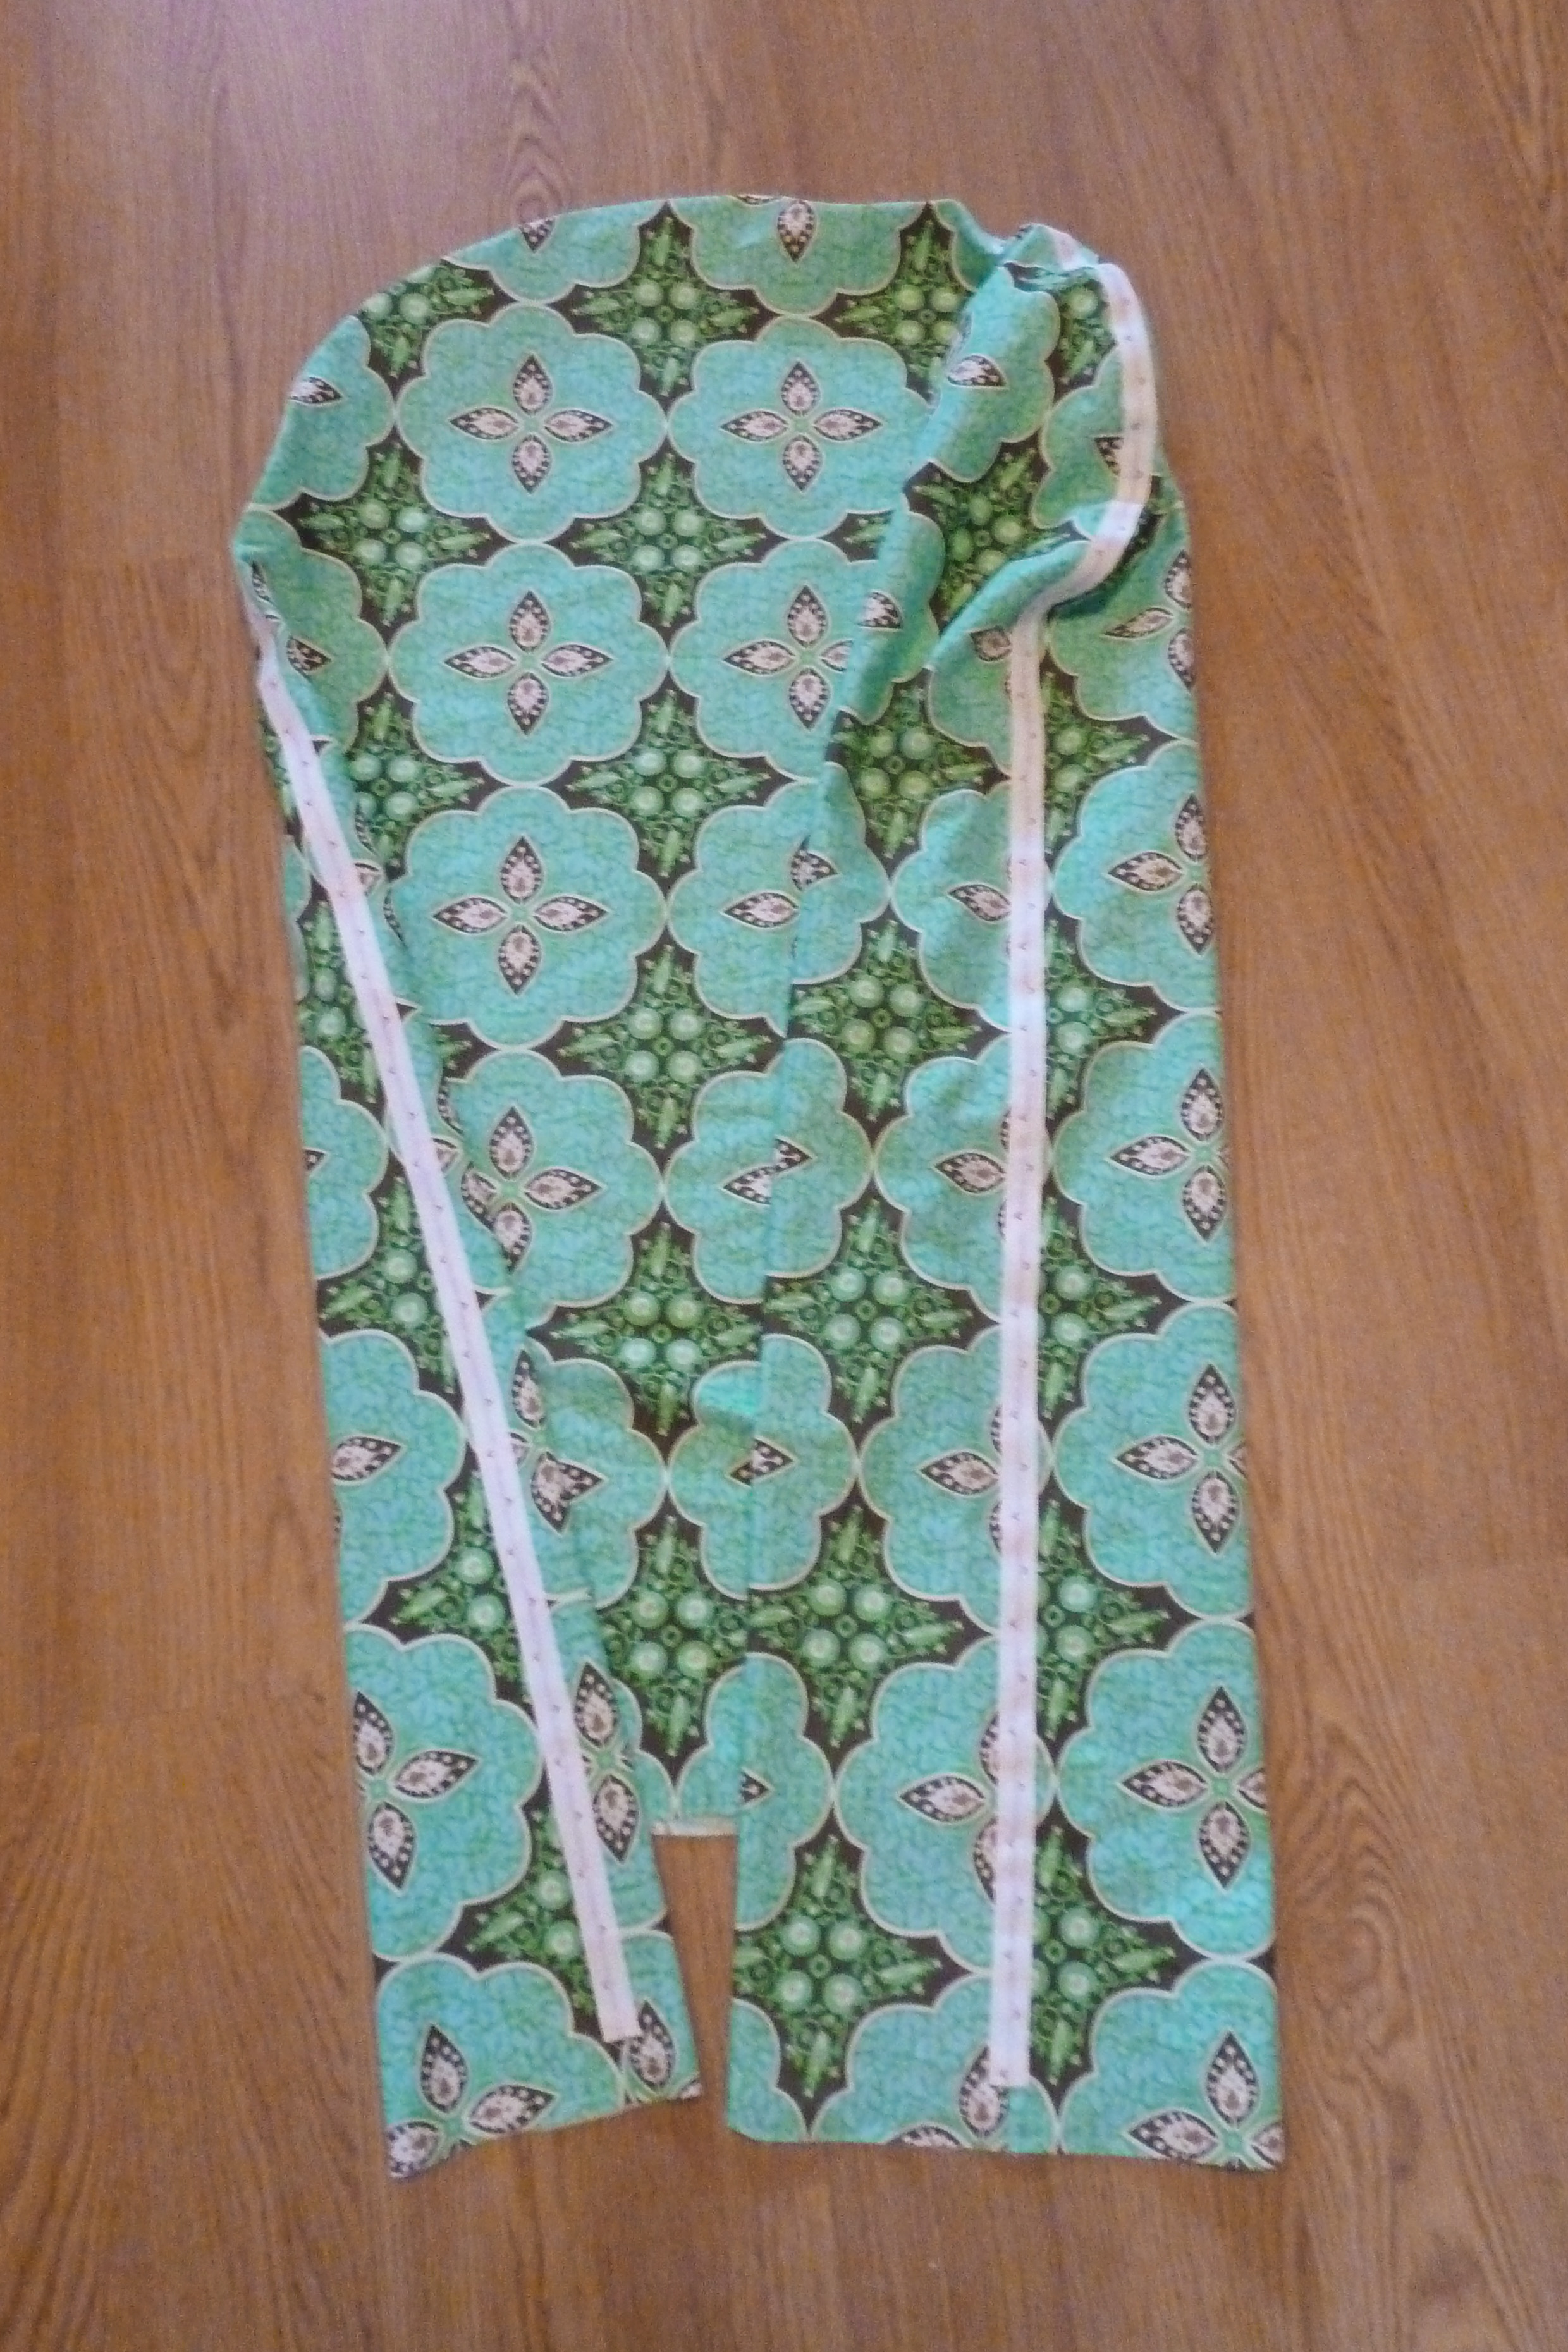
We’re almost there, just a few more steps. Come back next week for the final part of the Scandi Baby Nest Sew-along! :)

Here are my photos from last weeks Sewvember:
17. Planning
18. Fun
19. Fit
20. Notions
21. Craziest Fabric
22. Tried and True
23. Patterns
First things first, Sorry for the bad quality of some of the photos, the only weather we’ve had here for the past few weeks is grey clouds and dullness.
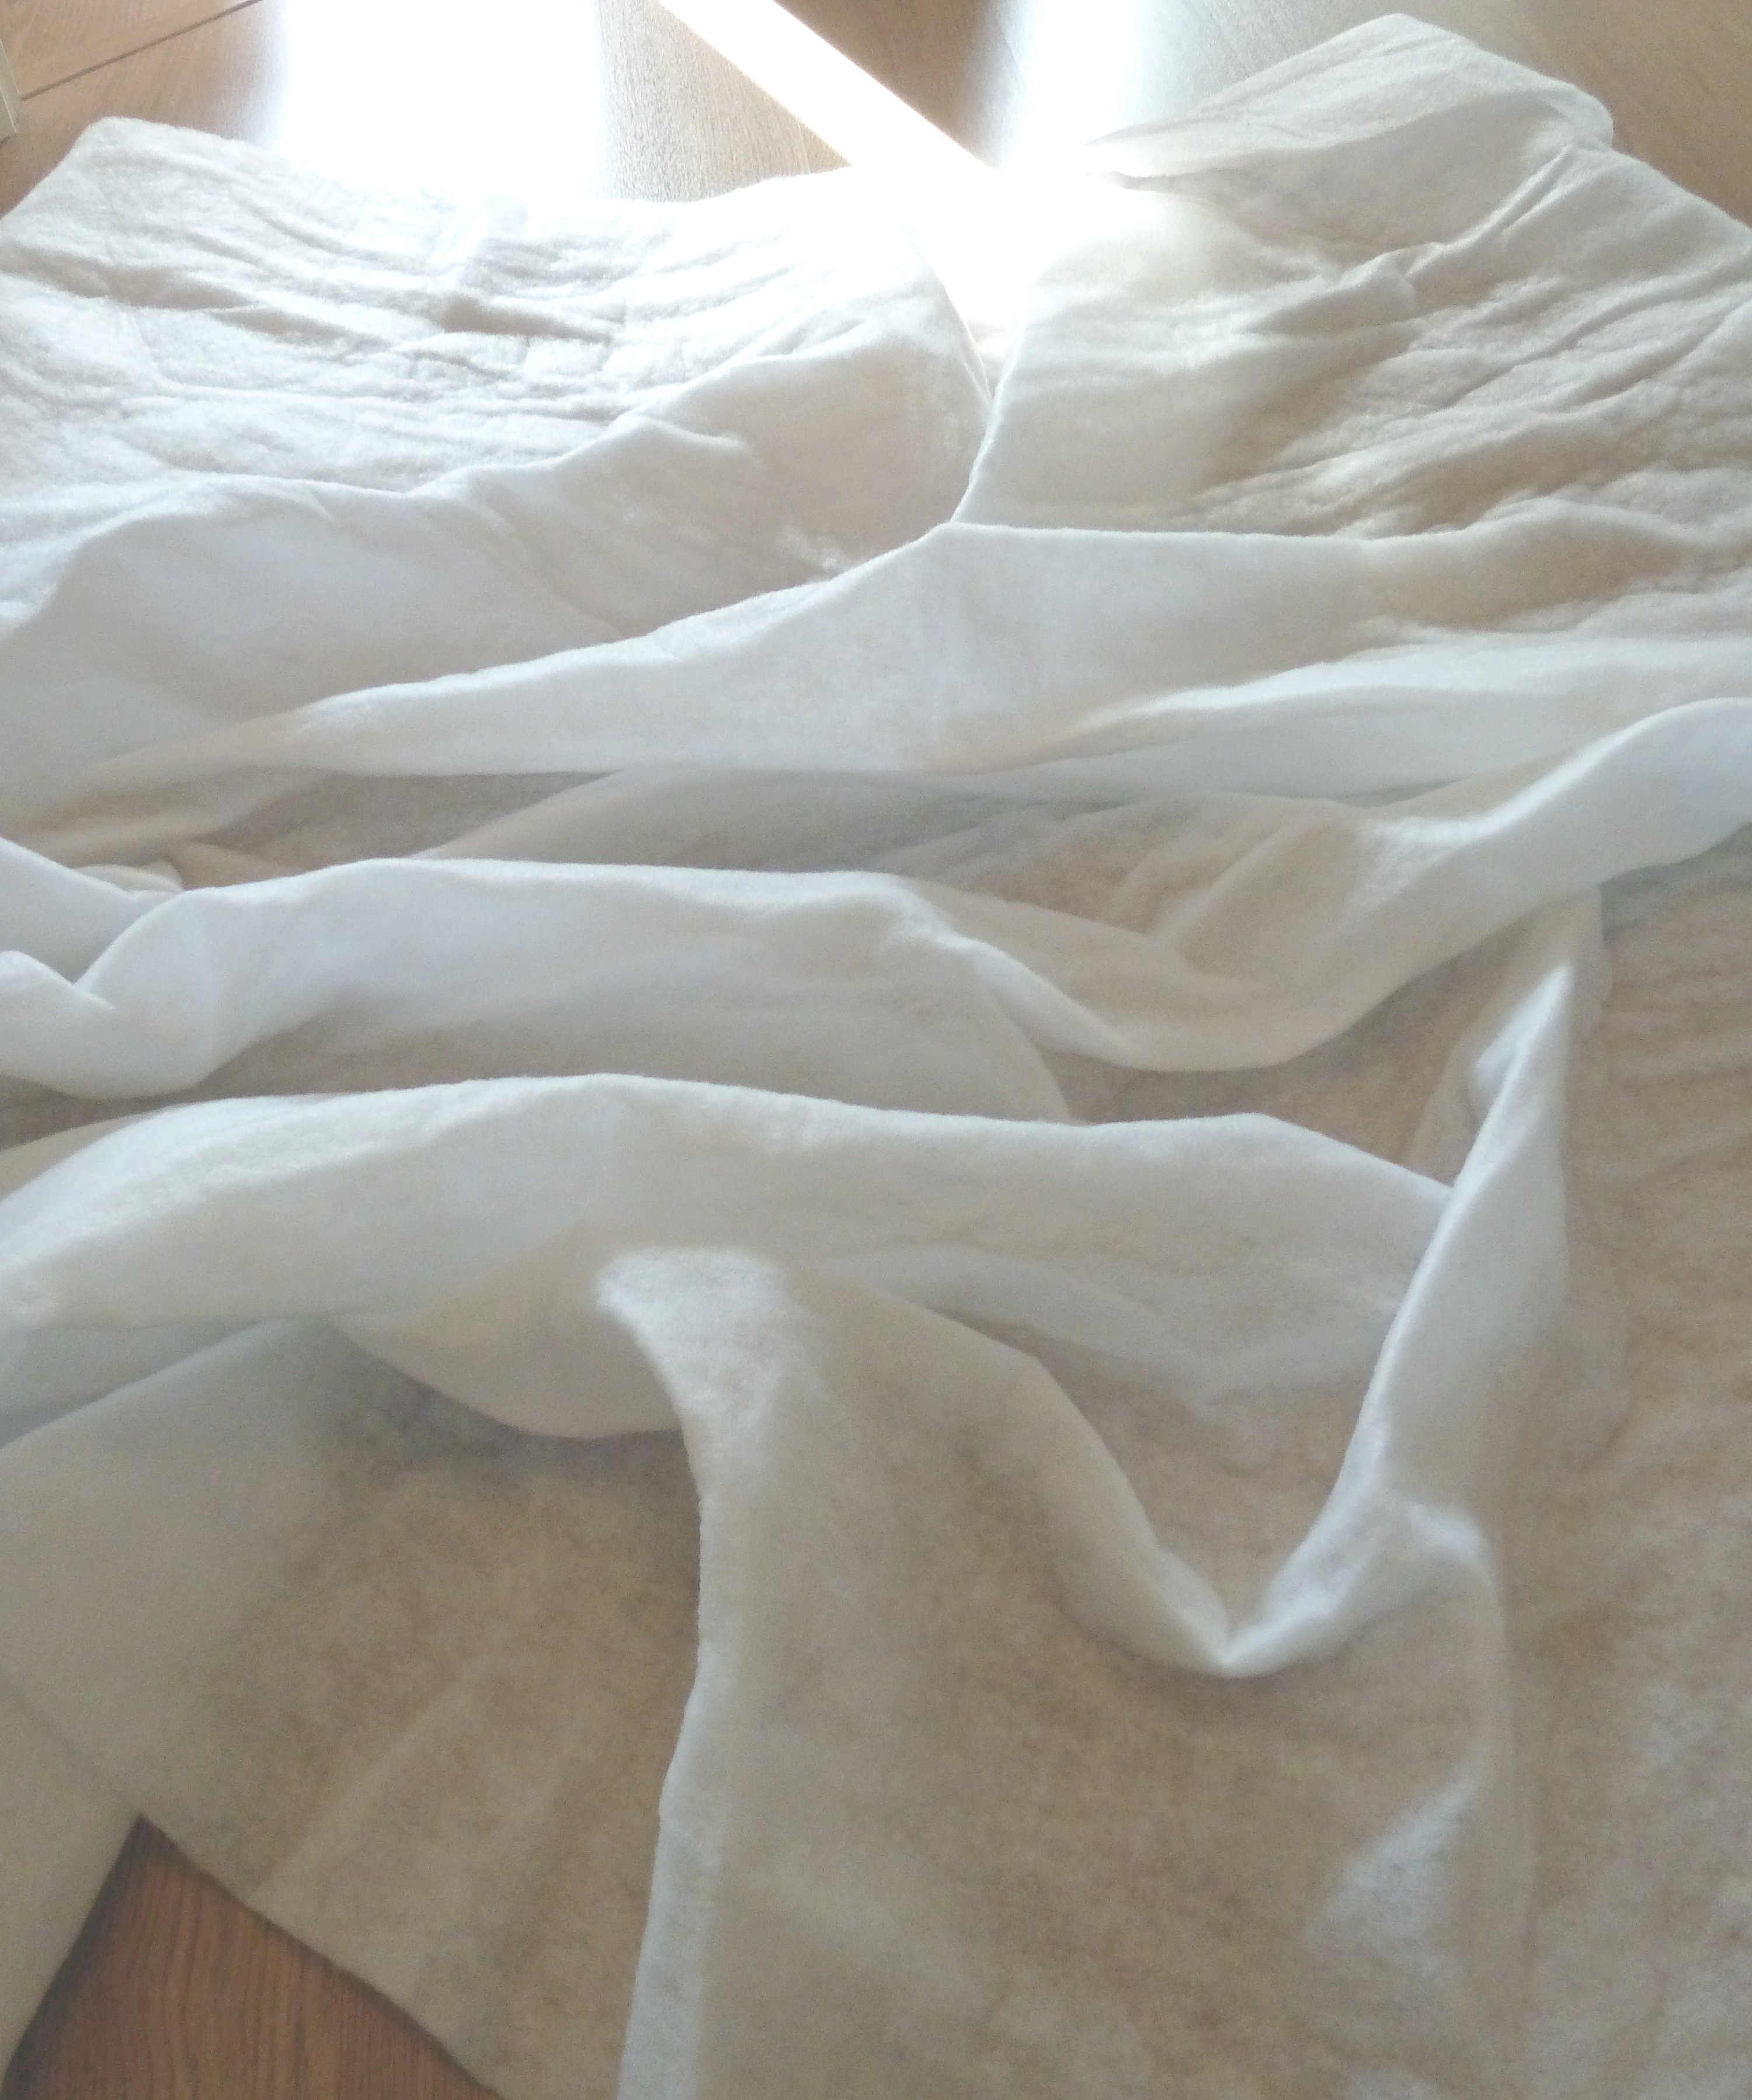
Secondly, before we start on our baby nests, have you washed your fabric? If not, do that!
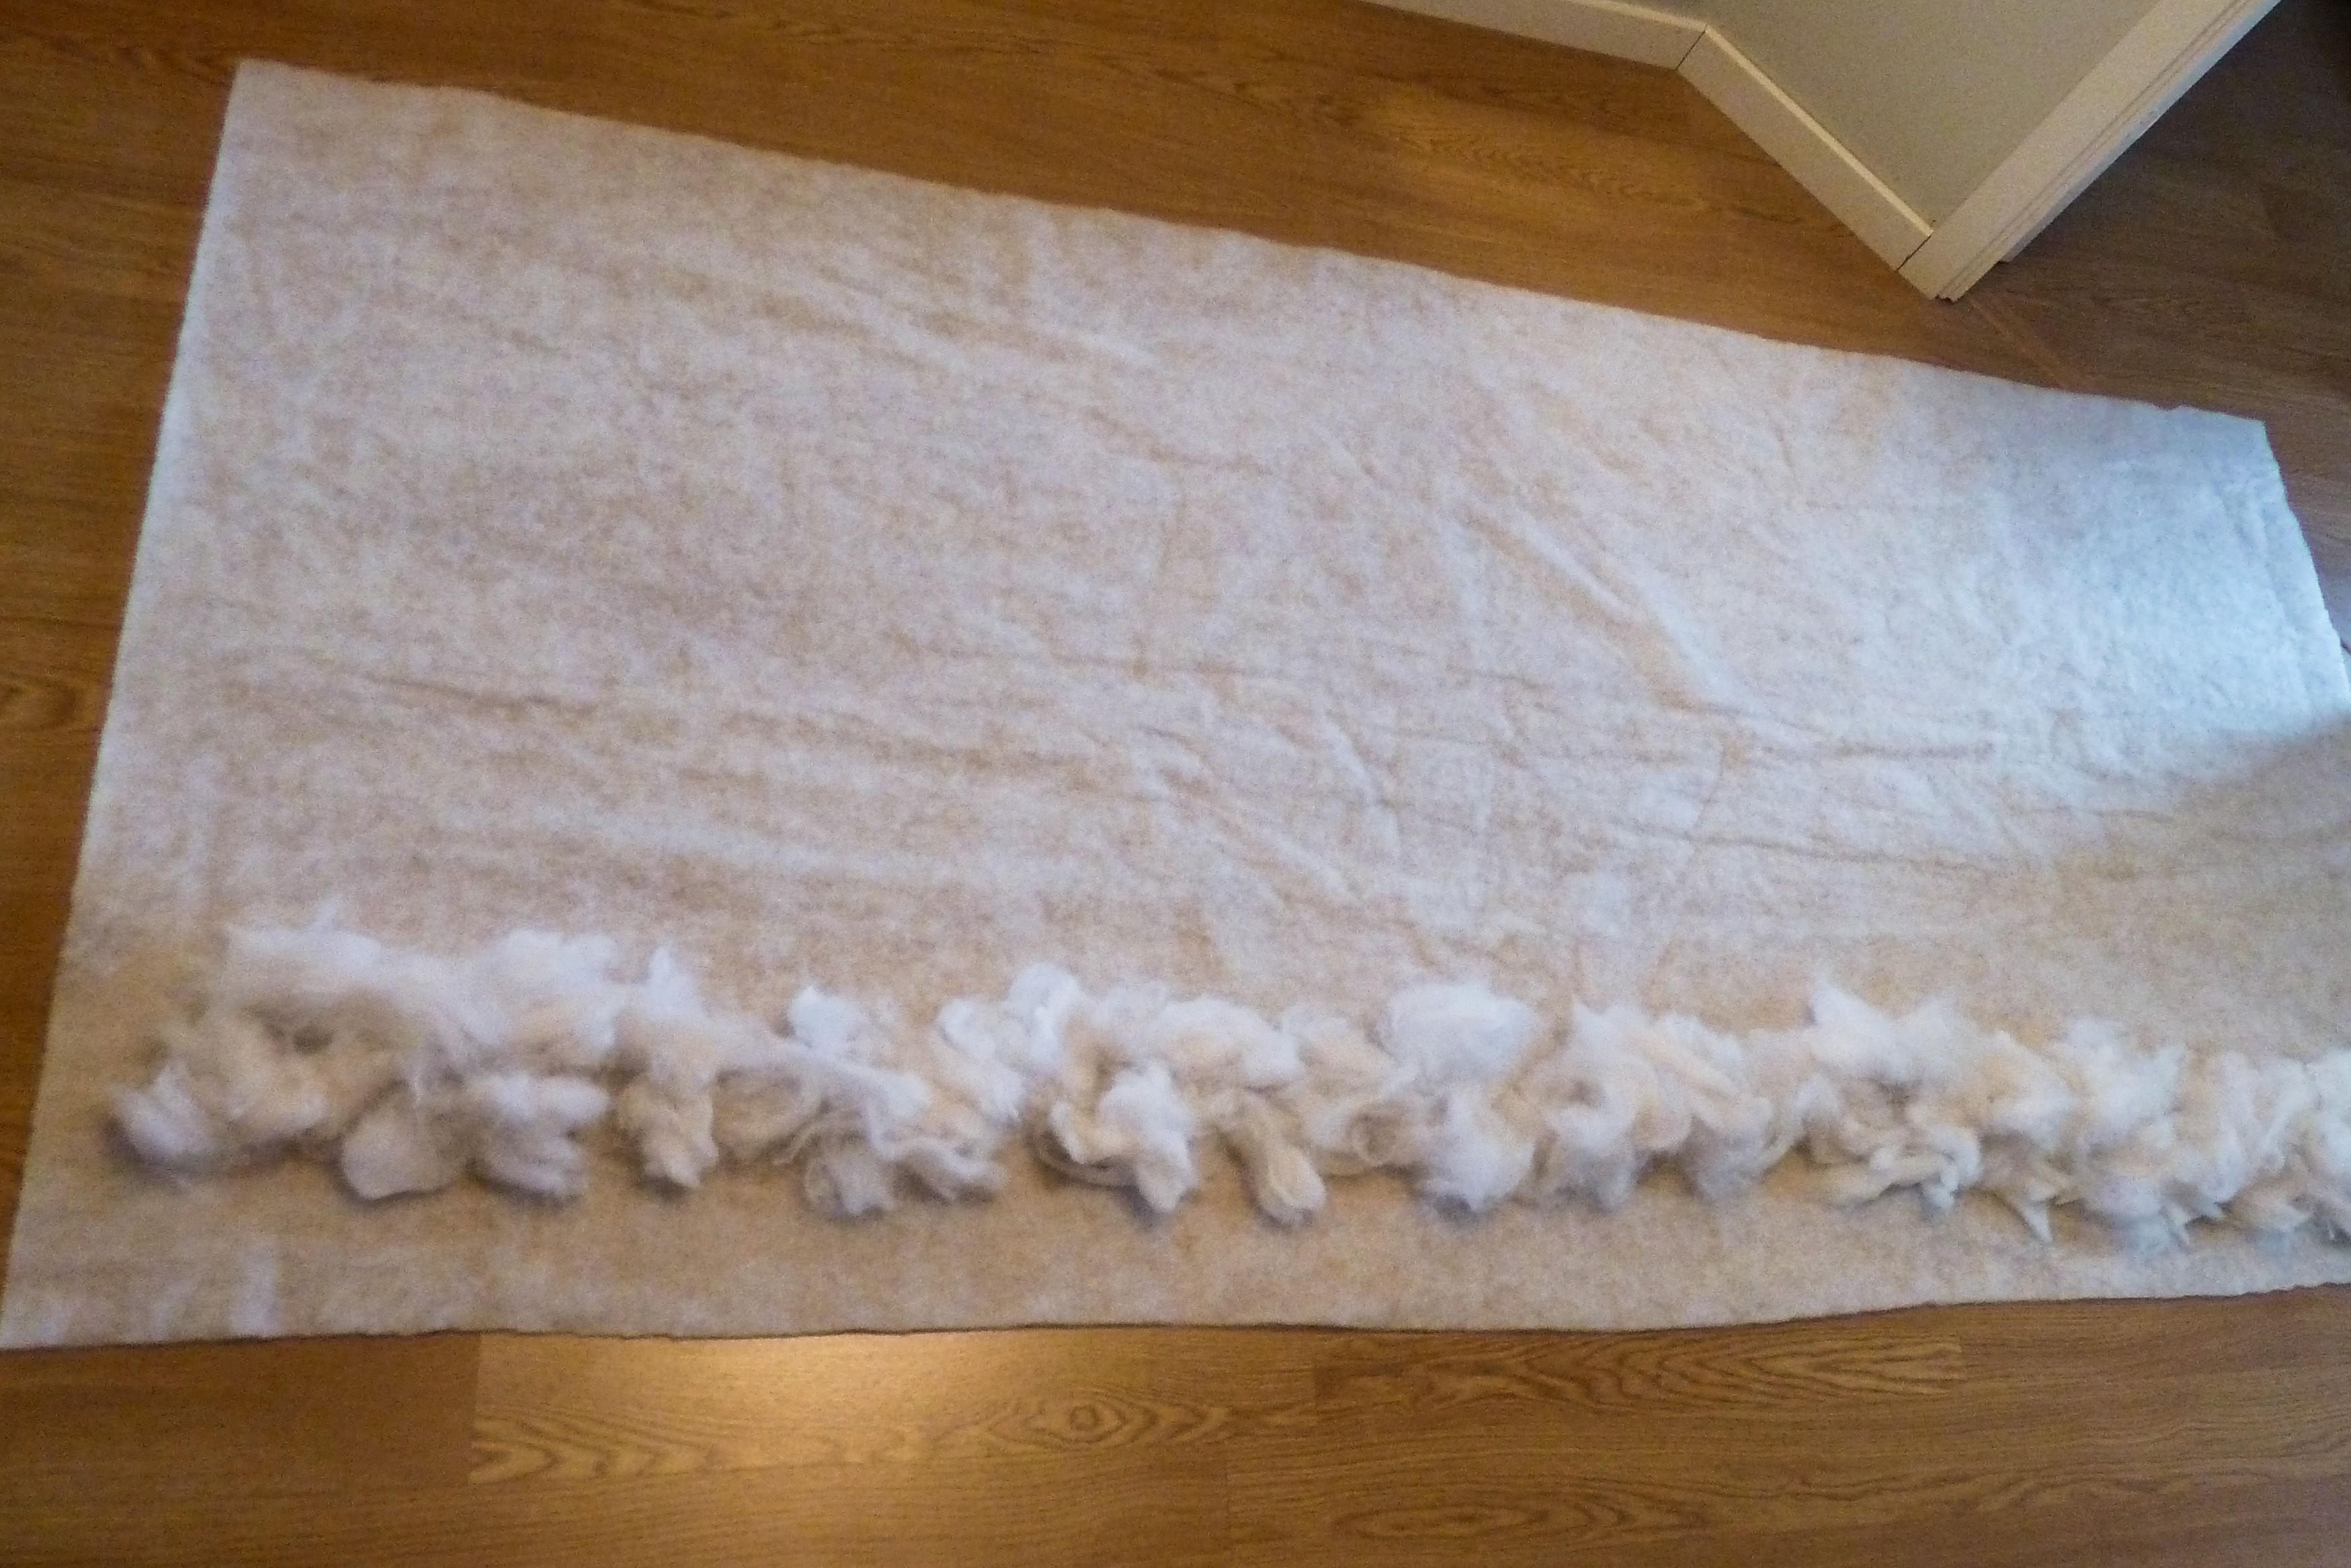
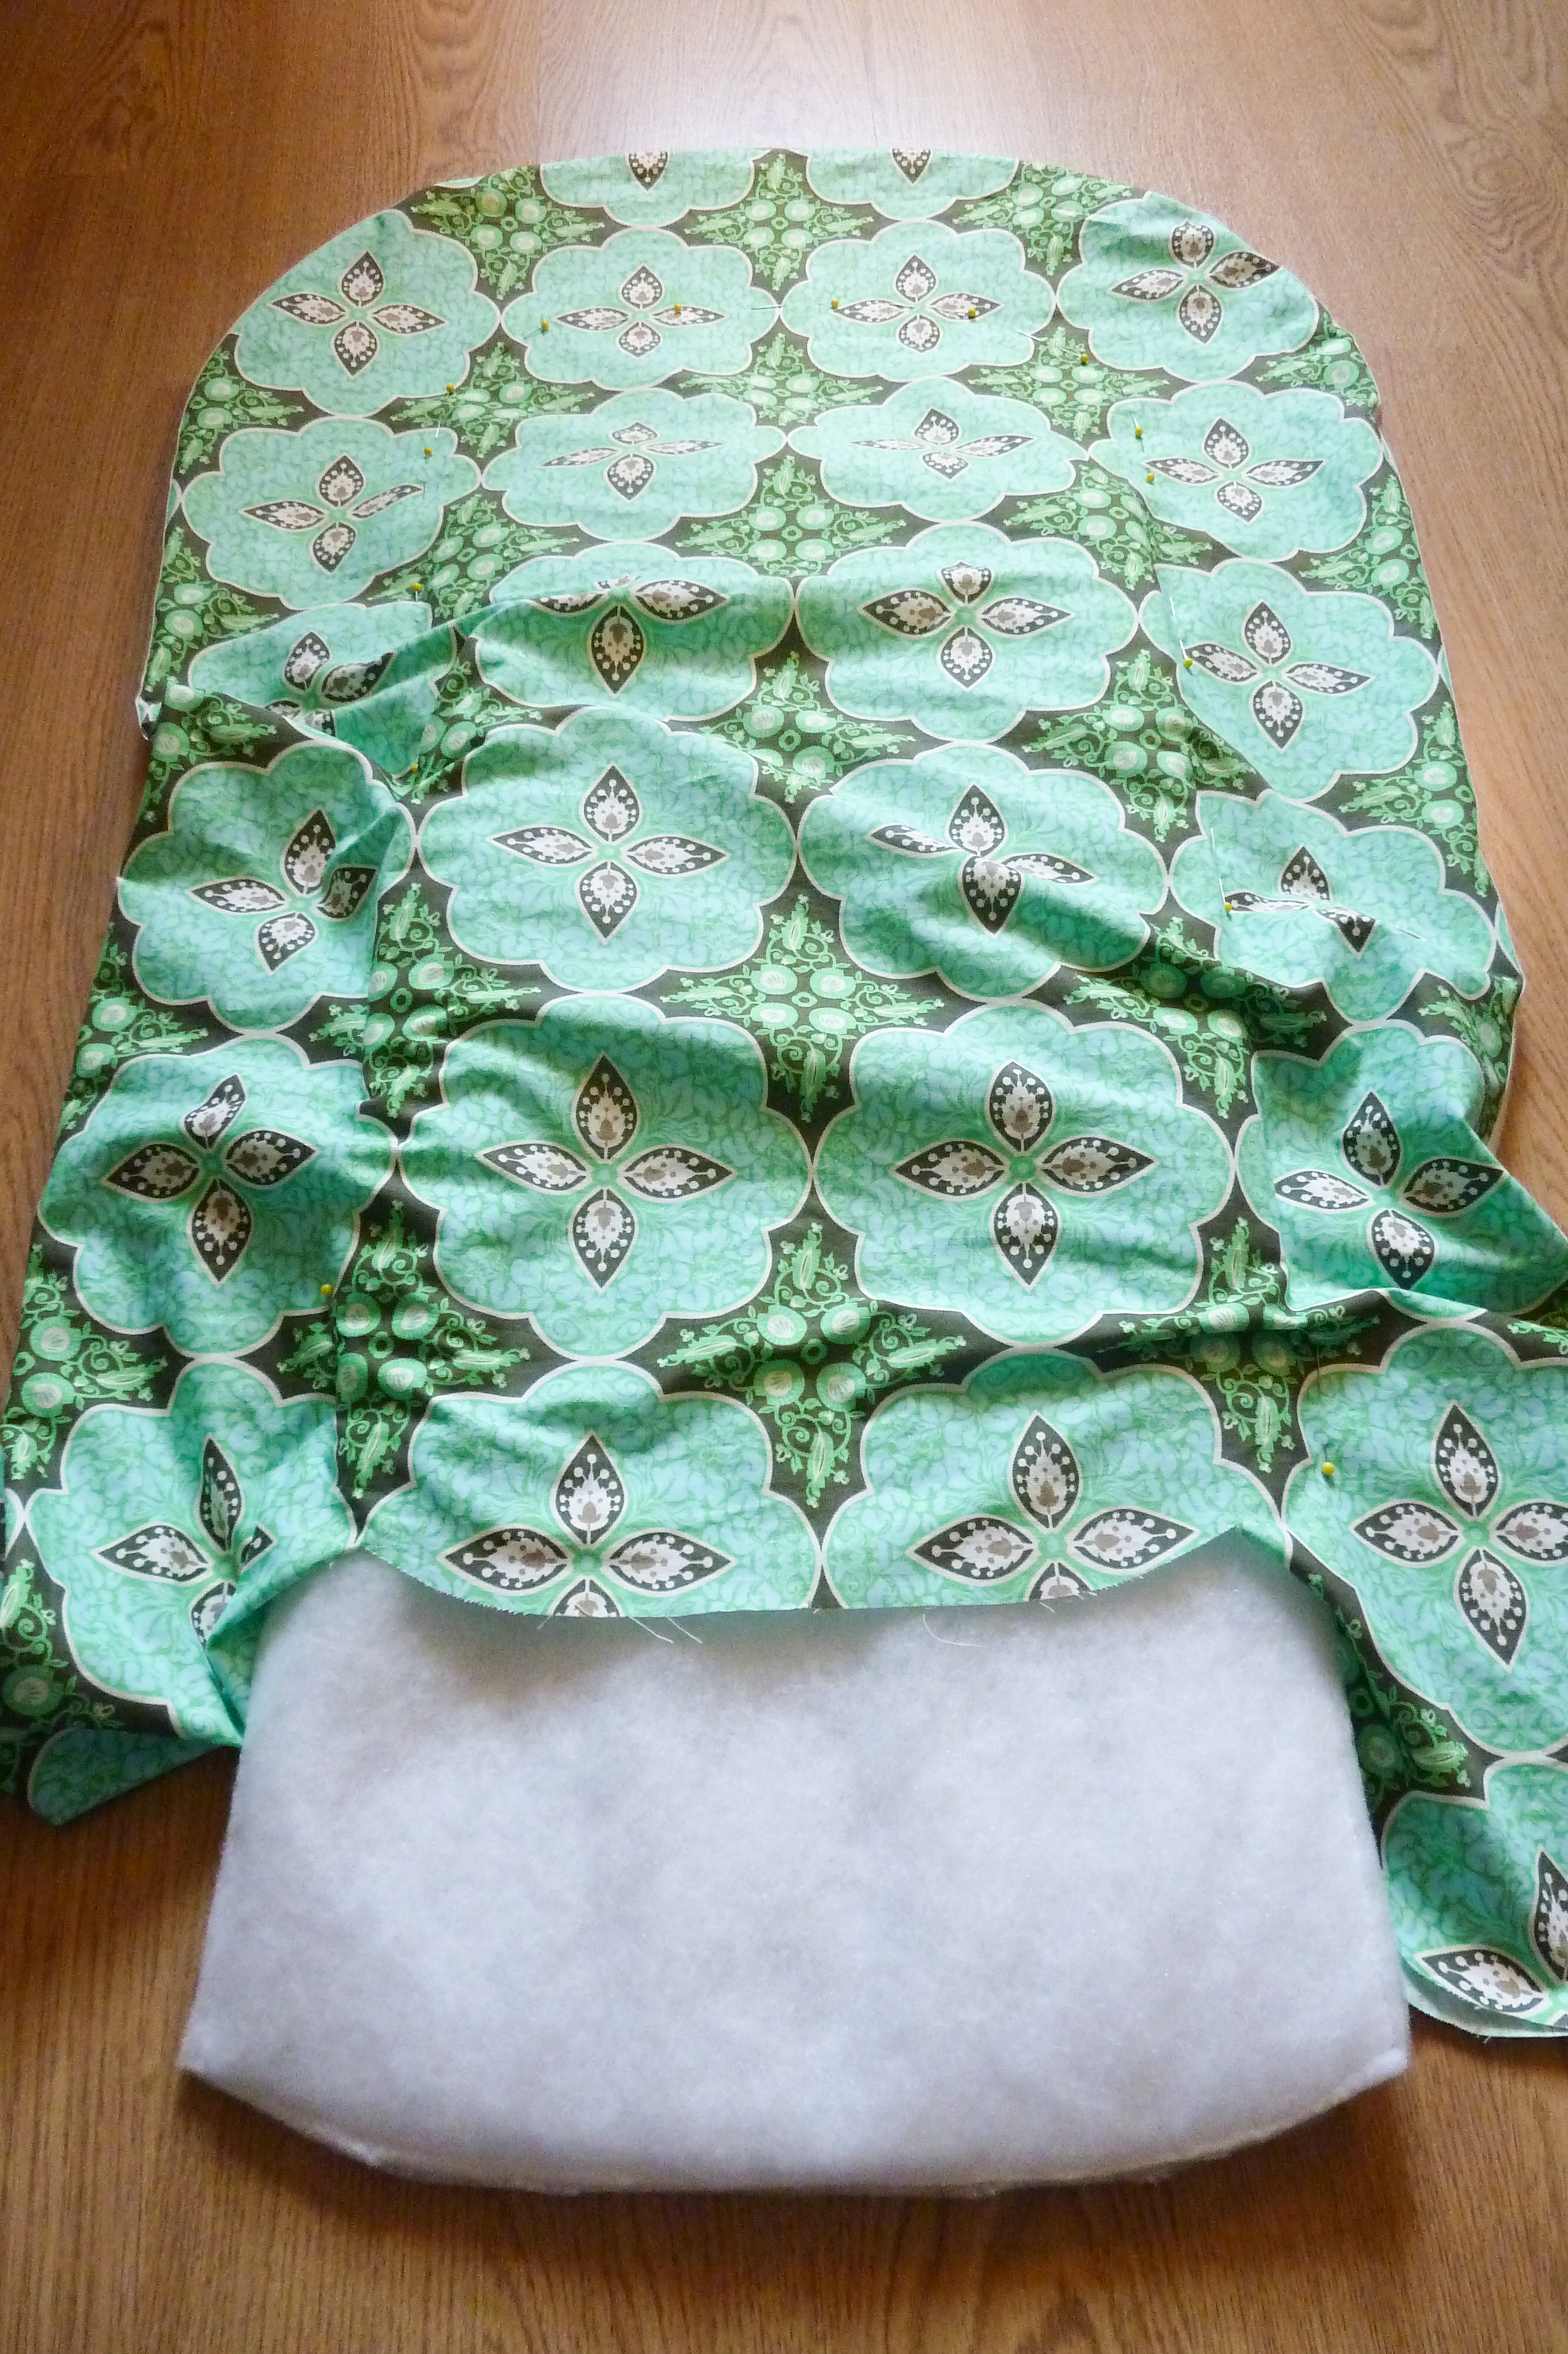
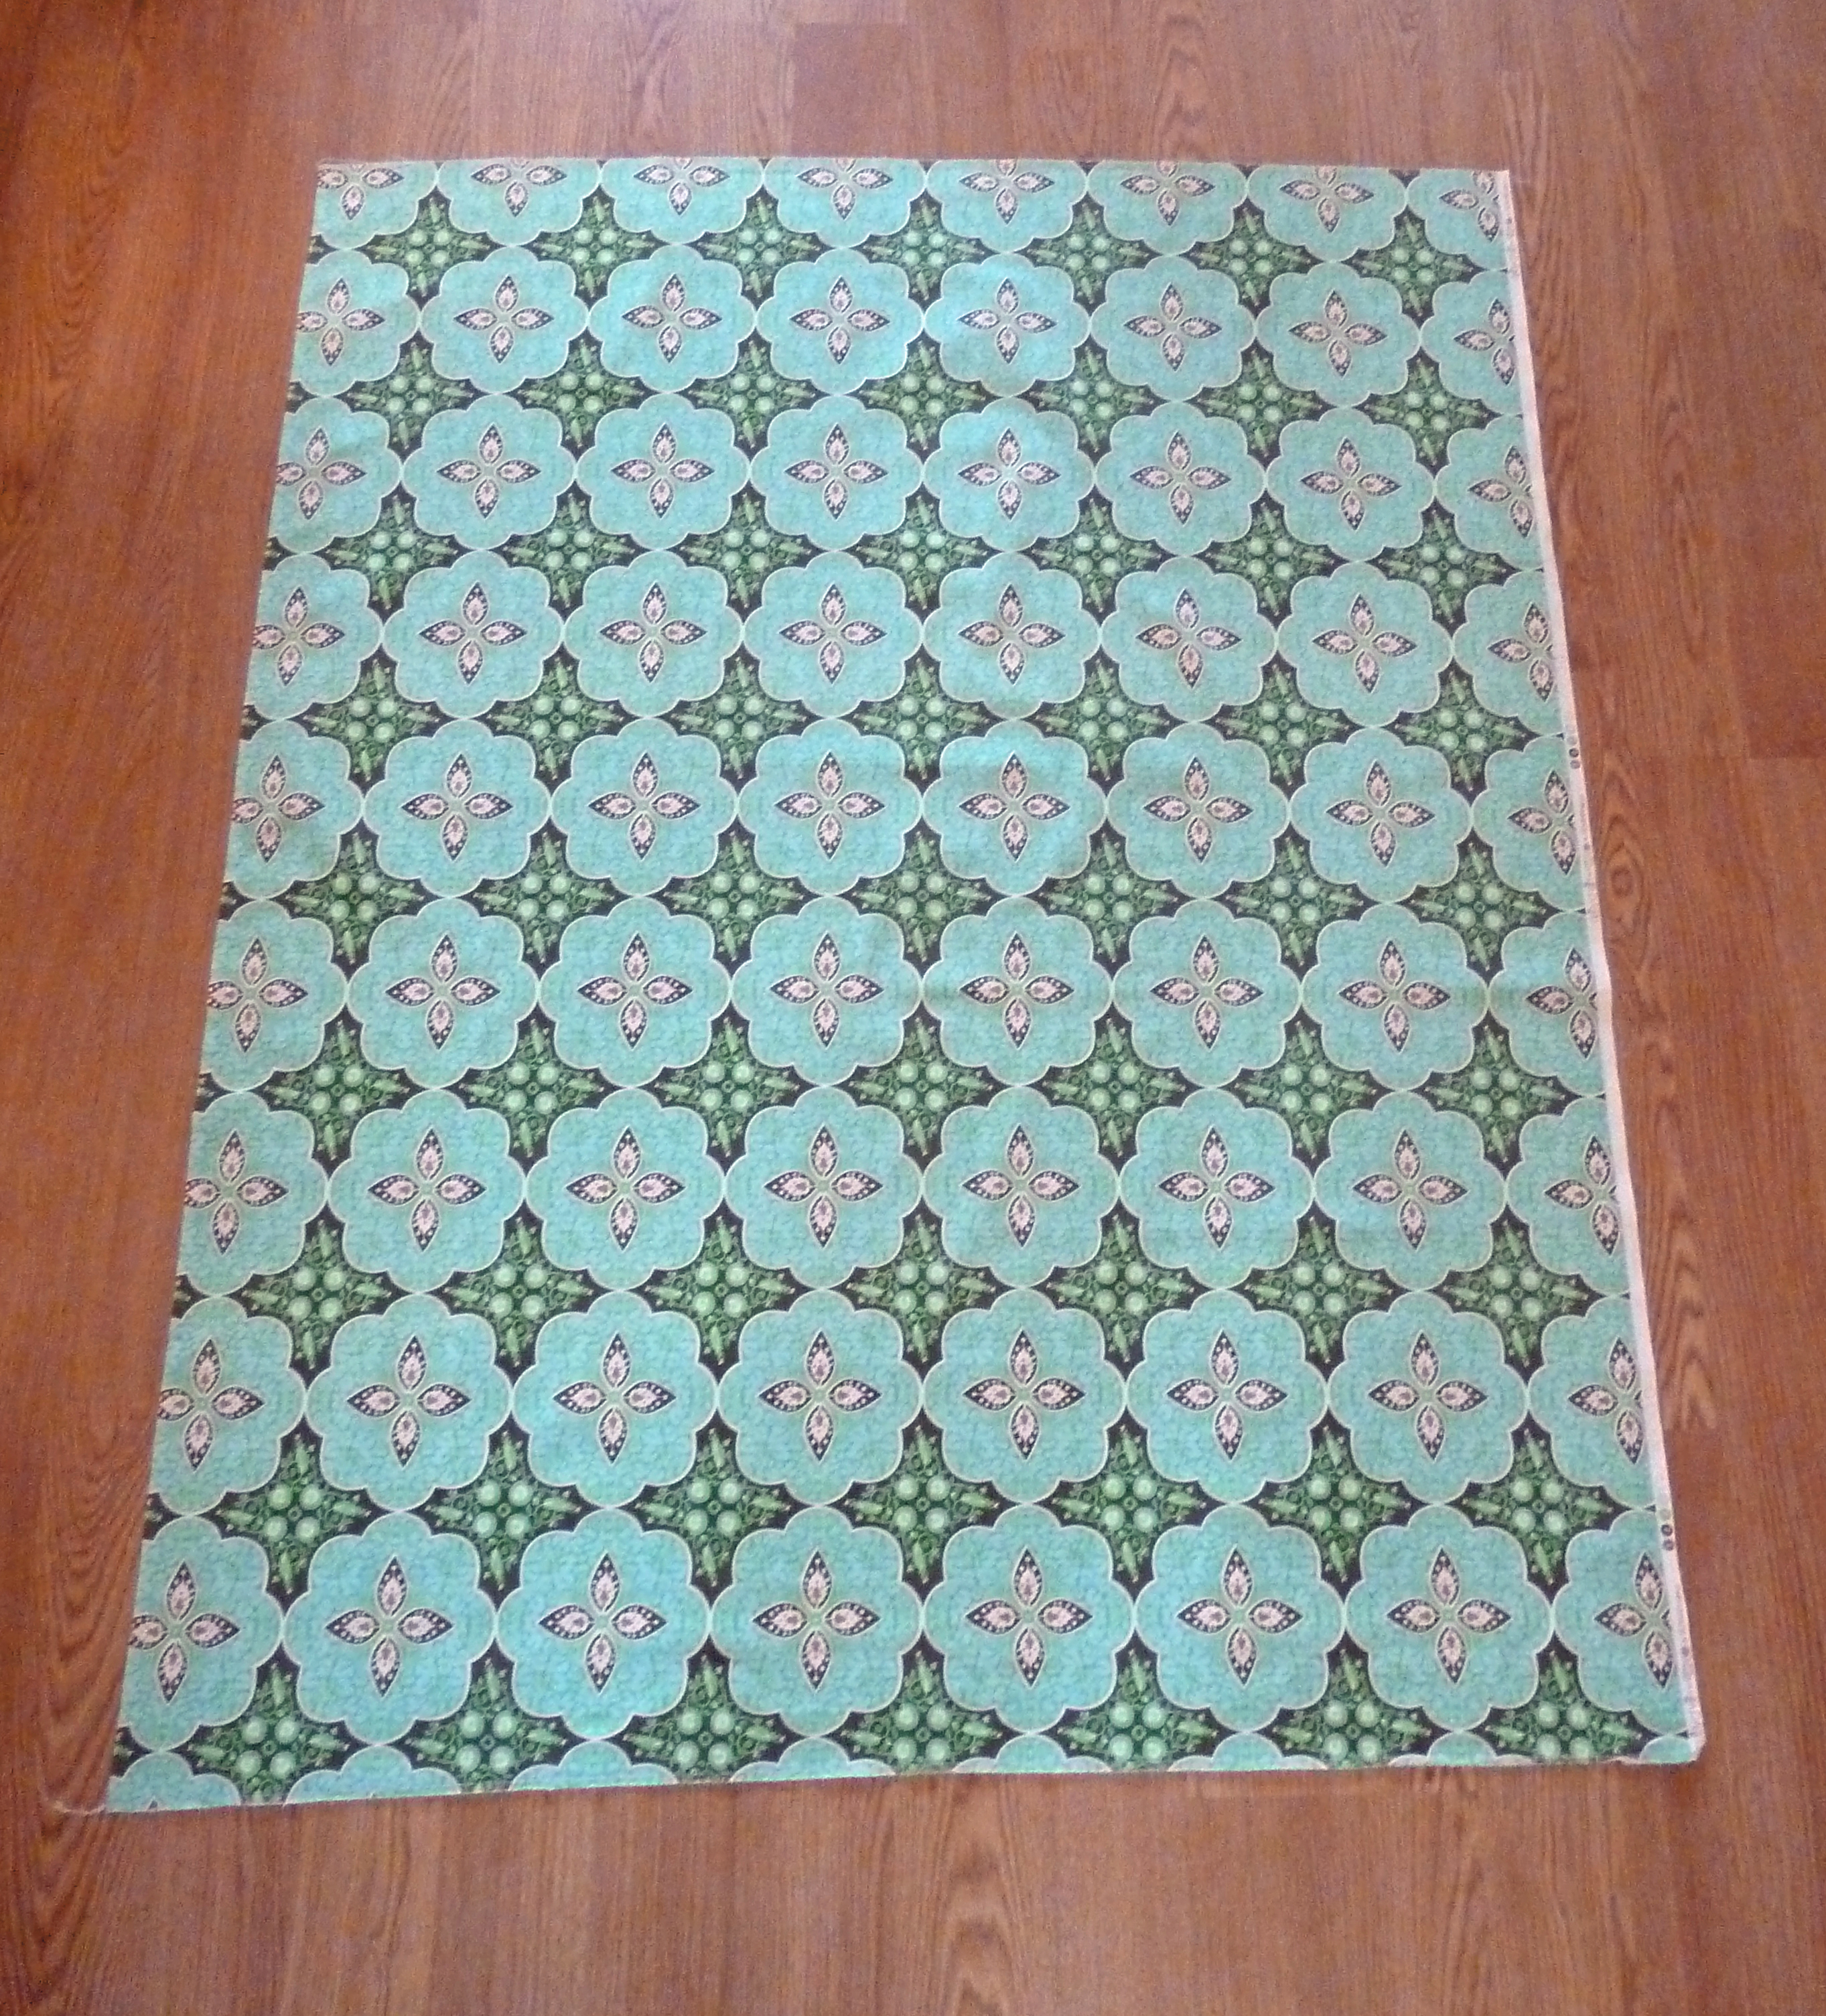
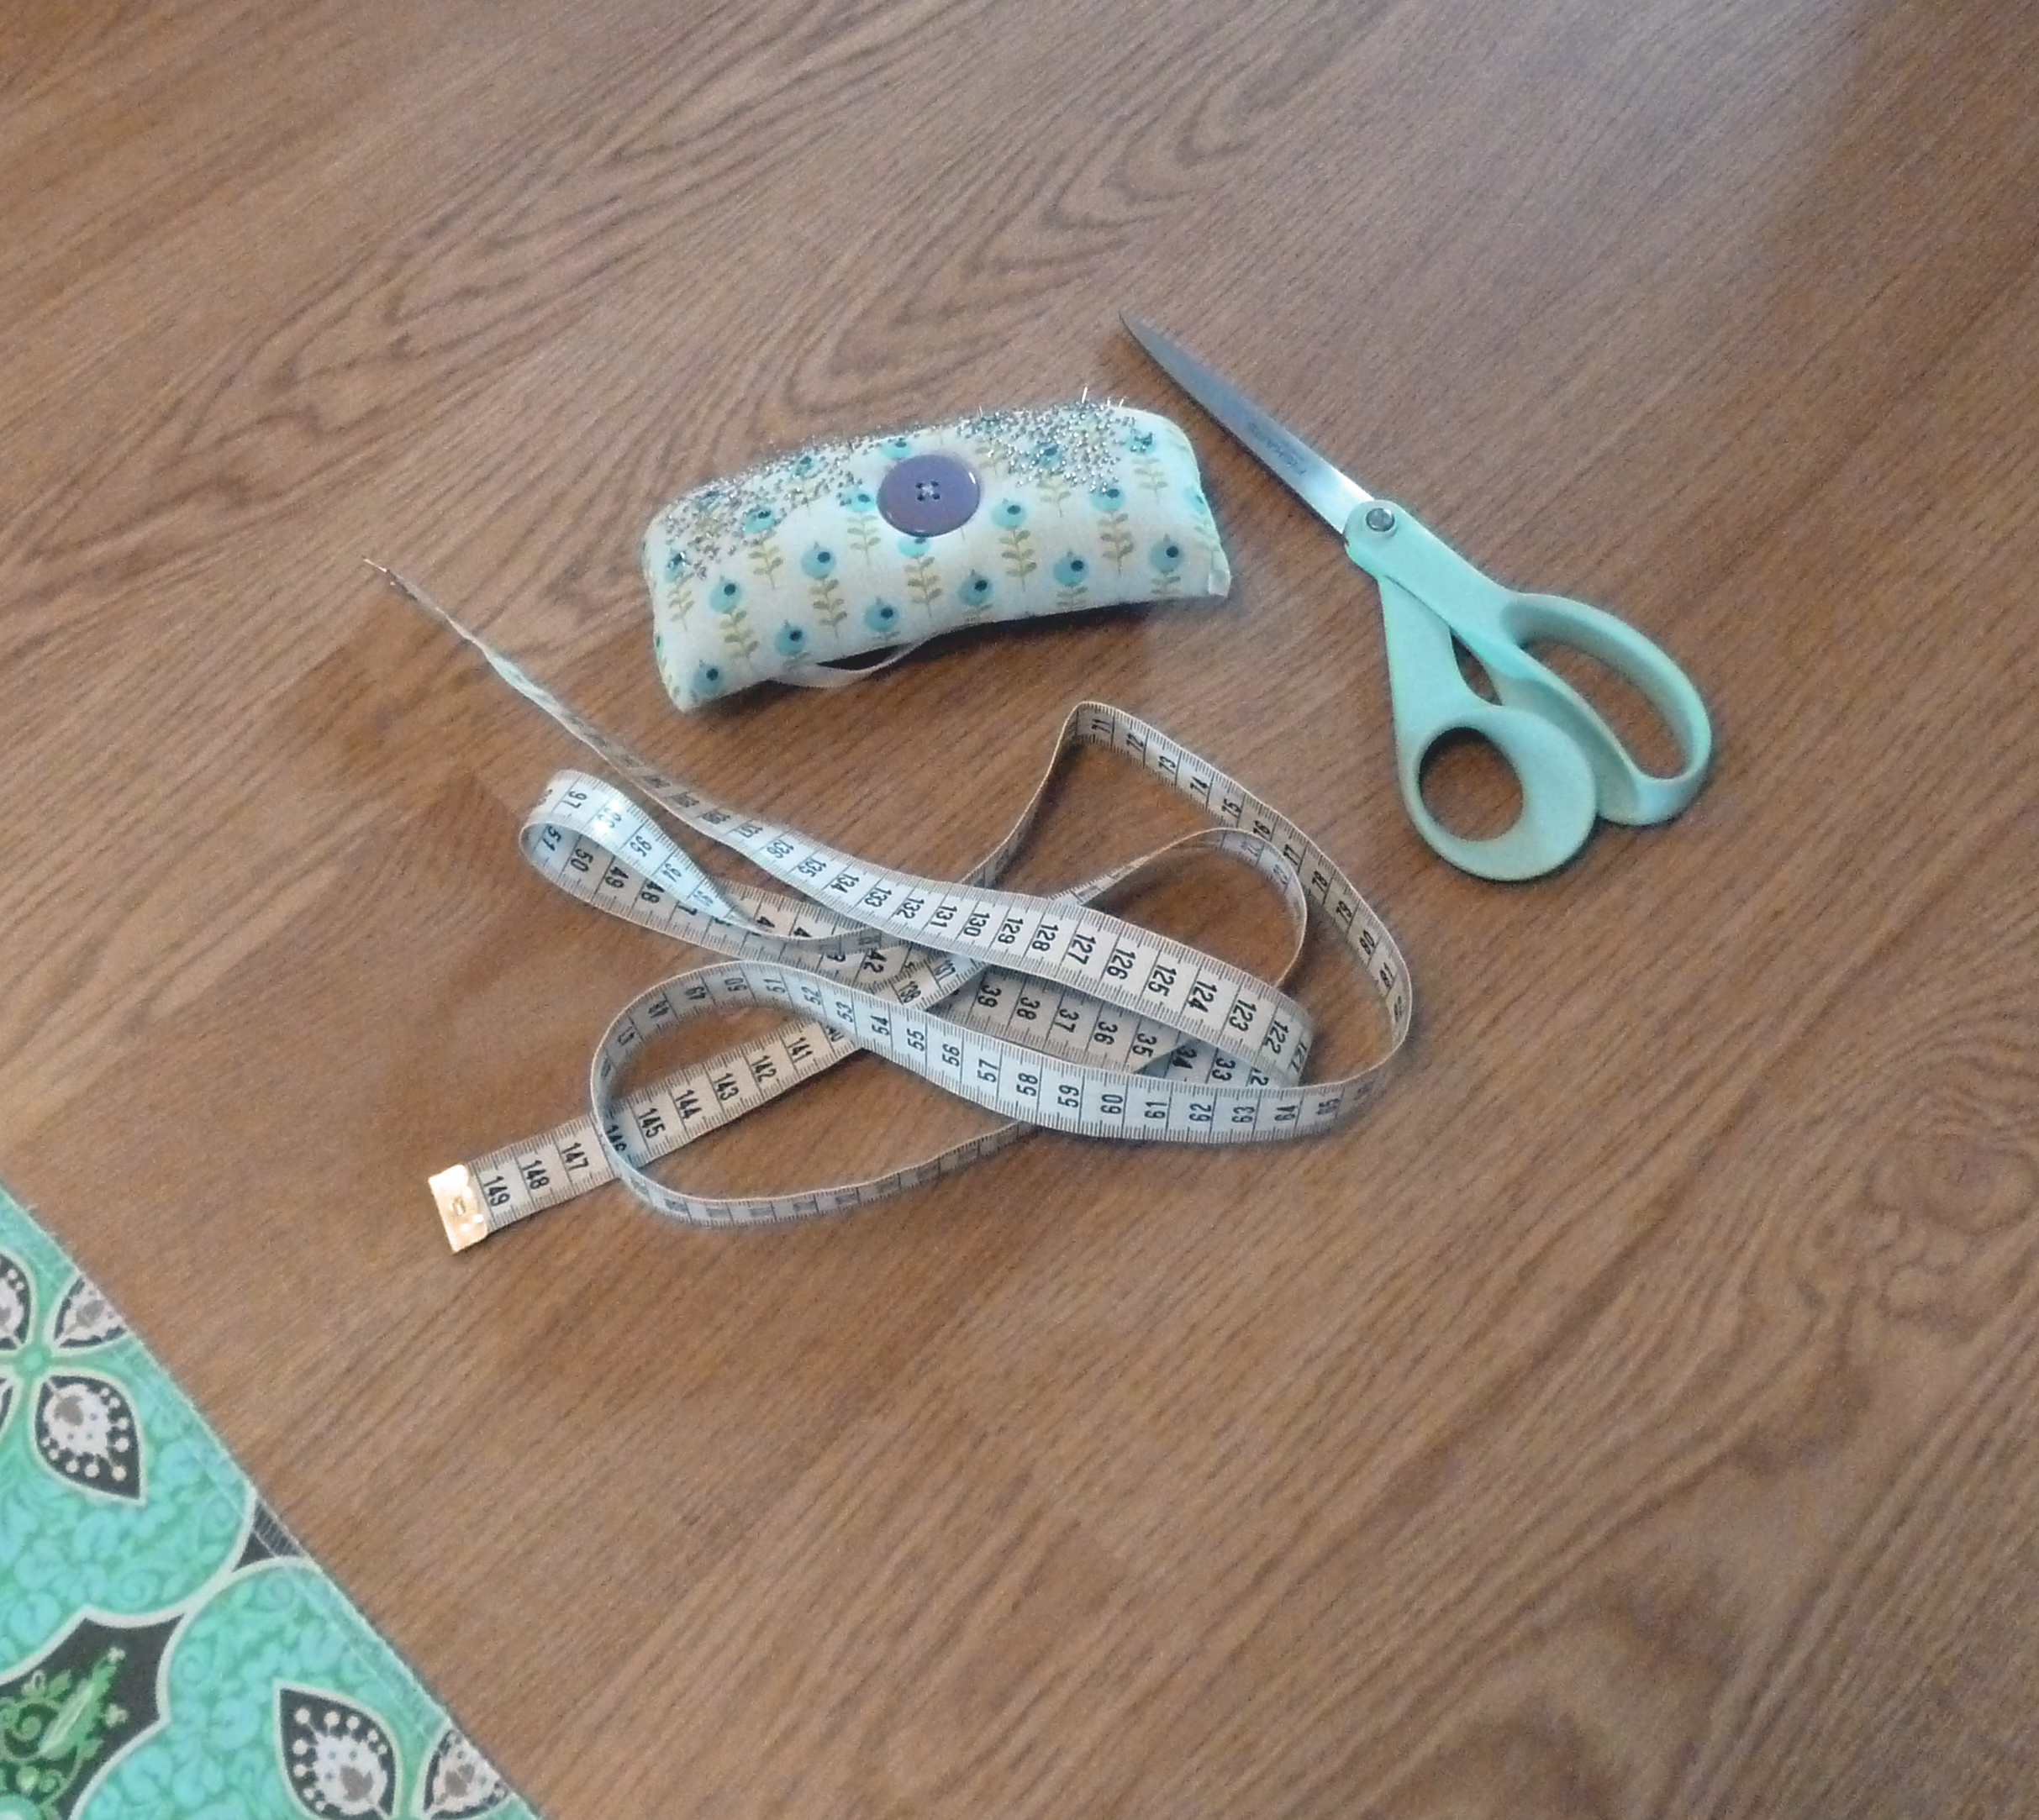
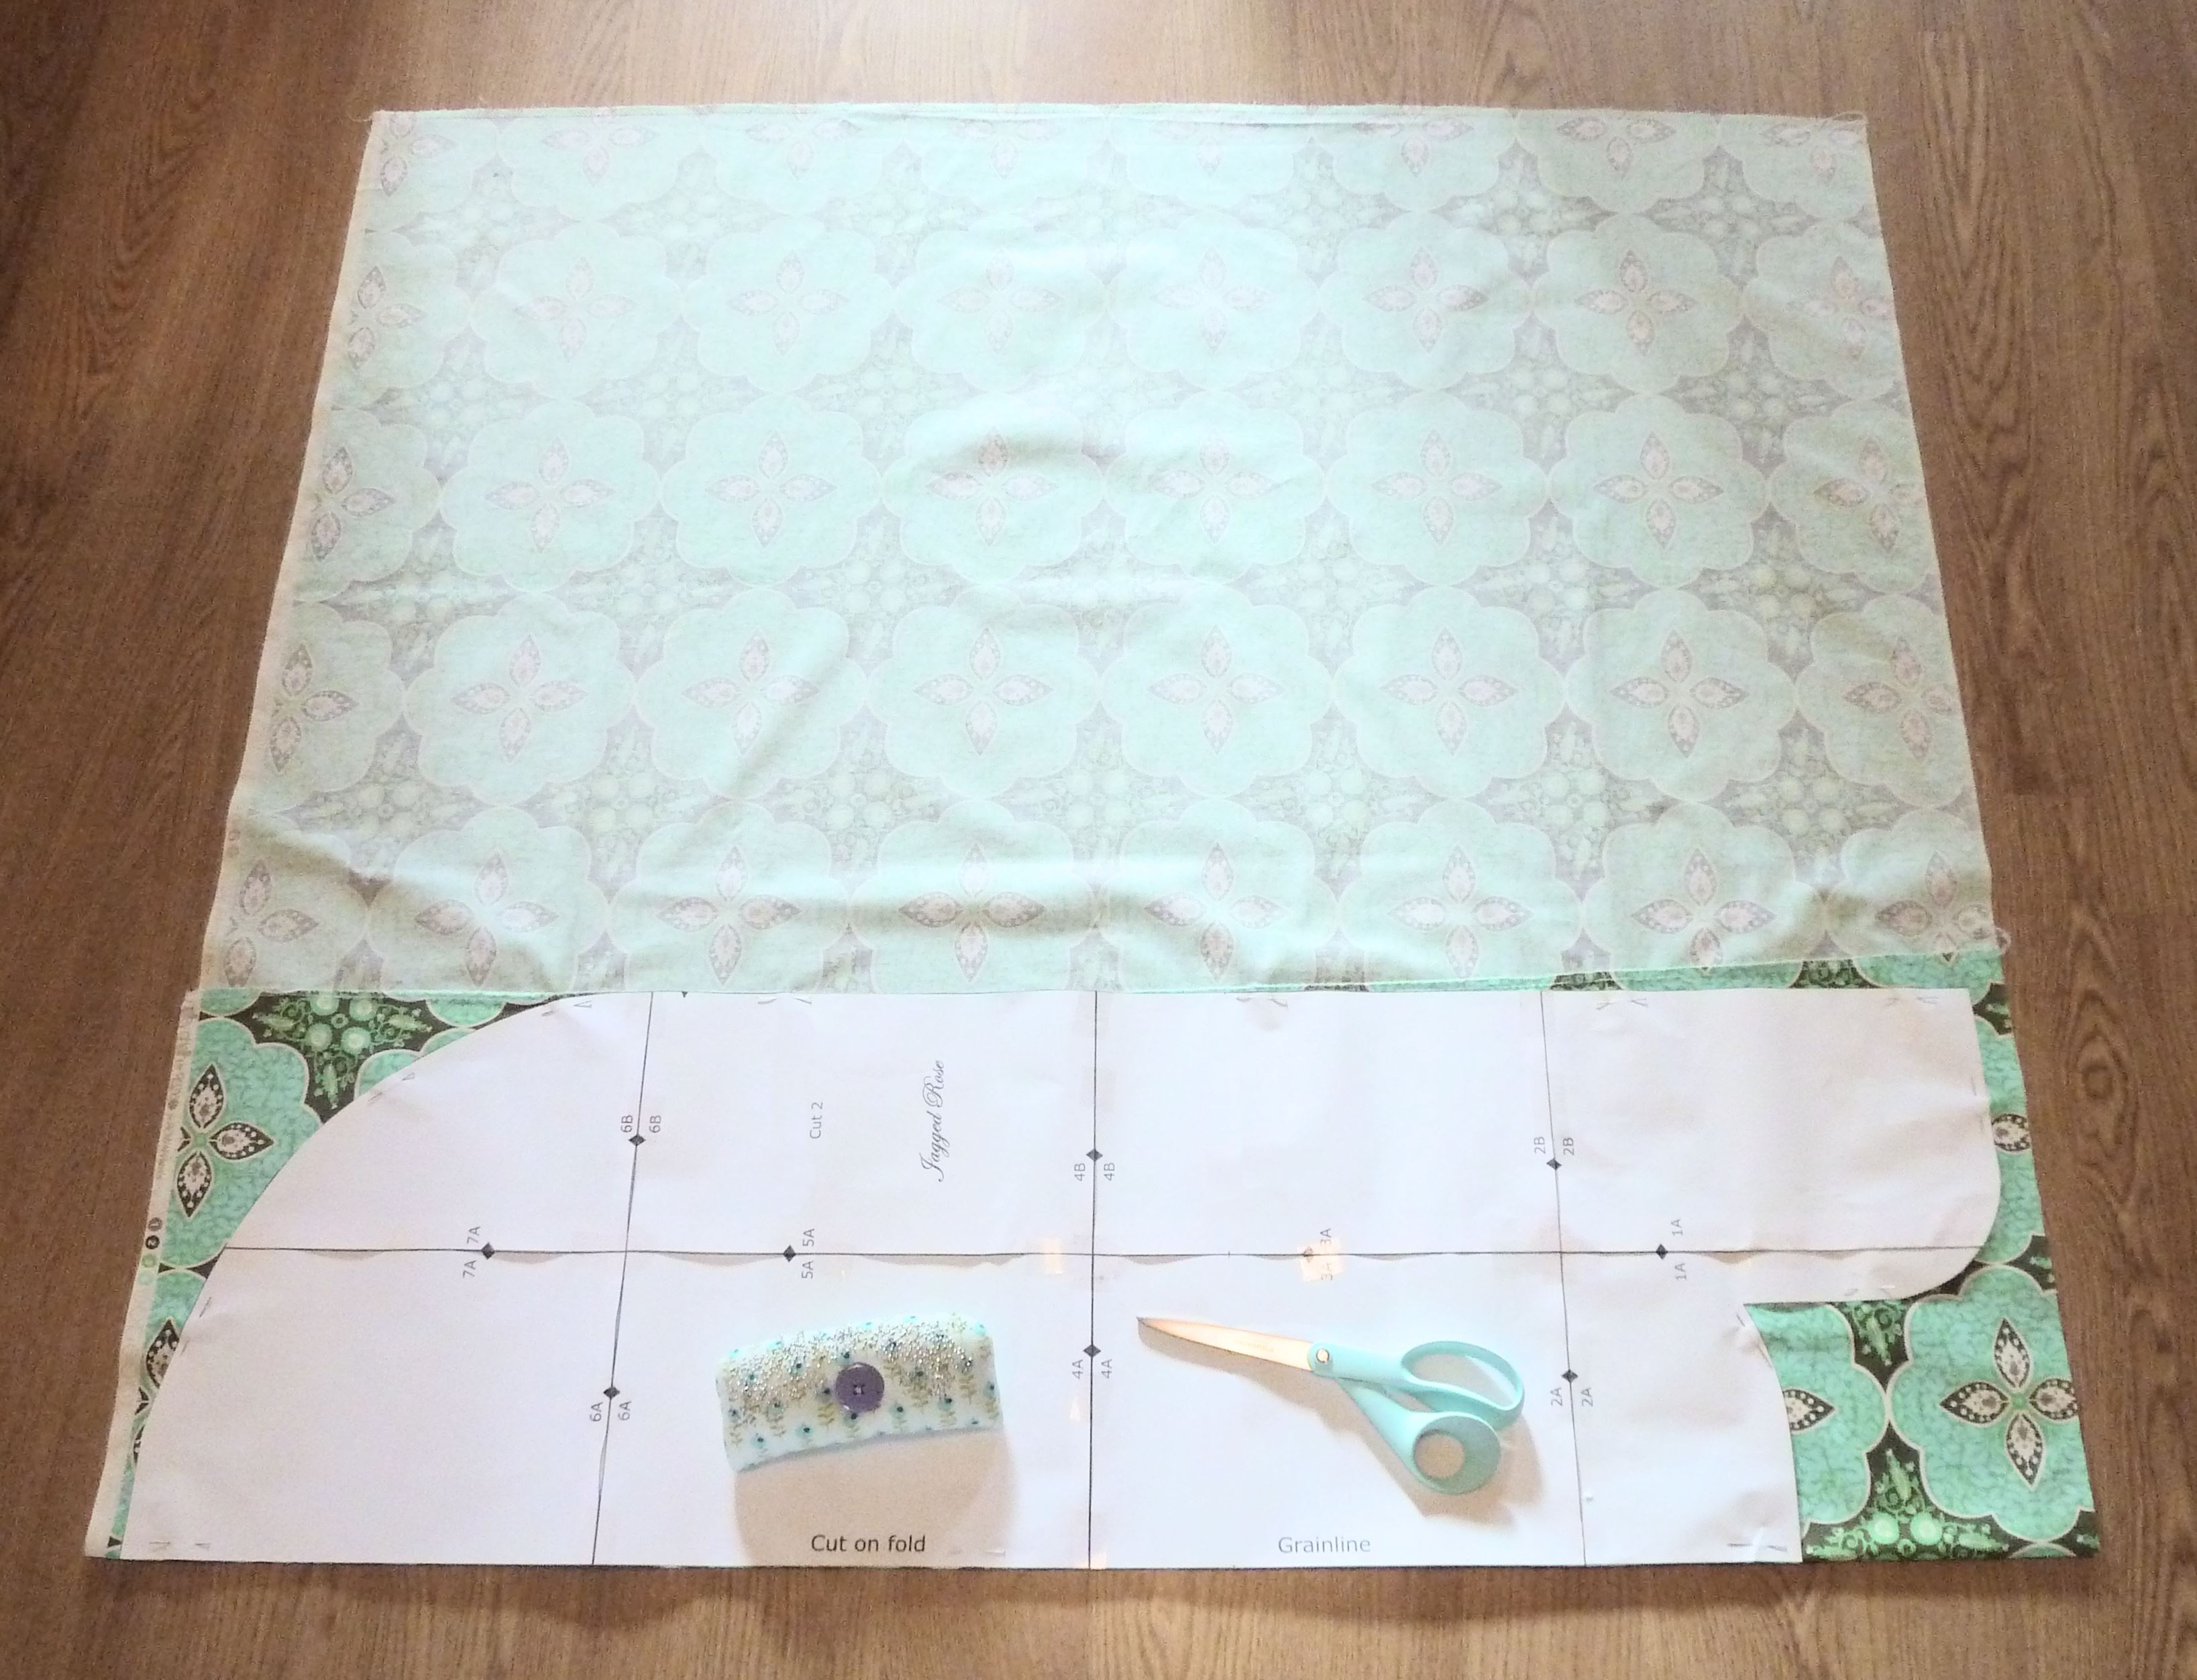
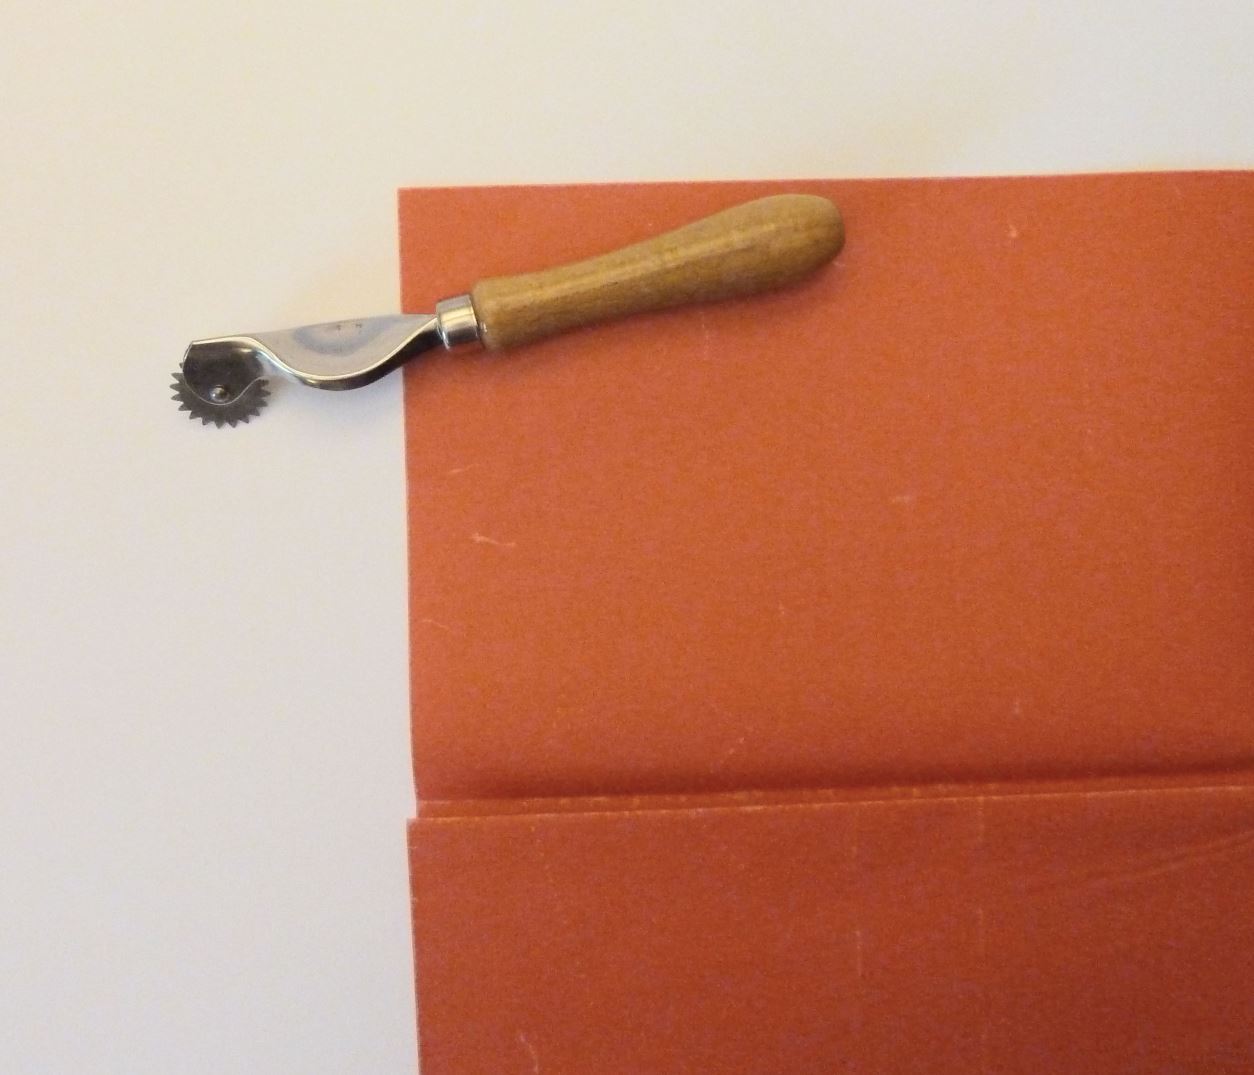
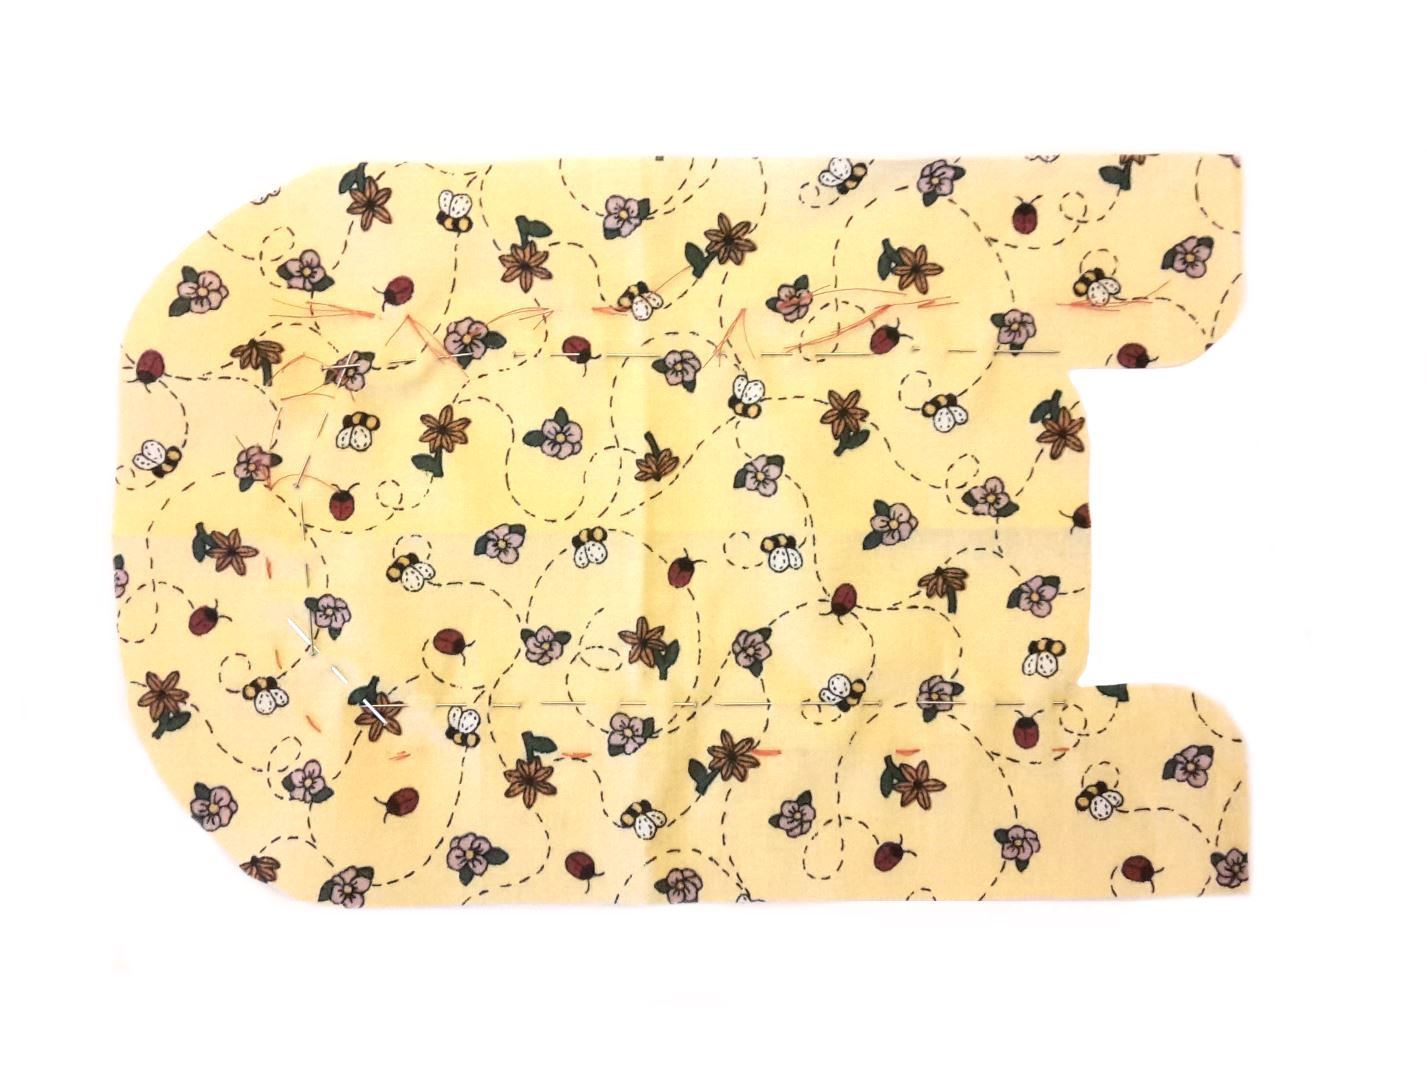
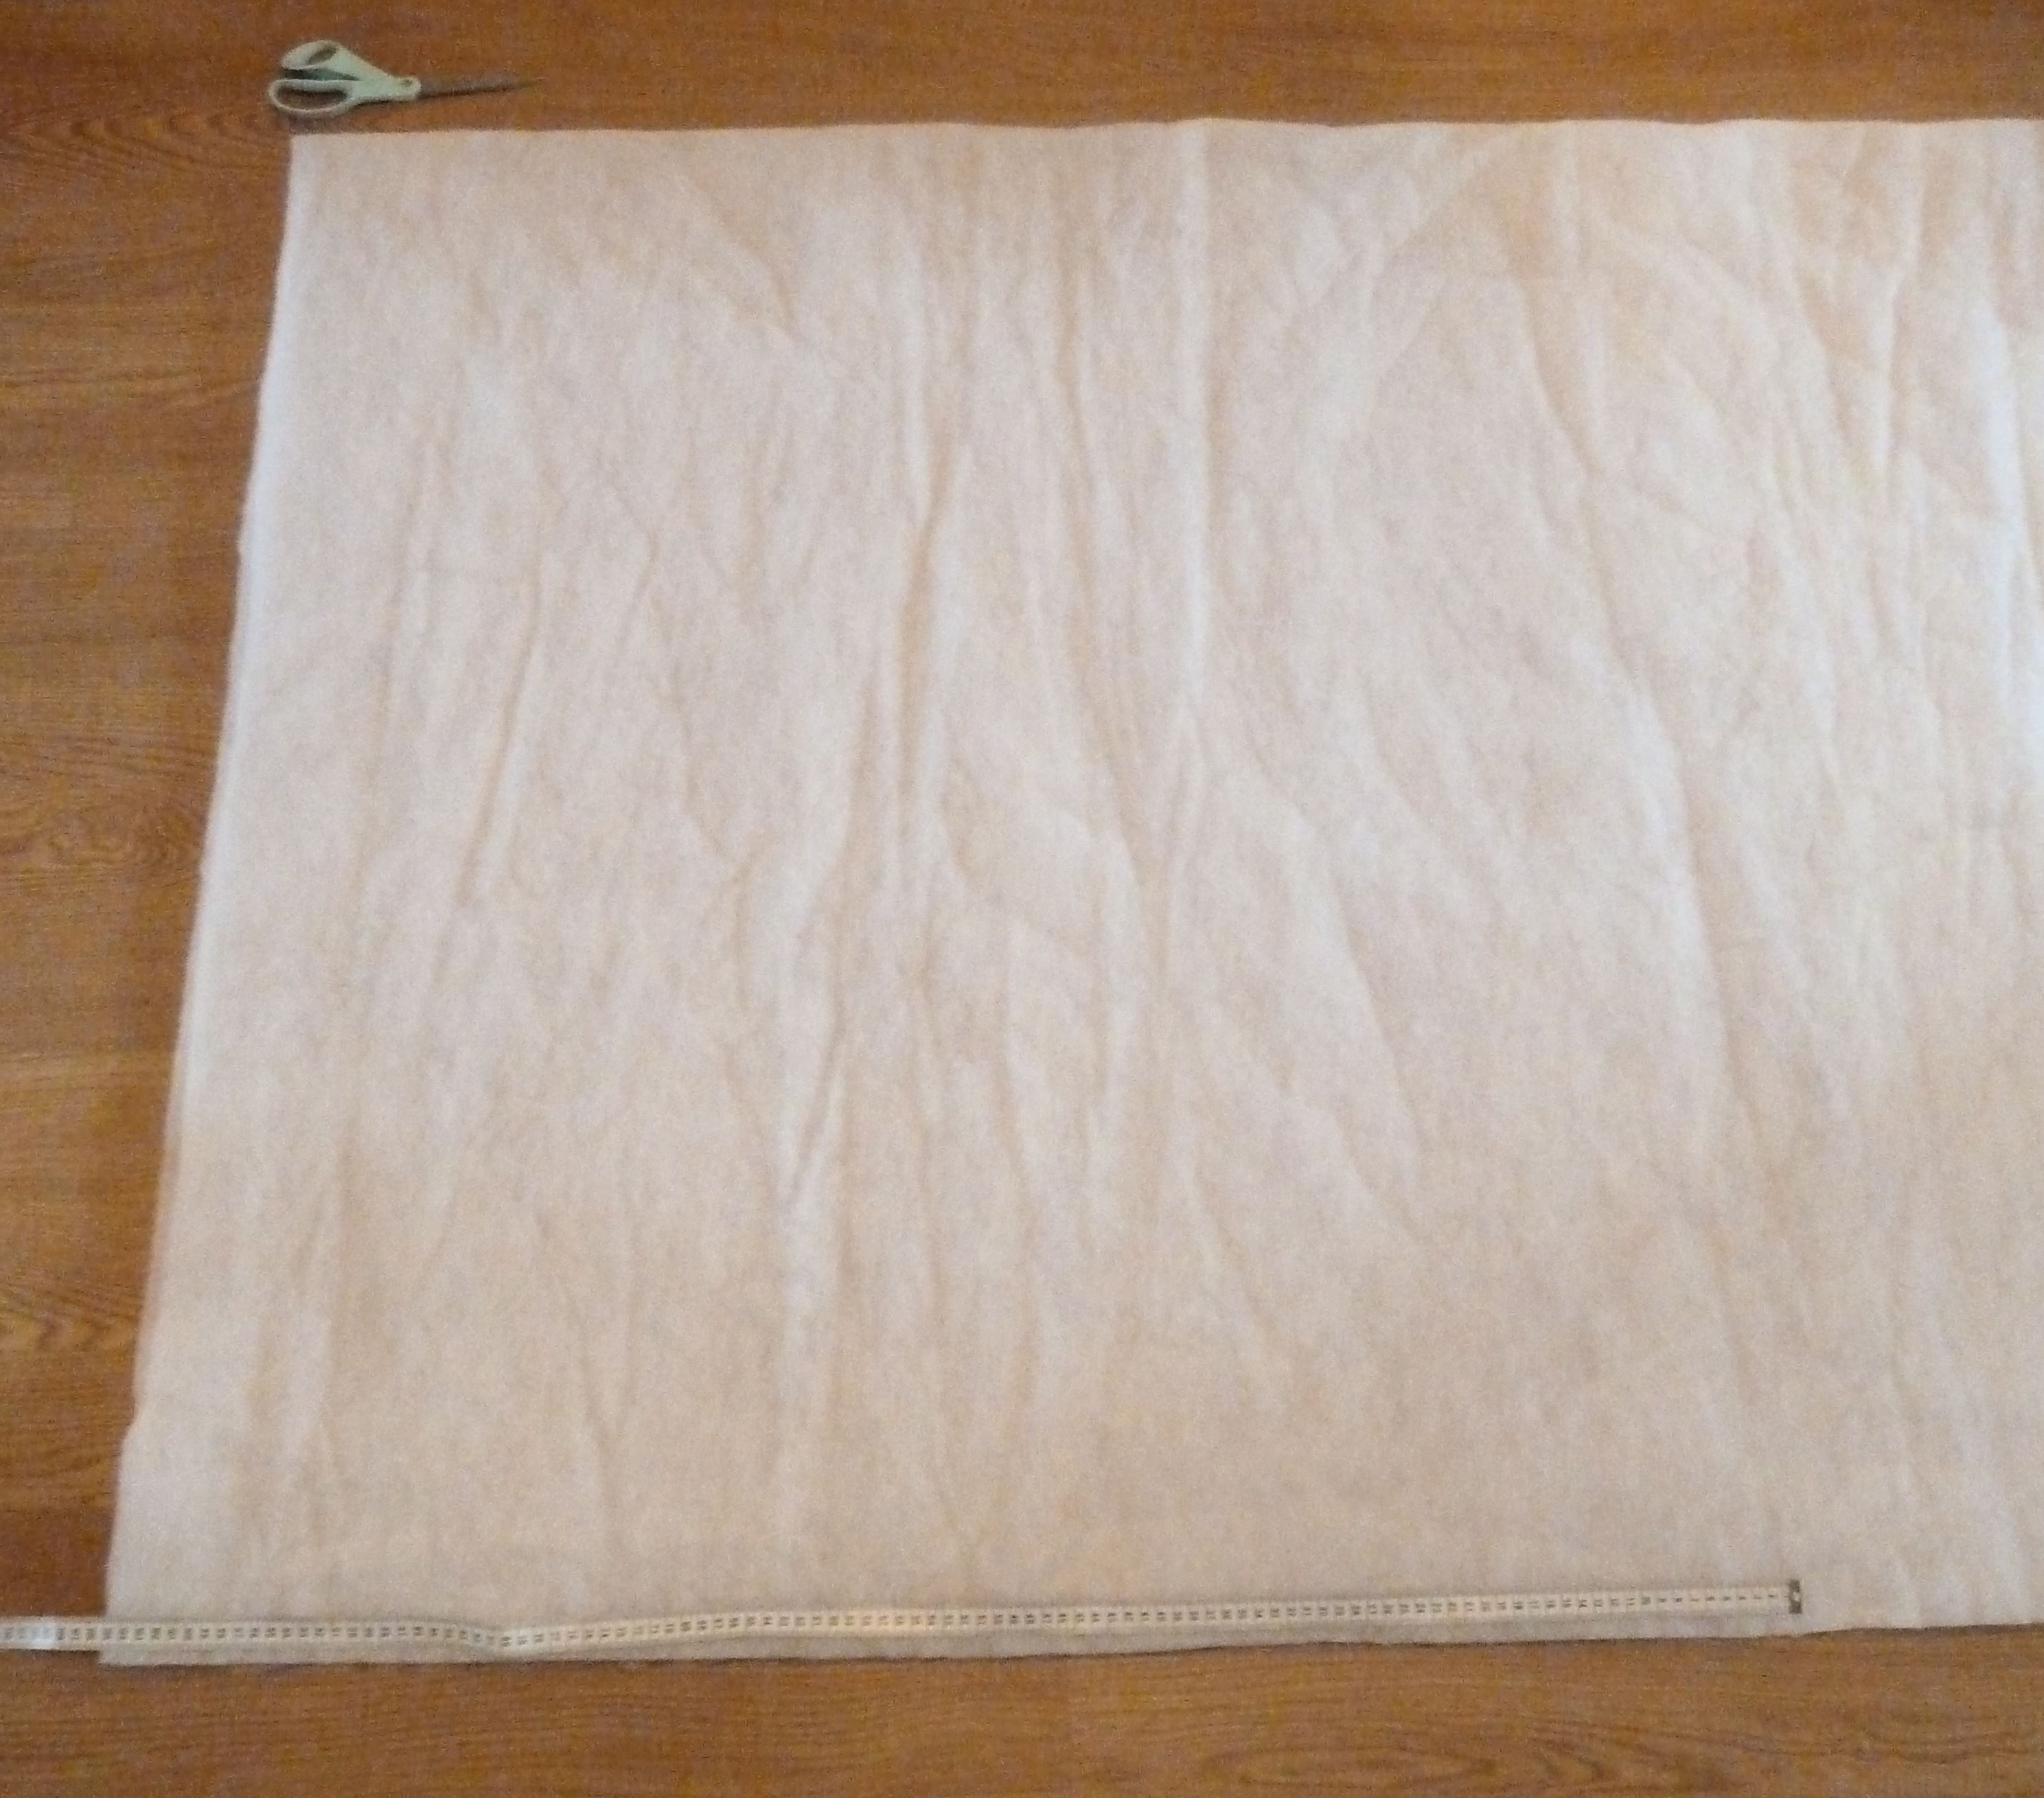
What we need today is: your Scandi Baby Nest pattern (cut out and ready to use), your pre-washed fabric, batting/wadding, pins, a pair of scissors and the marking tool of your choice.
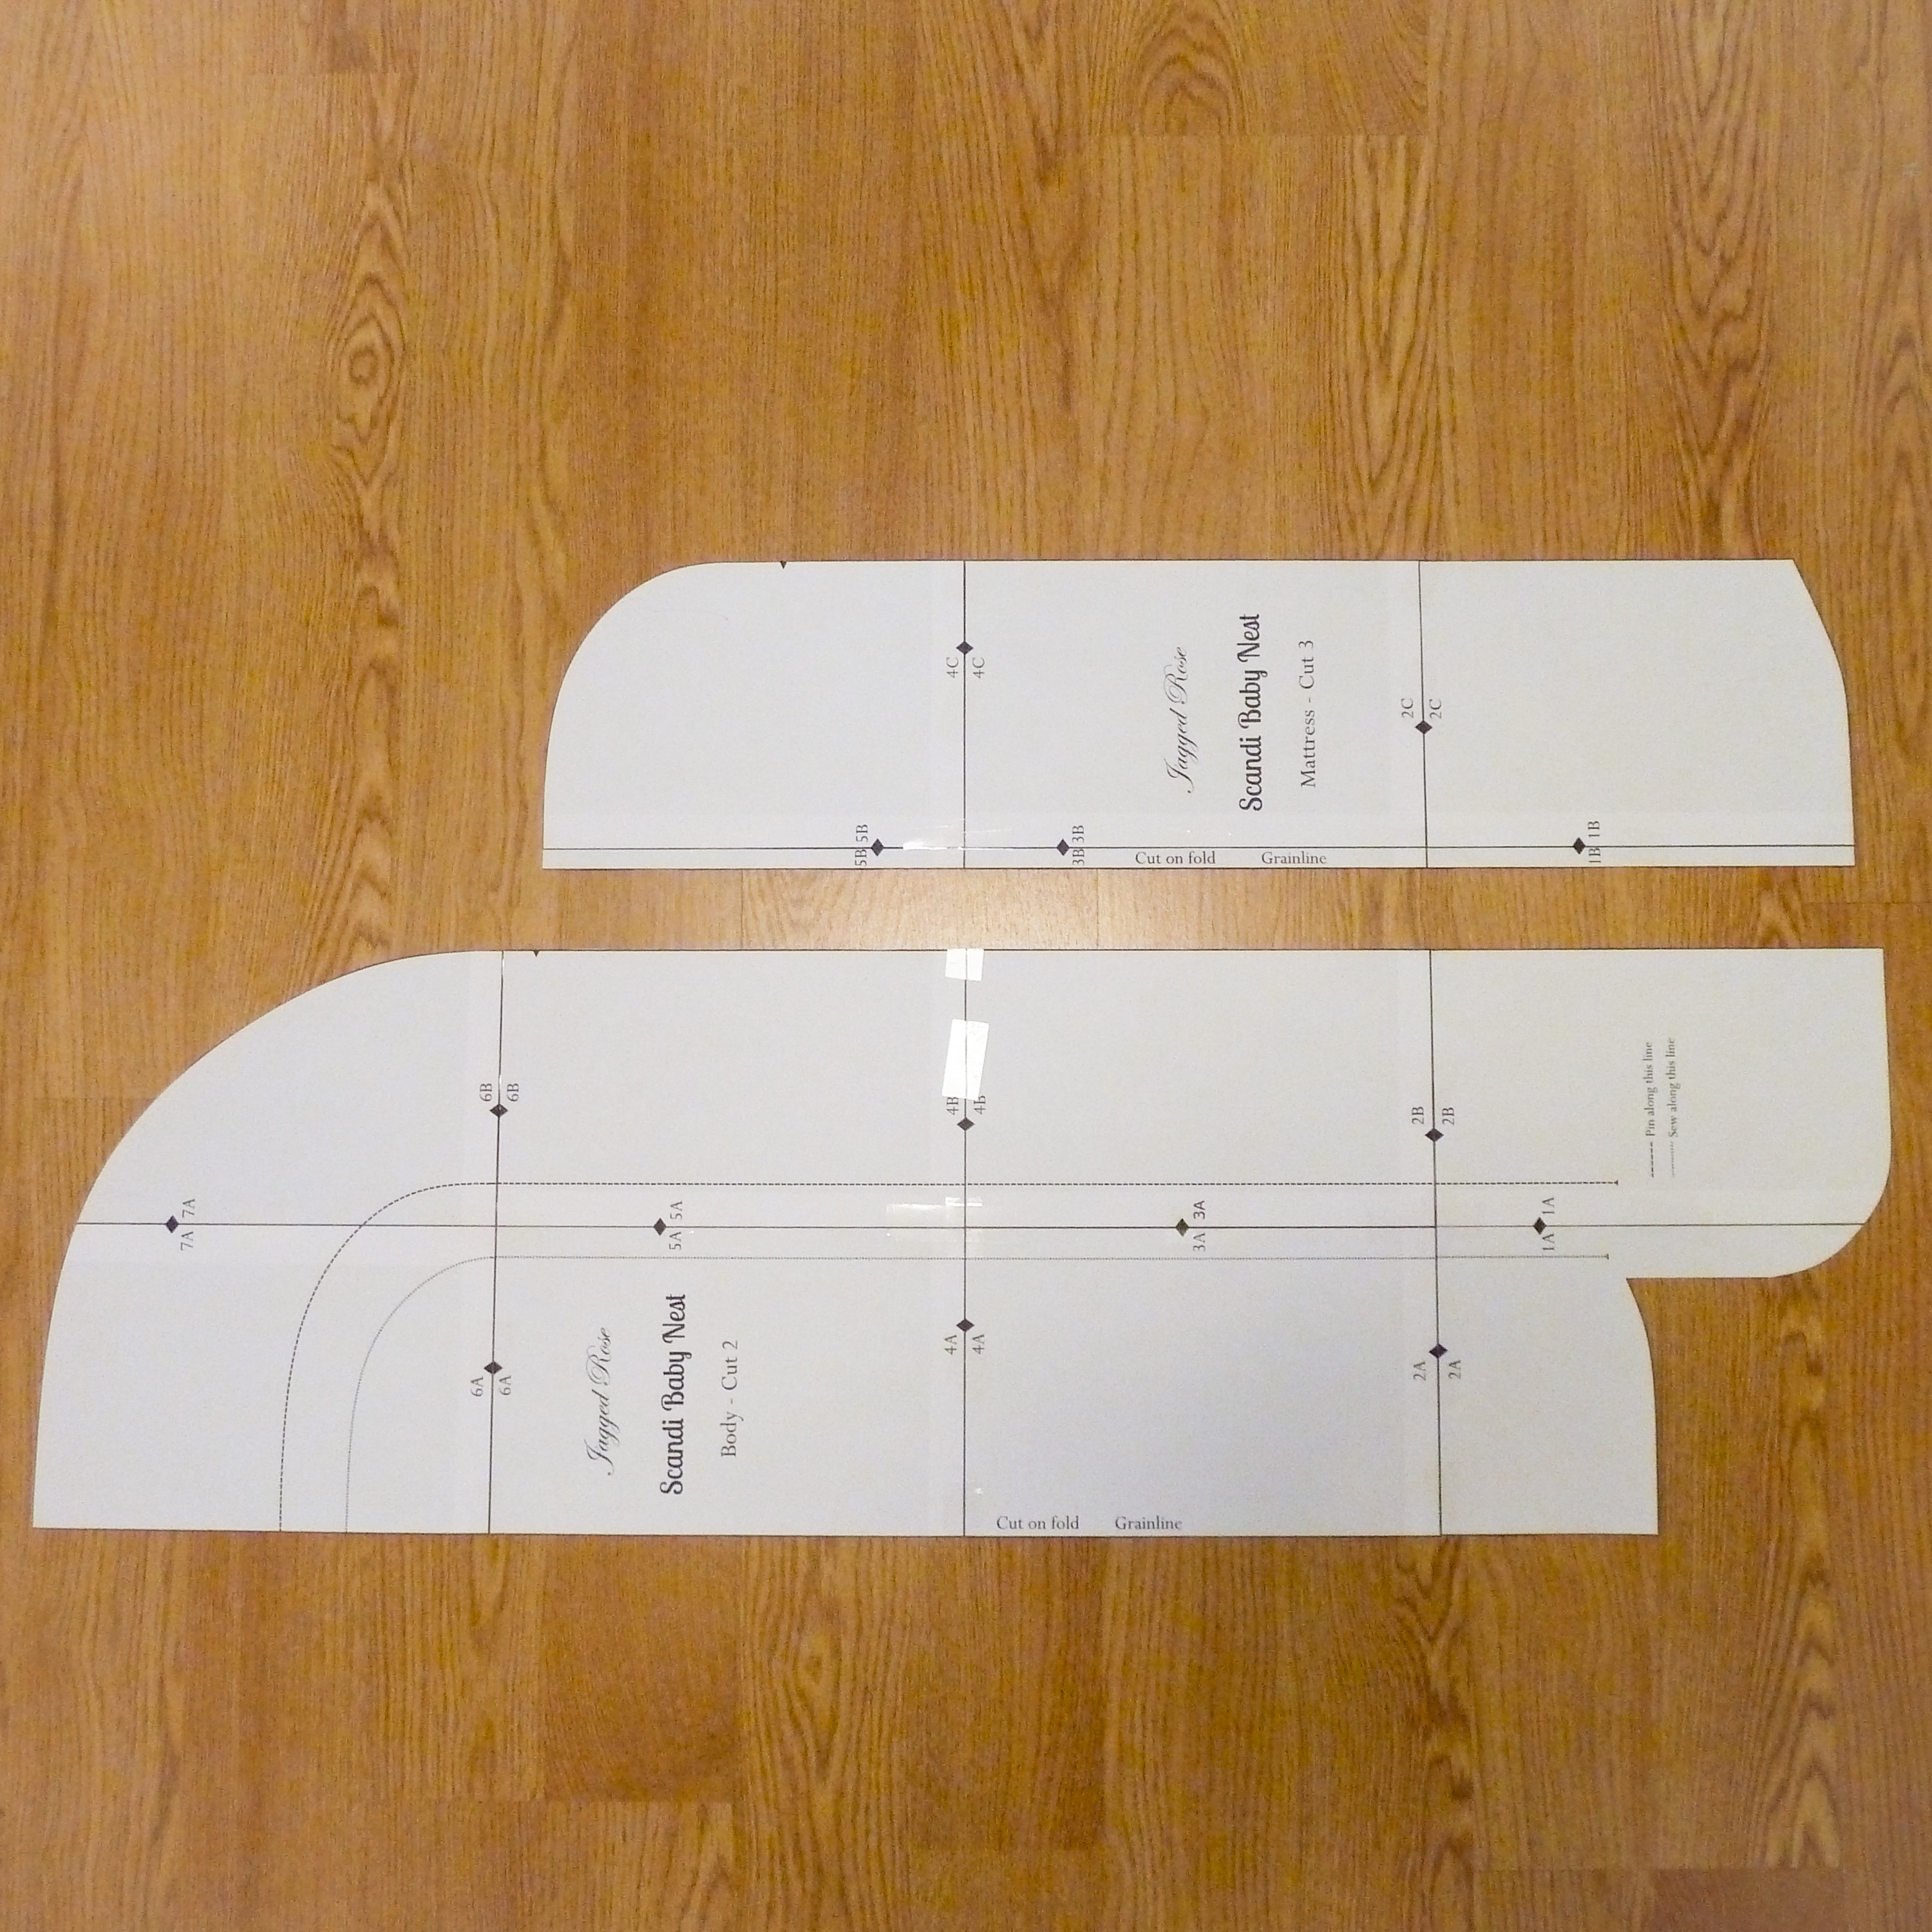
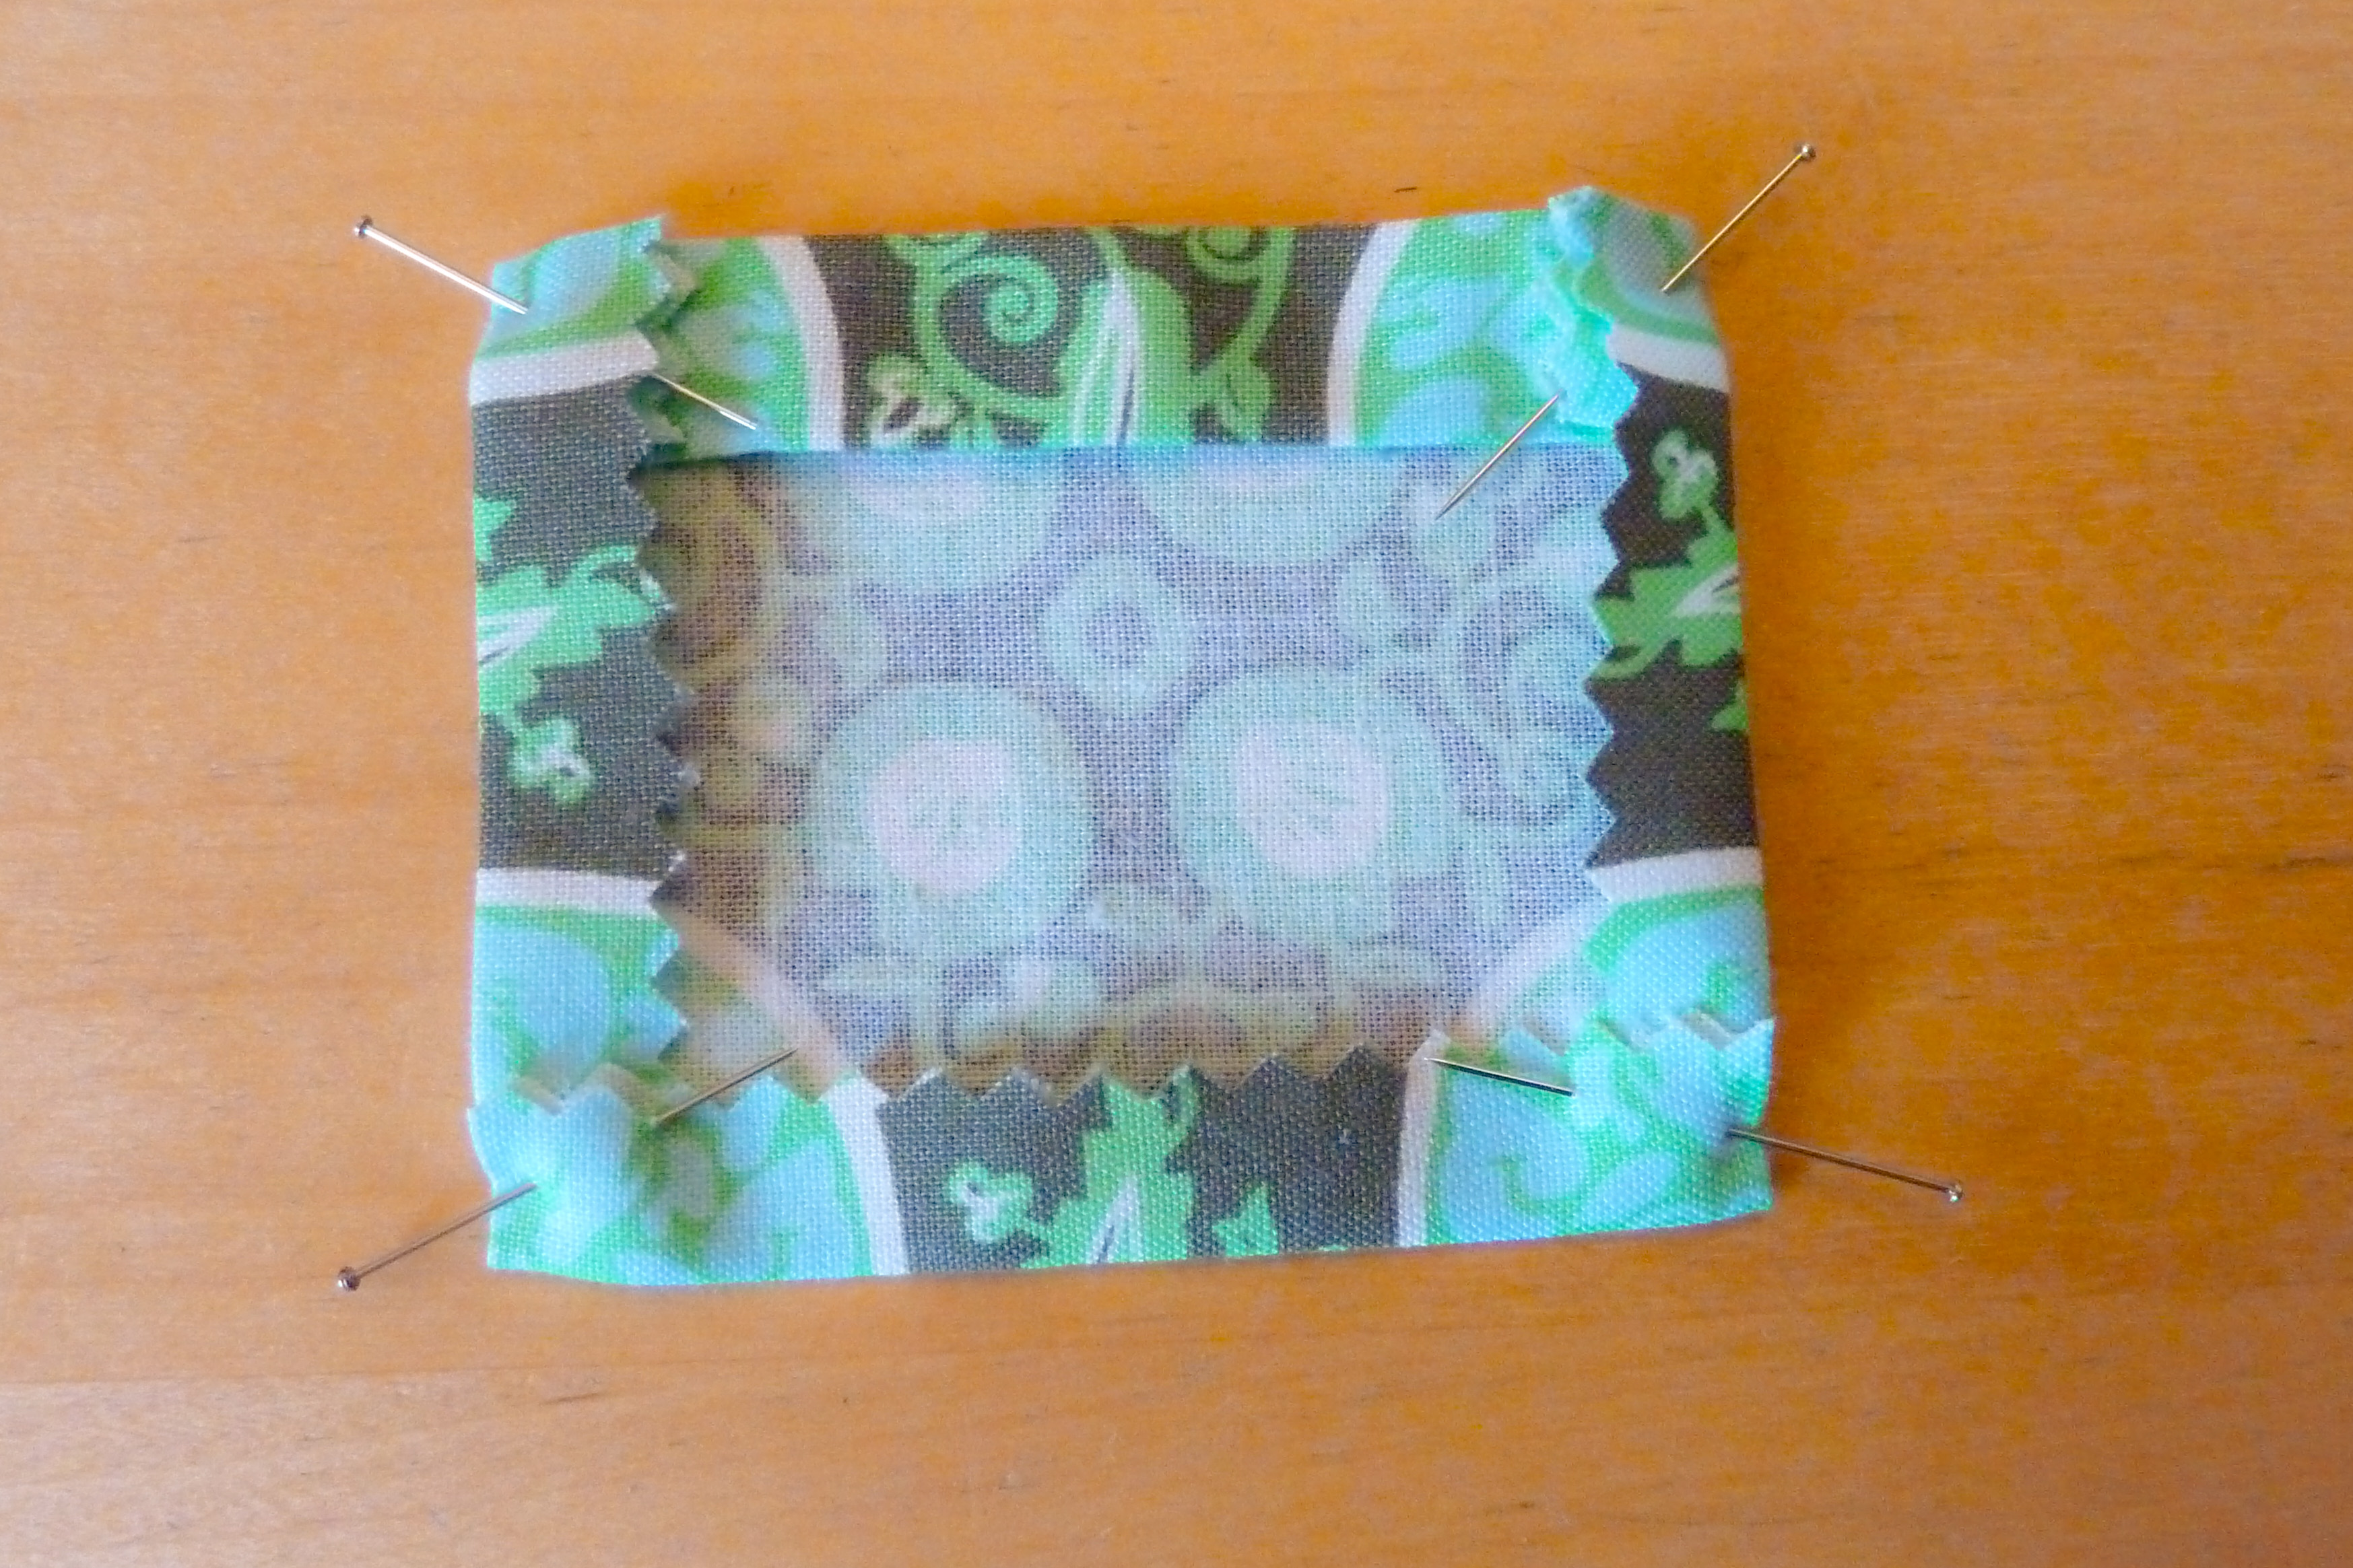
OK, let’s get started, pinning and cutting!
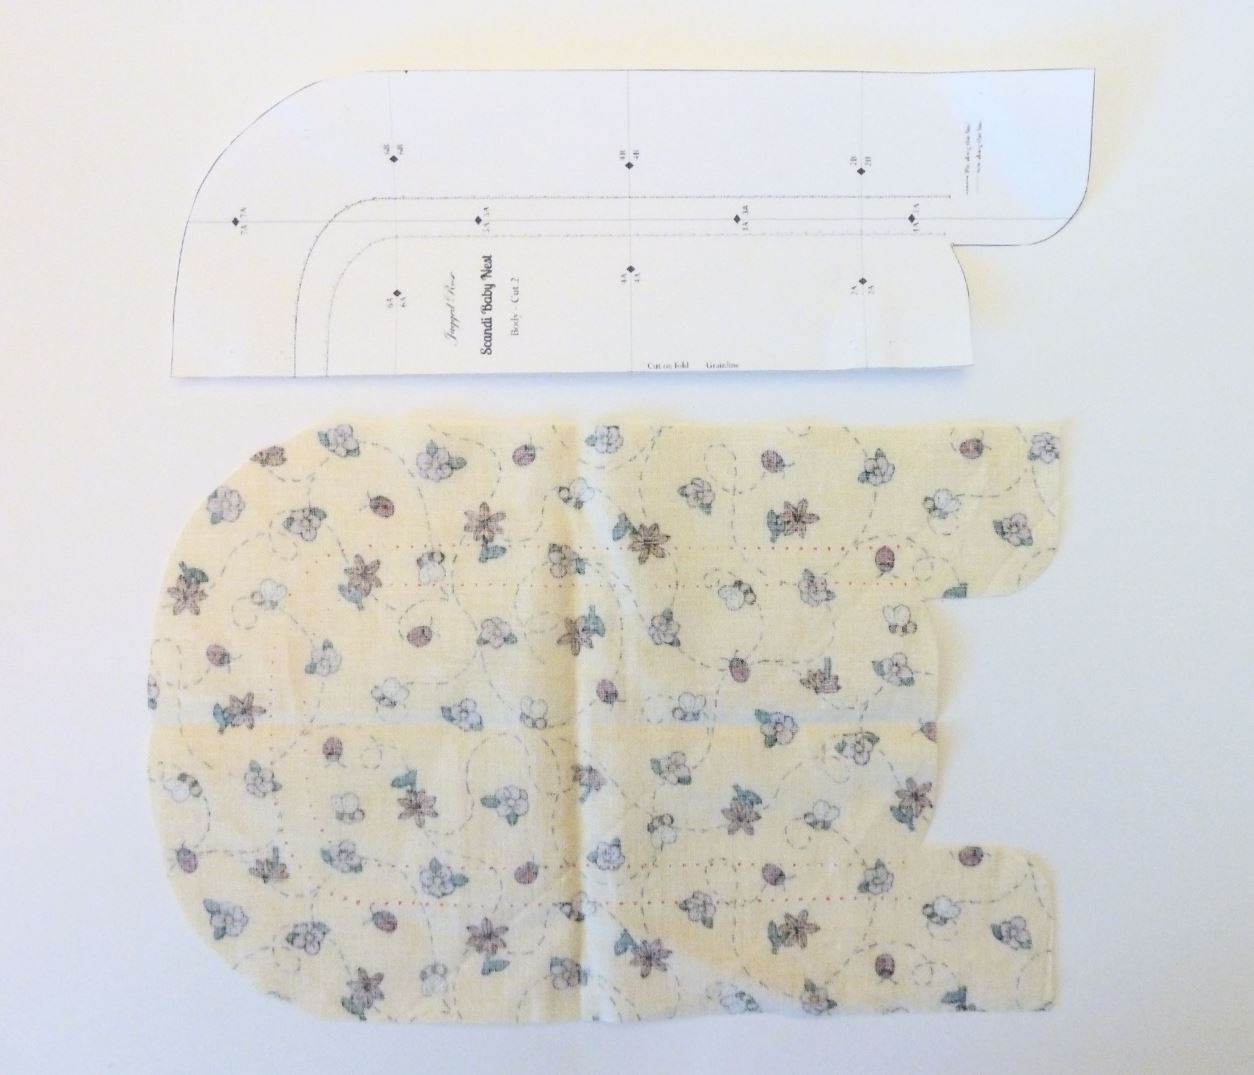
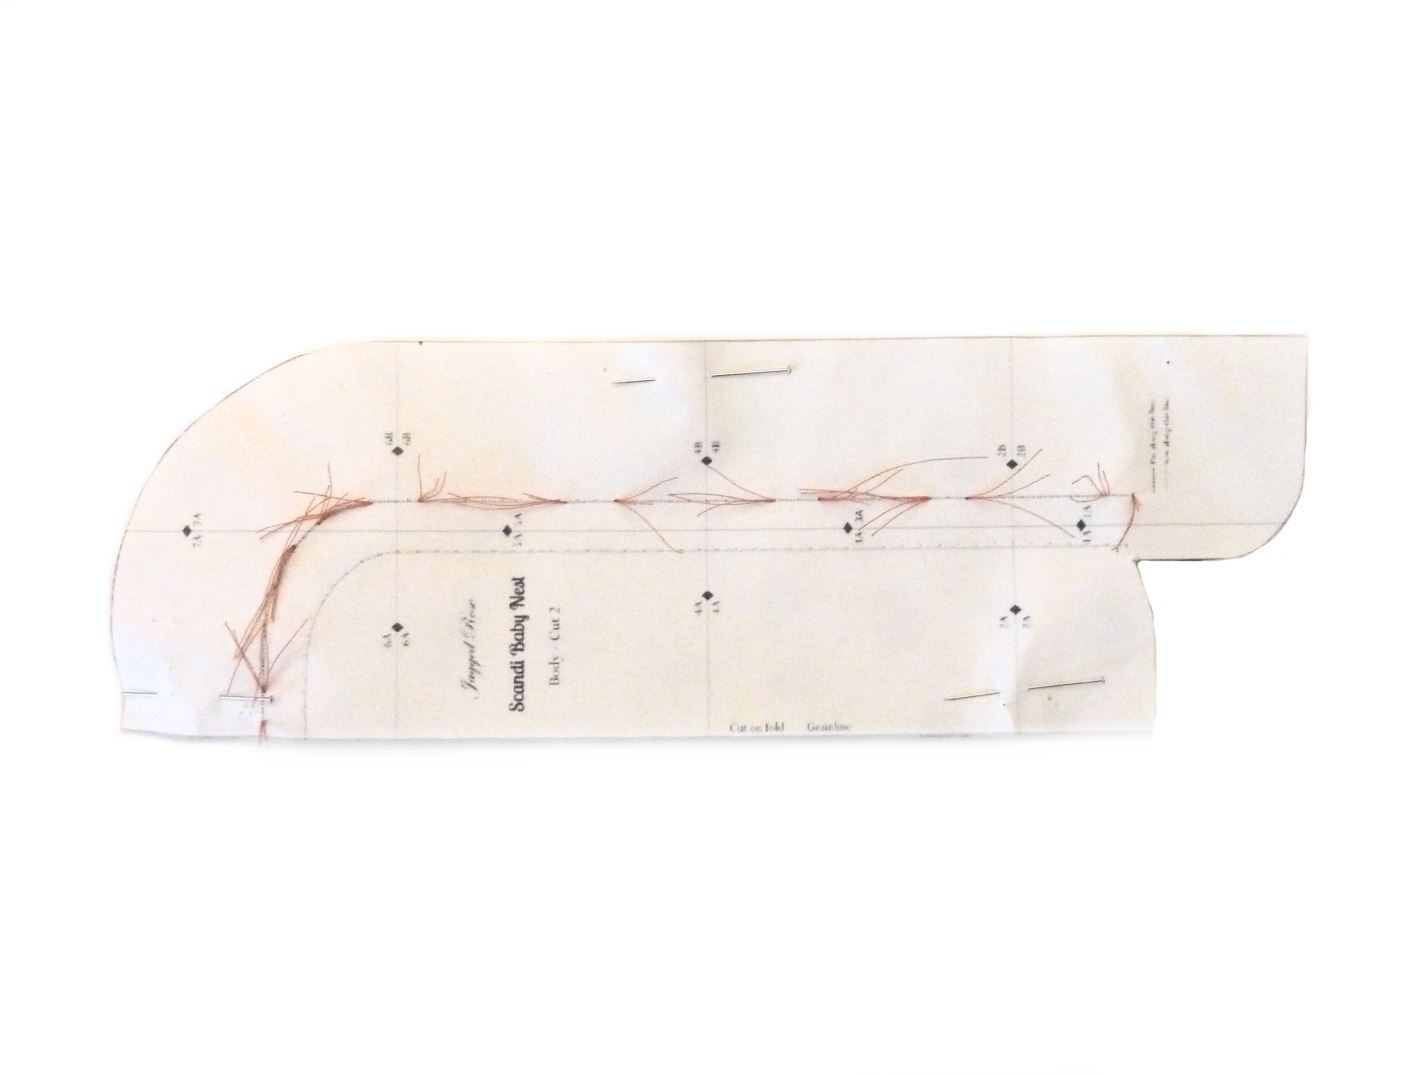
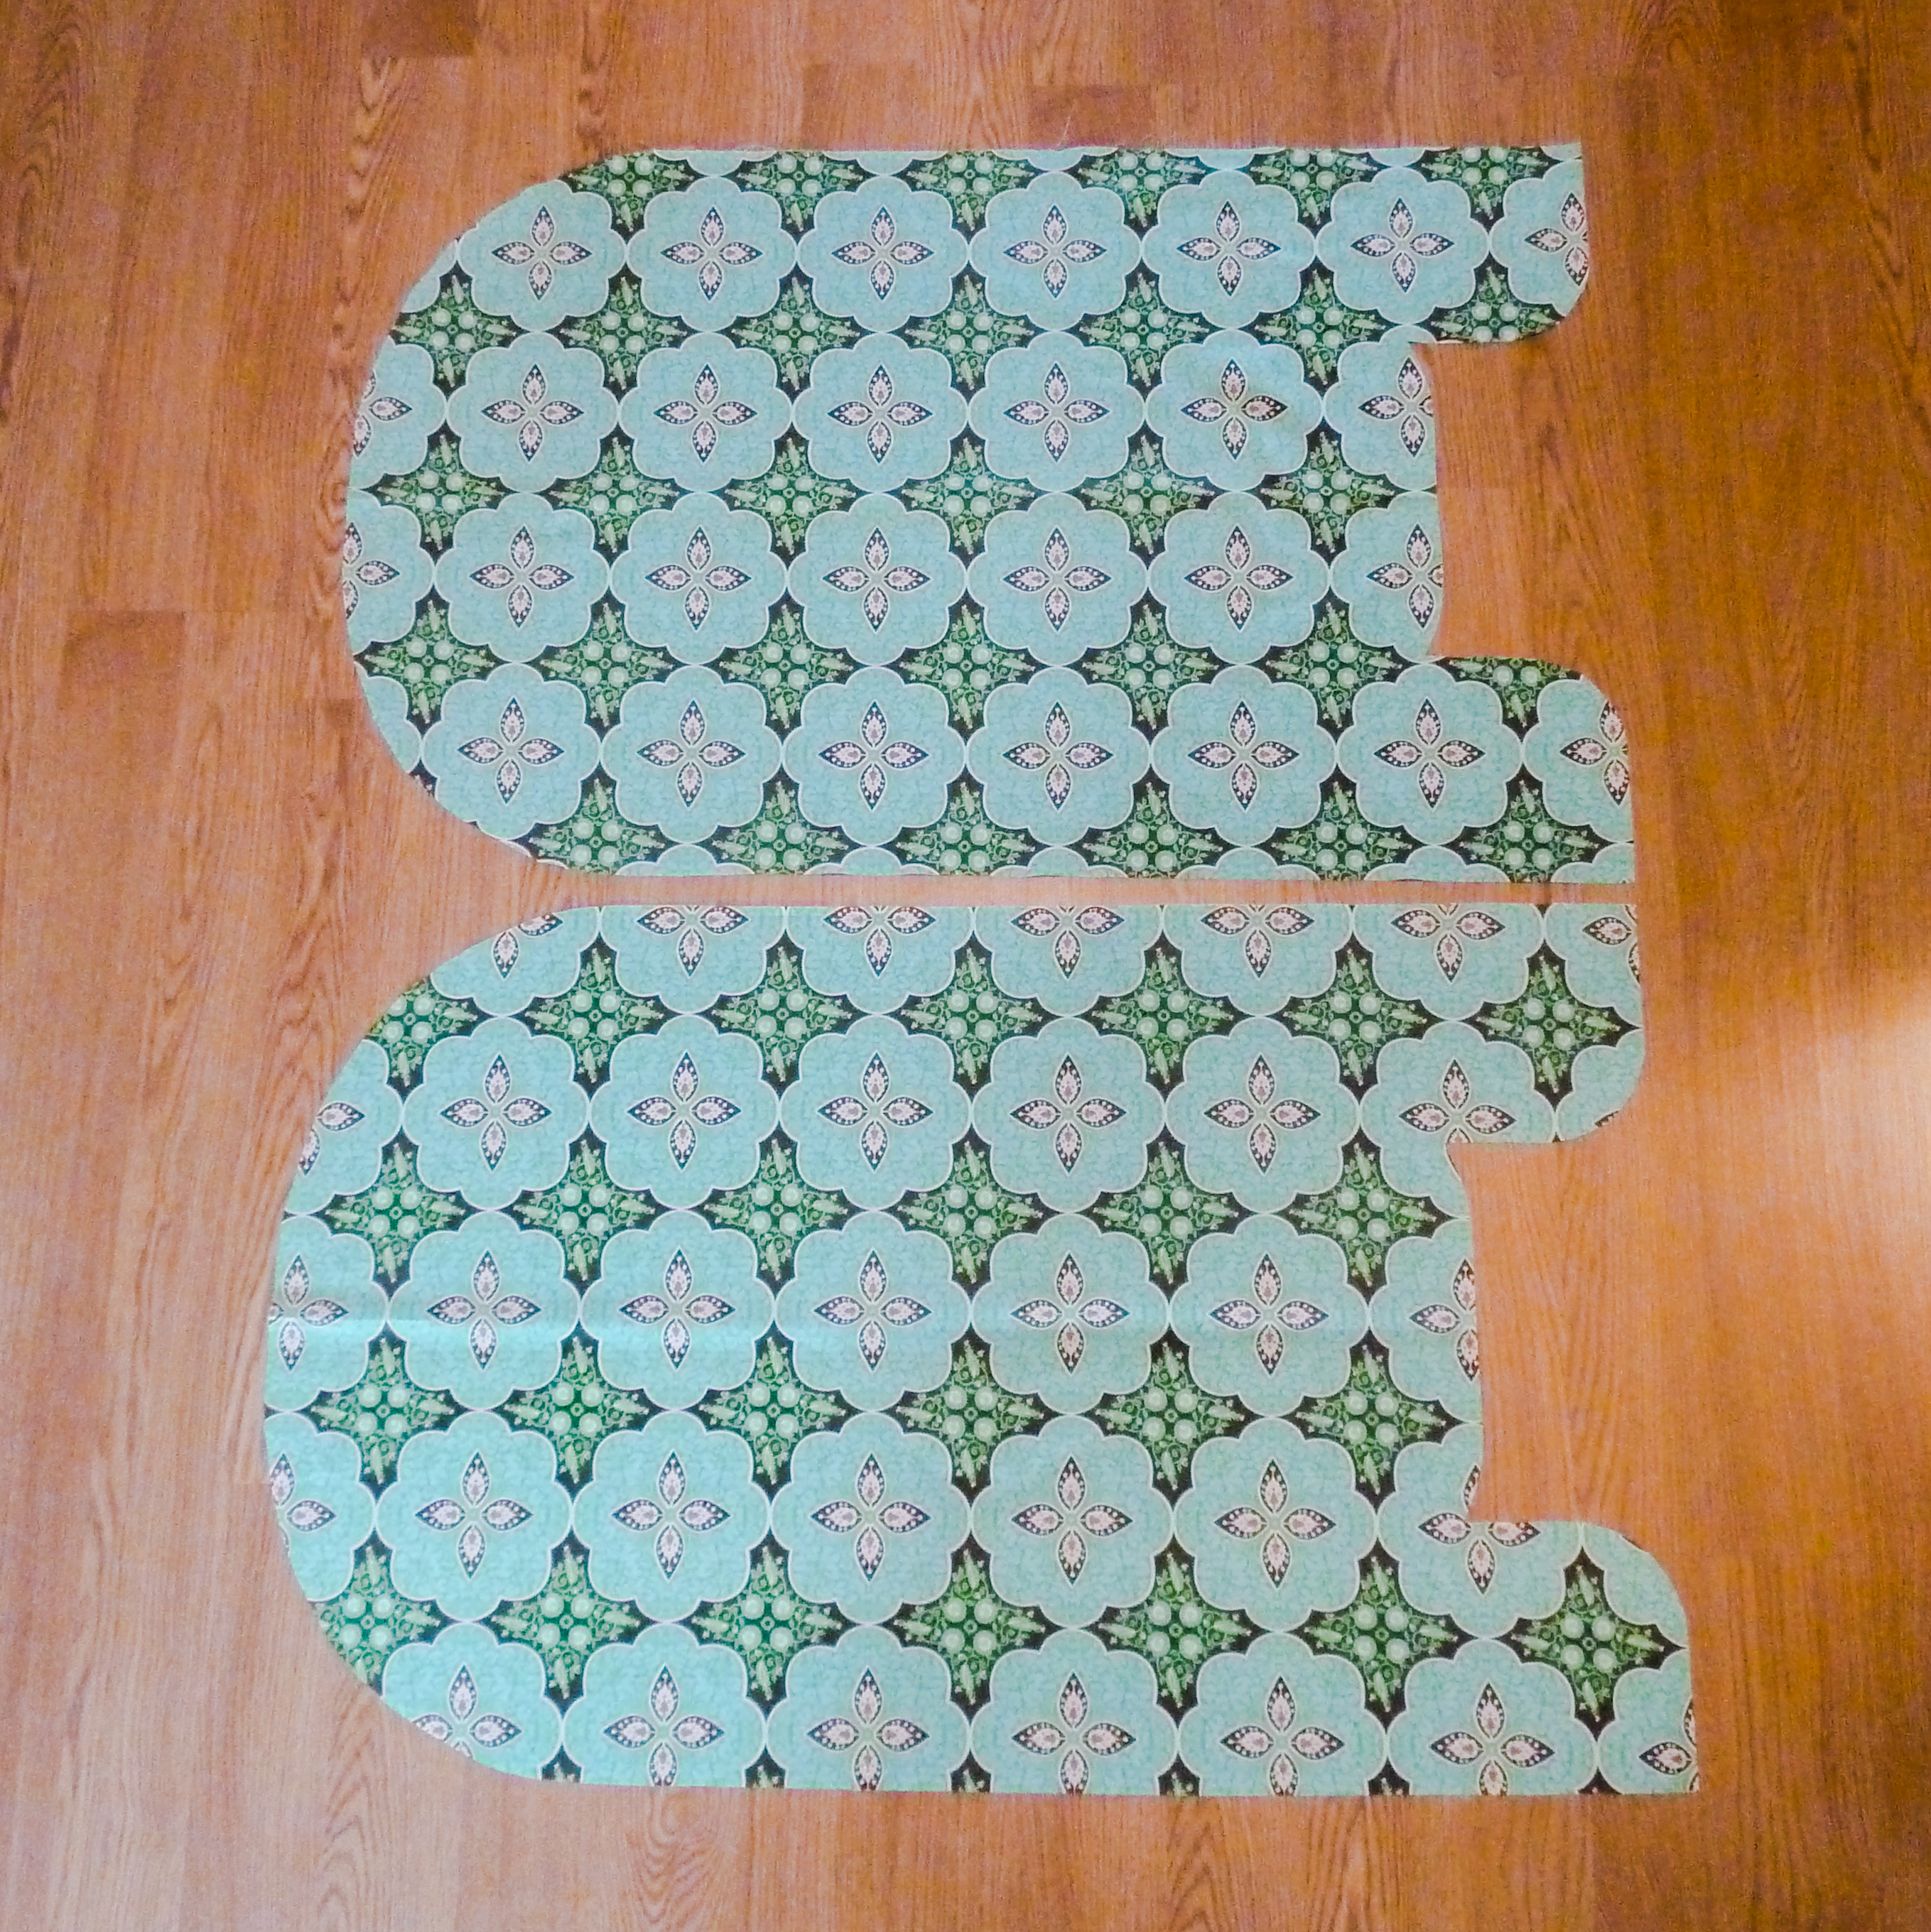

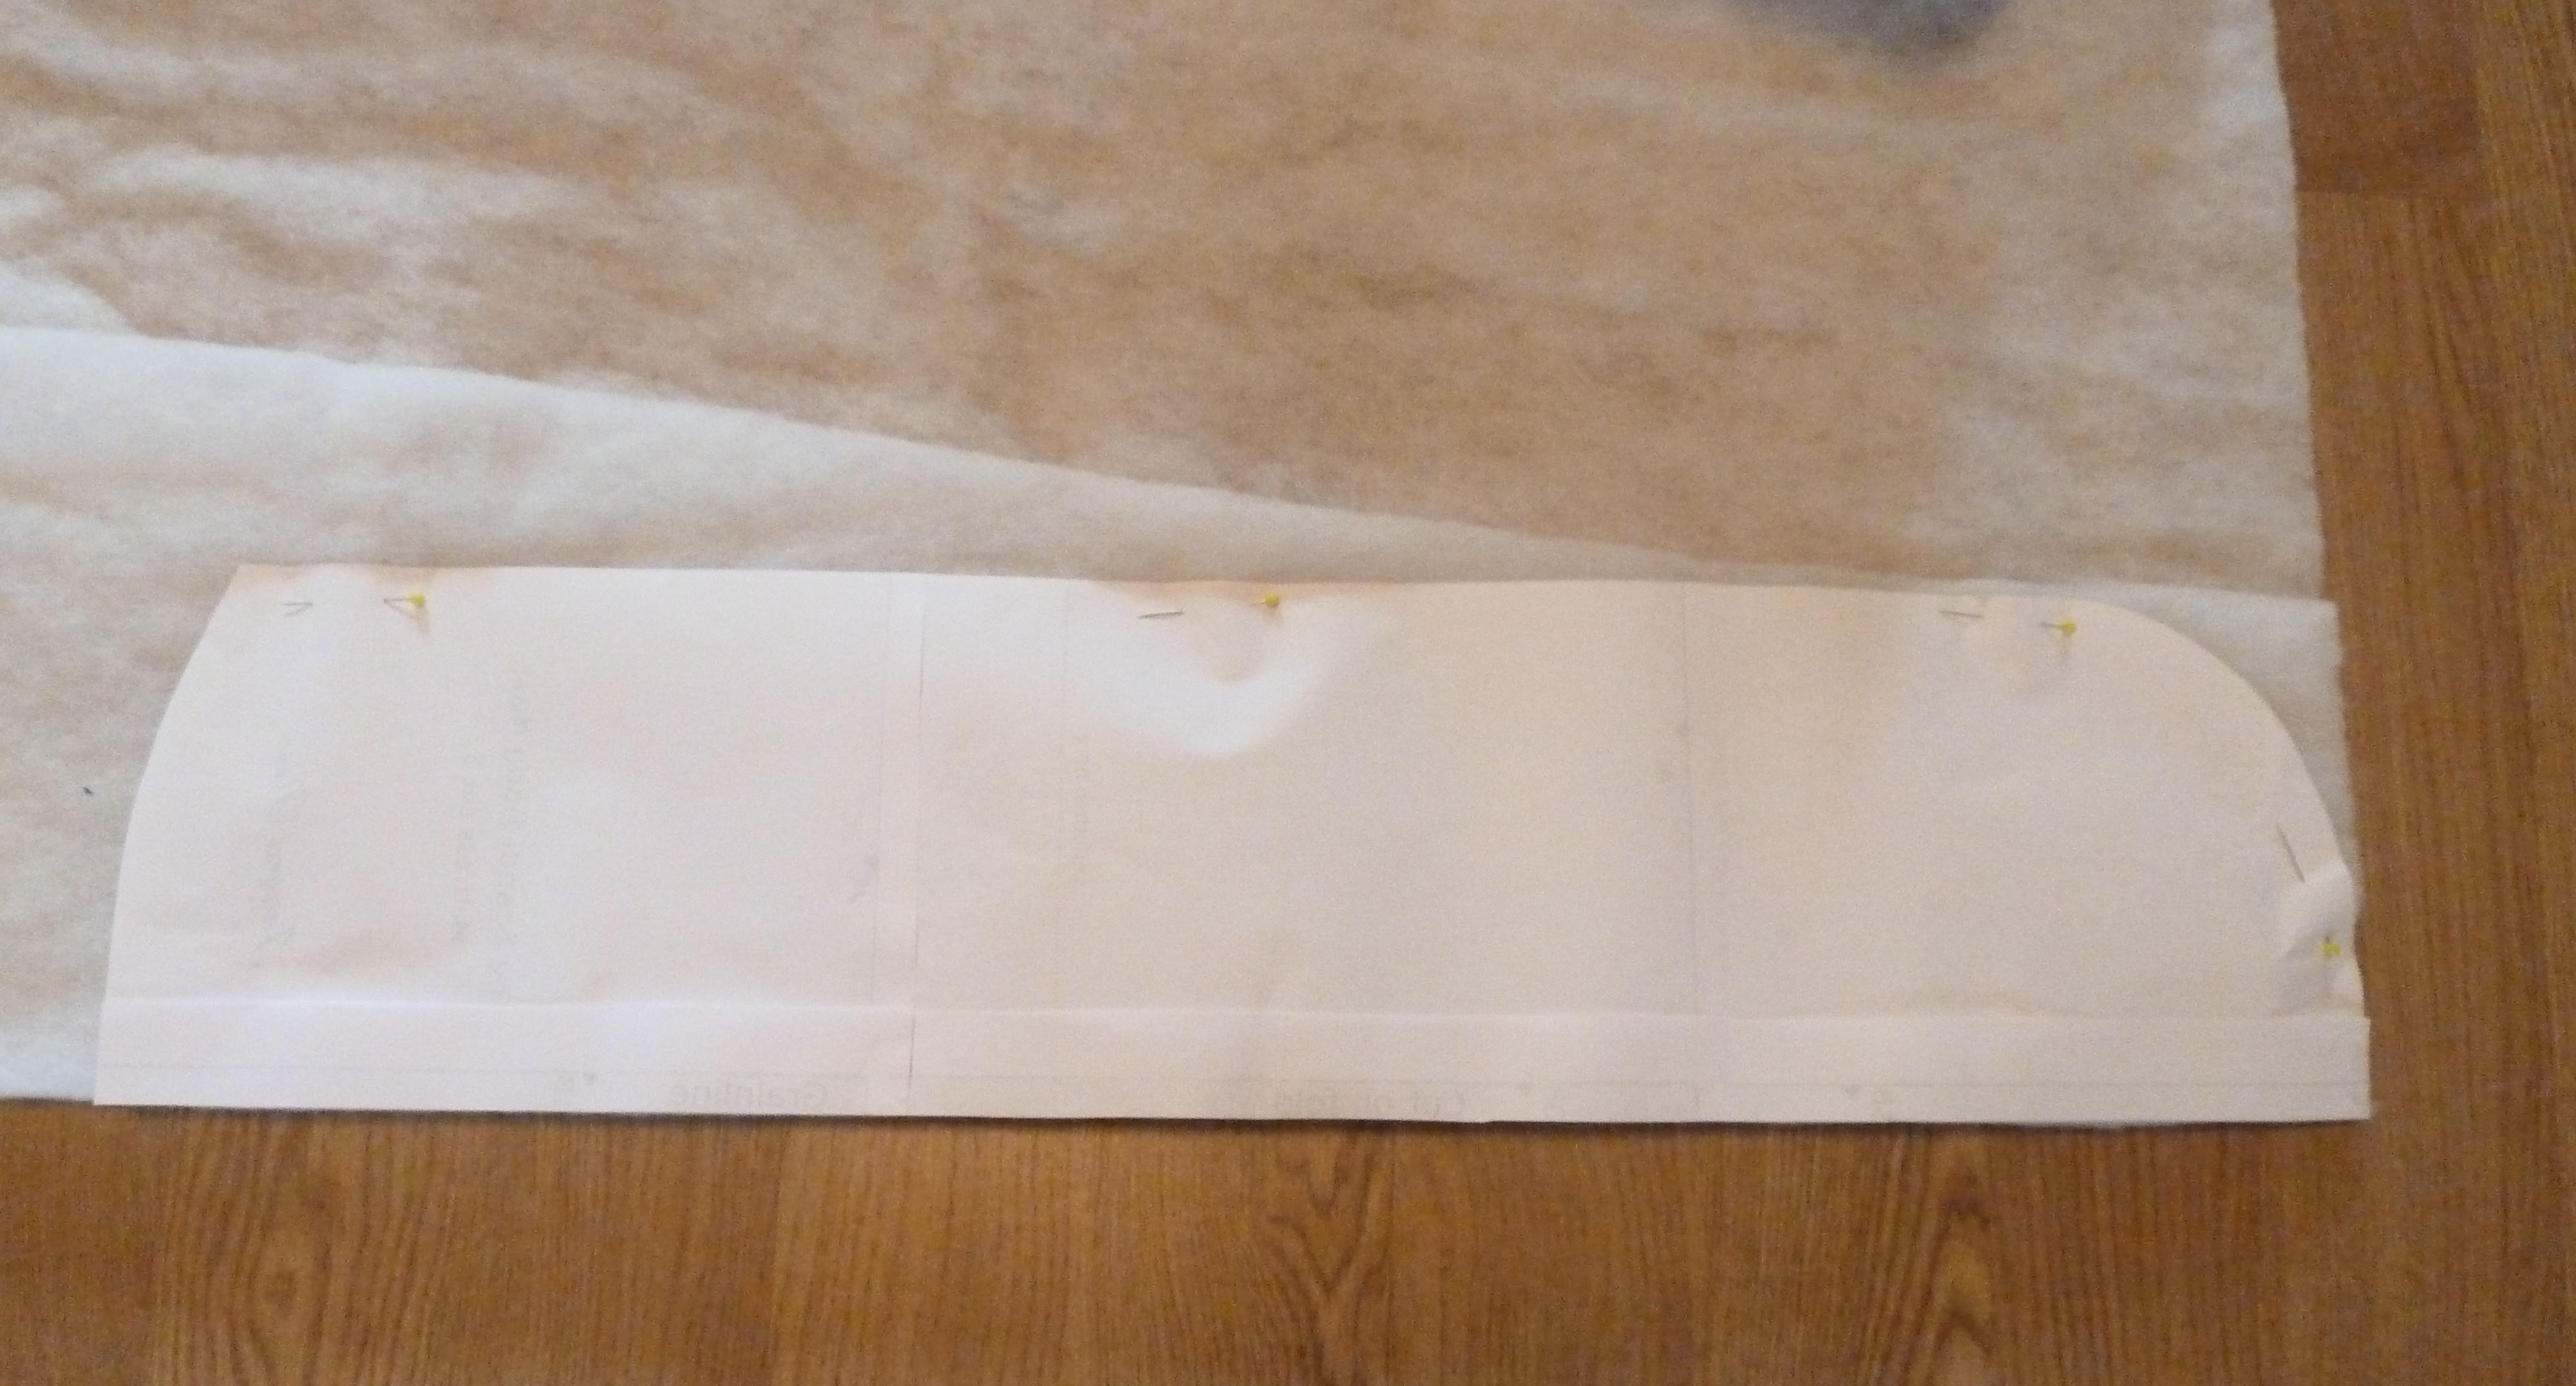
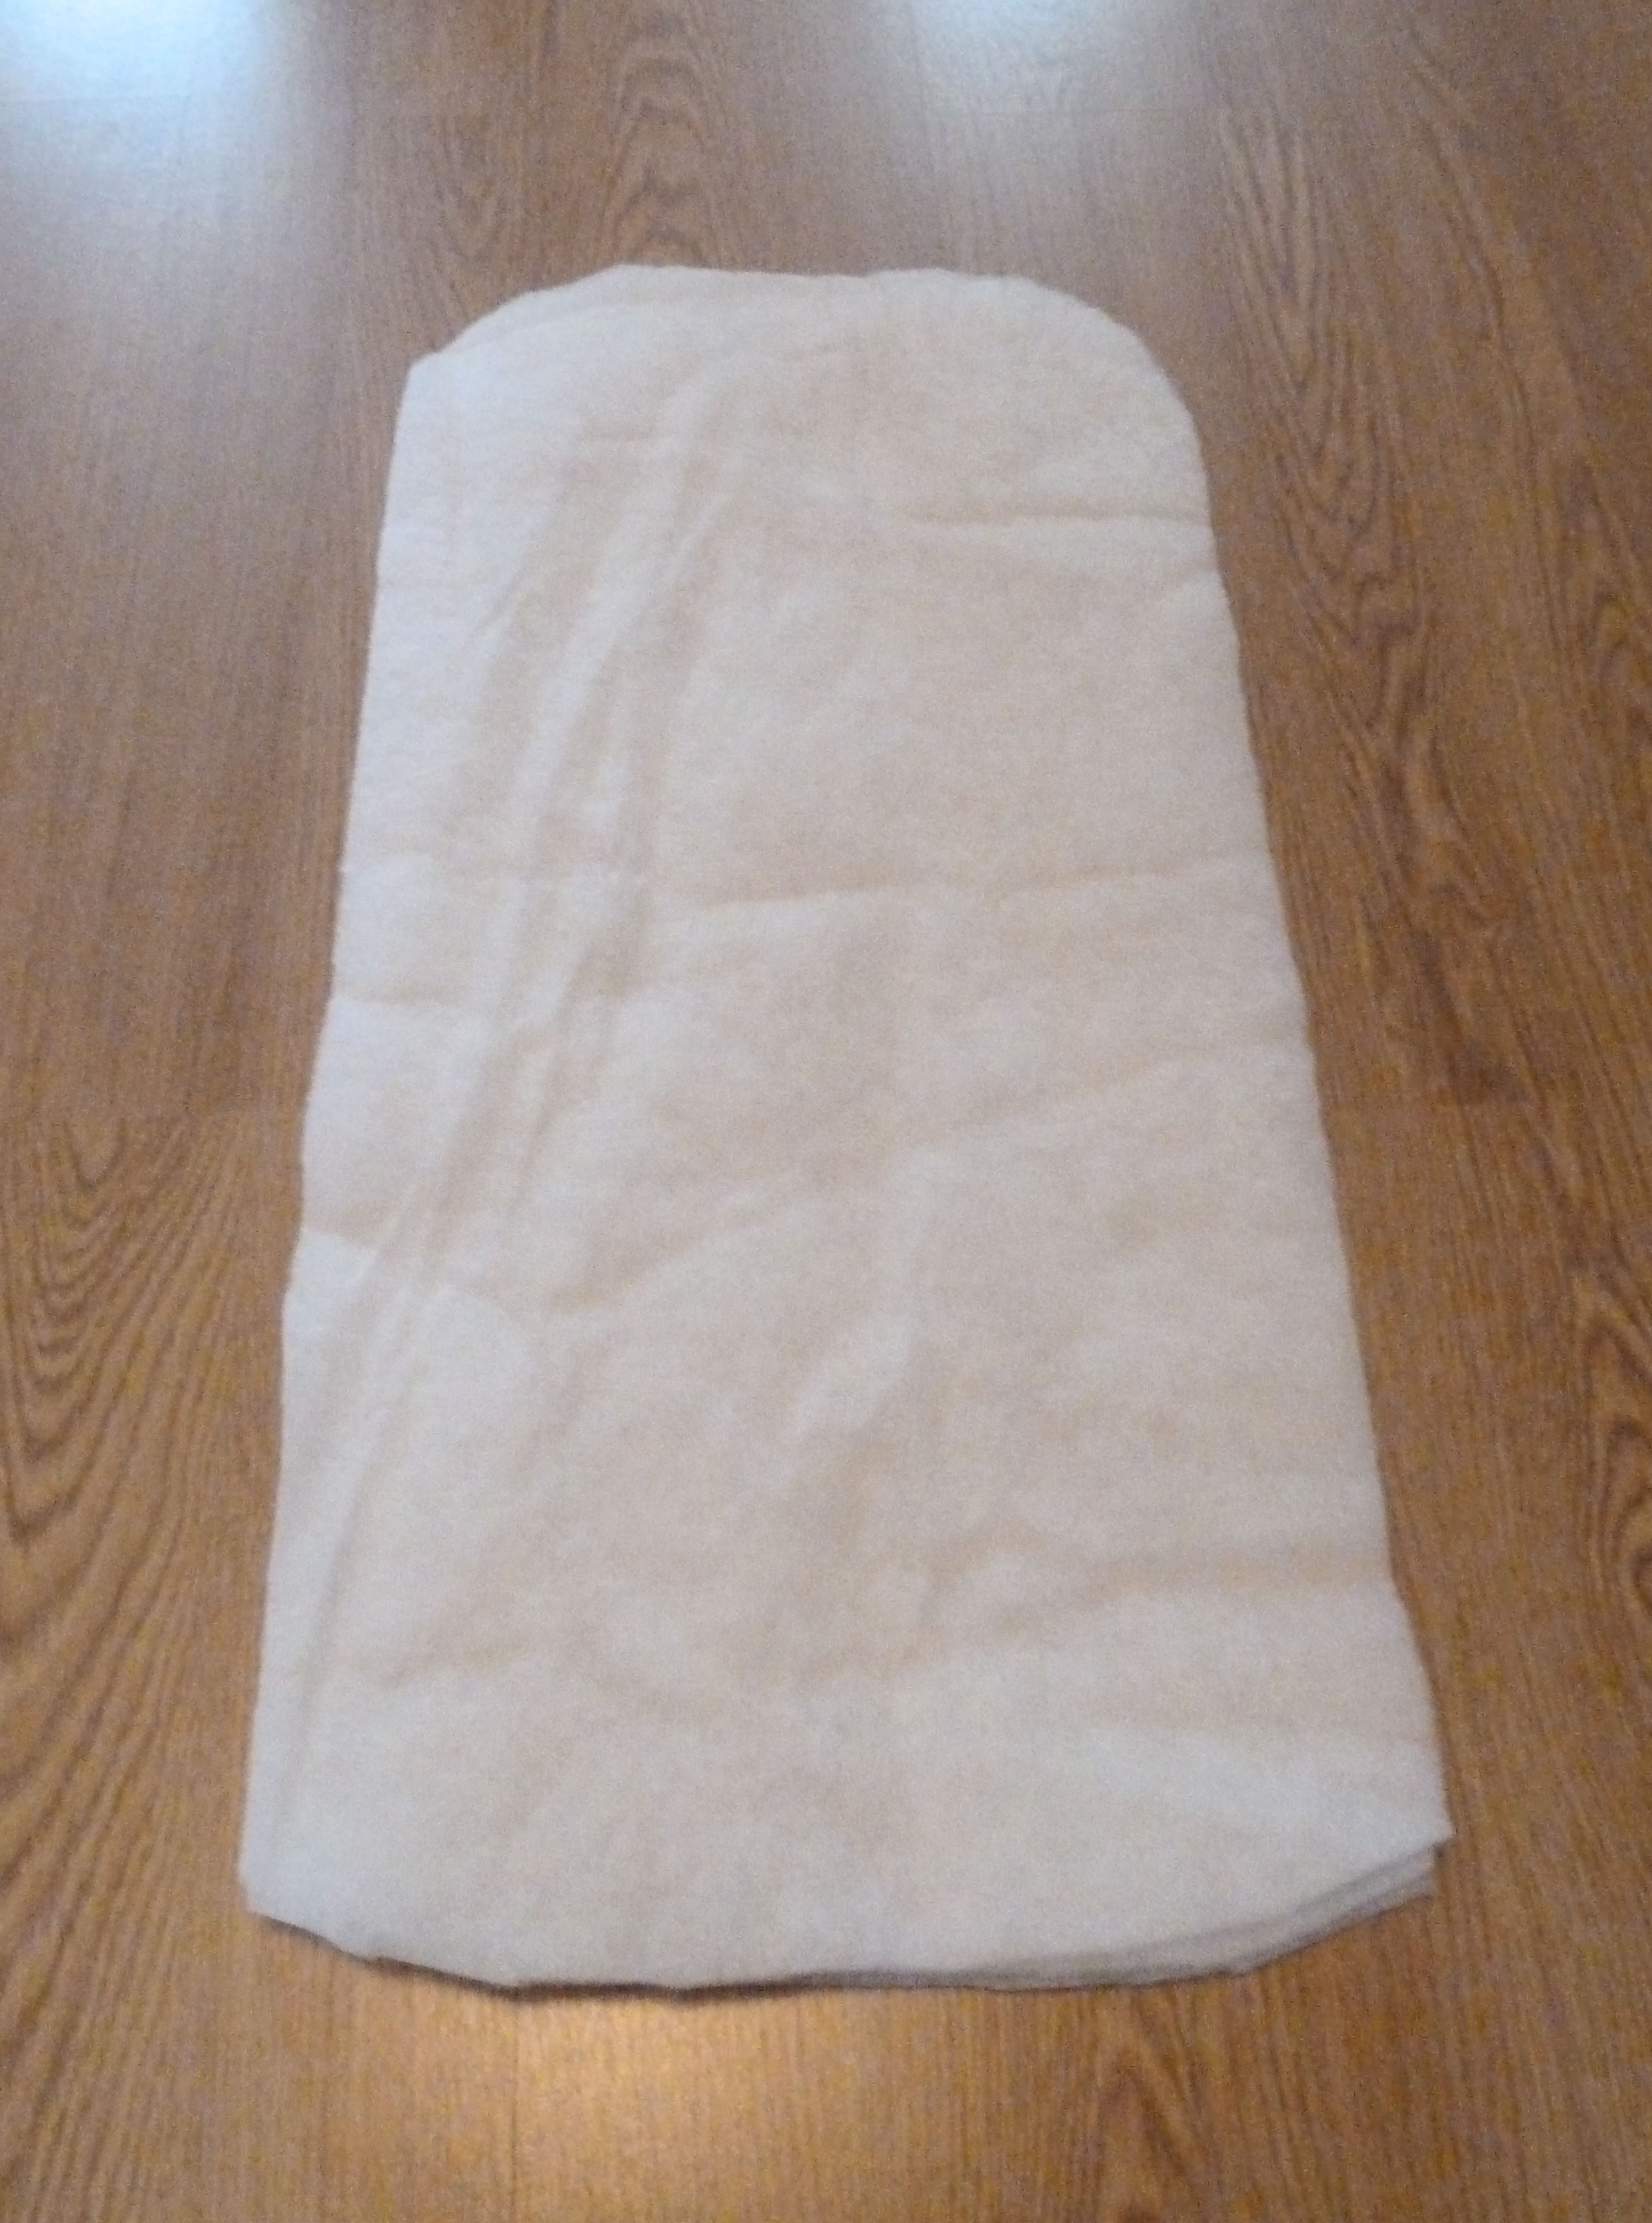
All the prep work is done, you have all your fabric and batting pieces, with all your markings. Next time, we’ll start sewing! :)

This past week has just flown by, I’ve been busy both at home and at school.
In case you missed my last post, I’ve started a sew-along for my Scandi Baby Nest pattern, you can find the first part here.
This is what’s been happening this week in Sewvember:
10. Inspiration
11. Early Make
12. Favourite Finish
13. View
14. UFO
15. Sewing Library
16. Organisation
Welcome to the Sew-along for my Scandi Baby nest pattern! :)
Today I’ll just be going over the basics we need to get started, fabrics and supplies.
Once you have the pattern, print it out on A4 paper or US Letter size paper, make sure you scale to Actual size or 100%. Tilly has a very good post about How To use a digital pattern, if you are new to PDF patterns.
A few more things you’ll need are:
OK, next time the fun begins, cutting out our fabric and batting! :)