Almost there, so let’s jump right in, ok?
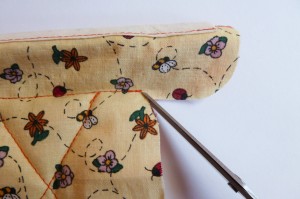
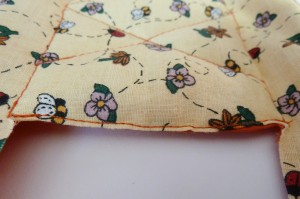
- Cut to the last stitch of the mattress seam. Fold in & press the seam allowance (1 cm or 3/8”) to the inside of the bumper and the bottom of the mattress.
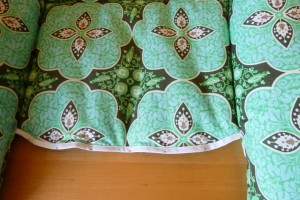
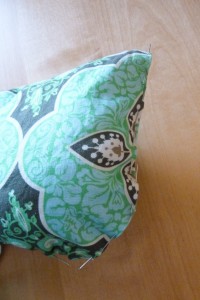
- Leave the bumper open for now. Close the mattress by sewing an edge stitching or sew by hand for a neater finish. (You can also finish by covering the mattress opening with bias tape, see photo below right).
- If you want to quilt the mattress of your baby nest, now would be a good time. Only quilt inside the curved mattress seam, don’t quilt the bumper.
- Take your piece of drawstring/cord and pull it through the bias tape channel on the bumper, using a bodkin or a small safety pin.
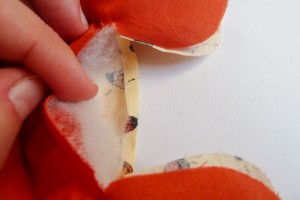
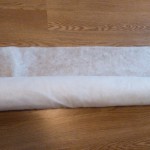
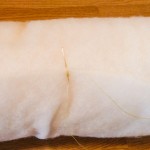
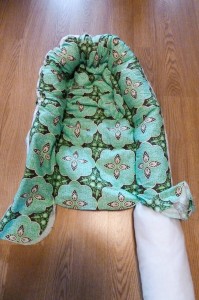
- Roll the batting/wadding into a long sausage and pull it through the baby nest bumper. For a fuller bumper, add some stuffing/fiber fill into the sausage before rolling, (it’s a bit like making a Swiss roll cake).
I also like to sew about 5 stitches along the closing of the batting bumper, to keep it together. One at each end, one in the middle and one in between the middle and end. Don’t bother with knots, just sew through the batting 3 times or so (a bit like making tailor tacks). - Now you can pin & close the bumper. Sew an edge stitching, on the machine or by hand, same as you did to close the mattress. Make sure you keep the drawstring out of the way!
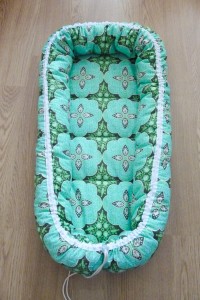
- The only thing left to do is pull the drawstring/cord to gather the bumper and shape the nest. Tie together or use a cord lock/stopper. Add a baby and you’re finished!!!
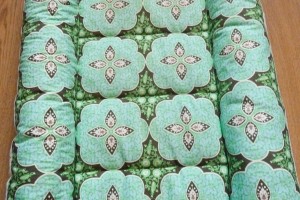
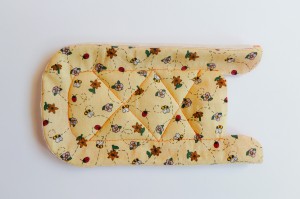
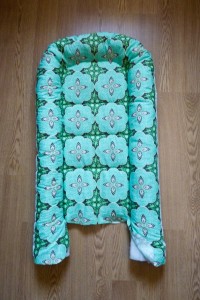
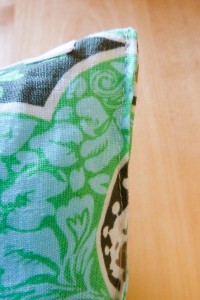
Your Scandi Baby Nest, should look something like this :)
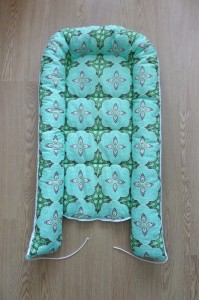
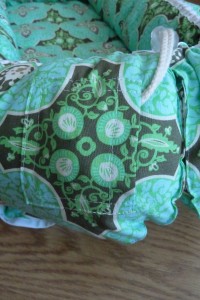
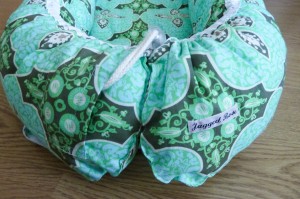
I’d love to see your finished Scandi Baby Nest, if you feel like sharing! Leave me a comment or if you’re on Instagram use #scandibabynest or tag me @jaggedrose :)
If you missed the first part of the Sew-along you can find it here.


